Hair Update and Regimen Switch

Hello ladies

the smile you have…..when your texlaxed hair blends with your straight u-part wig. I used a little heat though.

I hope all is well with you and your hair journeys. I am currently weeks post relaxer and have switched to my wig regimen and I have been rocking my Hair by Type Four wigs.

Ladies I am proud to say I have been sticking to majority of my regimen and my hair is in a good place at the moment. I am actually in the middle of my wash day as I type this blog post up. when I was detangling my hair my sister kept saying  “I don’t know why your hair is looking so good”….my answer was simple, I’ve been putting in work”.   I have tried really hard the last few months to stick to my regimen and my hair is responding accordingly unlike last year where I neglected my hair a lot and had to cut off about 6 inches through the year.


In my Hair by Type 4 U-part wig.

I hope this blog post will encourage someone out there to stay consistent with their hair regimen. It really does pay. My next post will be all about my new hair love: grapeseed oil. I will also have a wash day update and a quick tip for blow drying on the blog soon.

Happy Hair Journey

X

Lade

Lemongrass: My New Essential Oil

Hello ladies

I love love love using essential oils for scalp massages once or twice a week and my go to essential oils are rosemary and peppermint oils. I have been using these two essential oils mixed with Jamaican black castor oil for scalp massages for over 4 years now.  I intend to carry on using them but wanted to experiment with something new and decided to purchase some lemongrass essential oil.

DSC_5332


What Are the Benefits of Lemongrass Essential Oil for the Scalp

Lemongrass has antiseptic, antifungal, anti-inflammatory and antibacterial properties. It contains vitamin A, B complex and vitamin c. It great for keeping our scalp healthy and for reducing the risk of scalp conditions. This is because it minimises the spread of bacteria and fungi so it is a natural cleanser. It is often said that lemongrass essential oil strengthens the hair follicles (the root of our hair), helps to reduce hair loss and relieve itching.

DSC_5324


How To Use Lemongrass Essential Oil in your Regimen

Essential oils are not ideal for sealing. They evaporate way to quickly to have any long lasting sealing effect. Also many essential oils are stimulating for living cells. Our hair fibres/ hair strands are dead and cannot be stimulated. Our scalp on the other hand is alive and will benefit imensely use essential oils.
All essential oils including lemongrass must be diluted before use. A few drops should be added to a carrier oil ( eg olive, coconut oil, castor oils, almond oil grapeseed oil, etc) before it is used. I tend to add about 5 to 6 drops of essential oil to a table spoon of my carrier oil.
The diluted lemongrass oil can be used in the following ways.

Pre-poo
The a few drops can be added to the carrier oil or conditioner you use as a pre-poo treatment. Simple apply to your hair length and leave it on for 30 minutes plus and then continue with your wash day. This is how I use lemongrass essential oil in my regimen.

Mixed Into Your Deep Conditioner
A few drops can be added to your deep conditioner. This will give have a stimulating effect on your scalp whilst you deep condition.

Scalp Massages
The diluted lemongrass oil can be used for scalp massages two or more times a week. I think i might add a few drops to my black castor oil for my scalp massages on my next stretch.


Please note that pregnant women should not use any essential oil unless they have been given permission by their doctor to do so.

I am very interested in learning about and using more essential oils. I think I may purchase some lavender or clary sage essental oils soon. What essential oils do you have and how do you use them on your hair journey?

The next blog post will be a giveaway. You dont want to miss it so come back soon.

X

Lade

Learn | Change | Grow


Is Your Hair Scissors Damaging Your Ends?

Hello ladies

I have self trimmed my hair for many years now and plan to continue doing so in the future. I have always known that it was important to invest in good quality hair cutting scissors.  I was also aware that there were some do’s and don’ts of caring for your hair scissors.   Unfortunately I ignored these until very recently.

In the past, I used any kind of scissors to cut my hair but when I started a hair journey I bought my hair scissors from my local hair and beauty store at the time. The problem was that I took zero care of my scissors and that had some consequences for my hair.

In this post, I will share a little bit of information about why the scissors you use to cut your hair and how you maintain it matters.  I have learnt so much whilst carry out research for this post and I will post some links below to some sites that go even deeper for ladies or hair stylists who would like to lean more.


DSC_4153


The Design

Like many people, I knew that there are sooo many different types of scissors for cutting various types of material and fibres. I always assumed this was just to make the cutting process easier or smoother but I somehow failed to realise that the design also has a huge impact on the material being cut.

Using scissors that have not been designed to cut hair can cause cuticle damage to the areas that are being cut. So although your ends may look “fresh and healthy” when you fist cut them with the wrong type of scissors, what you will get is ends that are damaged as they are being cut.
These damaged ends will then split easily and quickly which means you will end up having to trim your hair more frequently. This can be avoided by using the right type of scissors


The Importance of Caring for Your Scissors

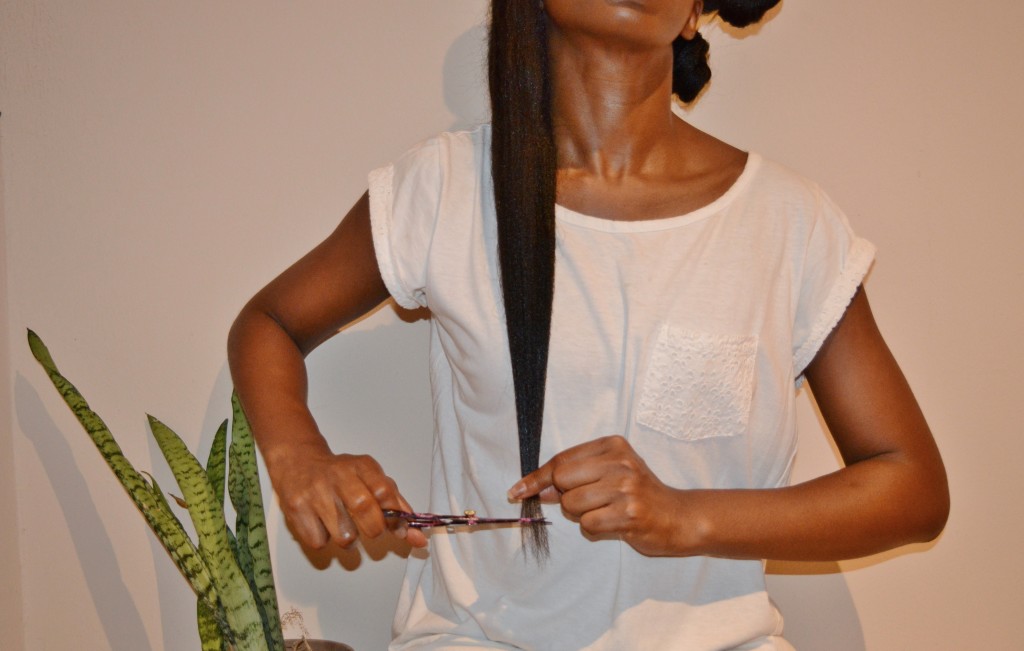
A good hair scissors should have sharp blades!!!!!   When I received my scissors, I gently touched the blade I was stunned and scared by how sharp it was.
A very sharp scissors is needed to give hair fibres that clean and smooth cut. A blunt scissors on the other hand will tear through the hair fibre damaging the cuticle and creating new splits although this may not be apparent at first.
If a blunt scissors has been used, usually within a week or two, the ends that looked sharp and felt smooth will begin to look frayed and feel rough again.

To avoid this happening, it is important that you use your hair scissors for cutting hair only and not other fibres like paper or fabric as this will cause the blades to become dull.
Please do not use your hair scissors to cut the hair of weaves and wigs even if they are labelled as 100% human hair or virgin hair.  Apparently such hair is usually coated or cleaned/treated with chemicals which can damage the scissors.
A lot of salons may not have scissors dedicated specifically for cutting the hair that grows on their clients head  but not for weaves and wigs so it may be best you invest in your own which you can take to the salon.

If you are really interested in learning more about the anatomy of a hair cutting scissors and how to maintain it please click on link 1 and link 2.


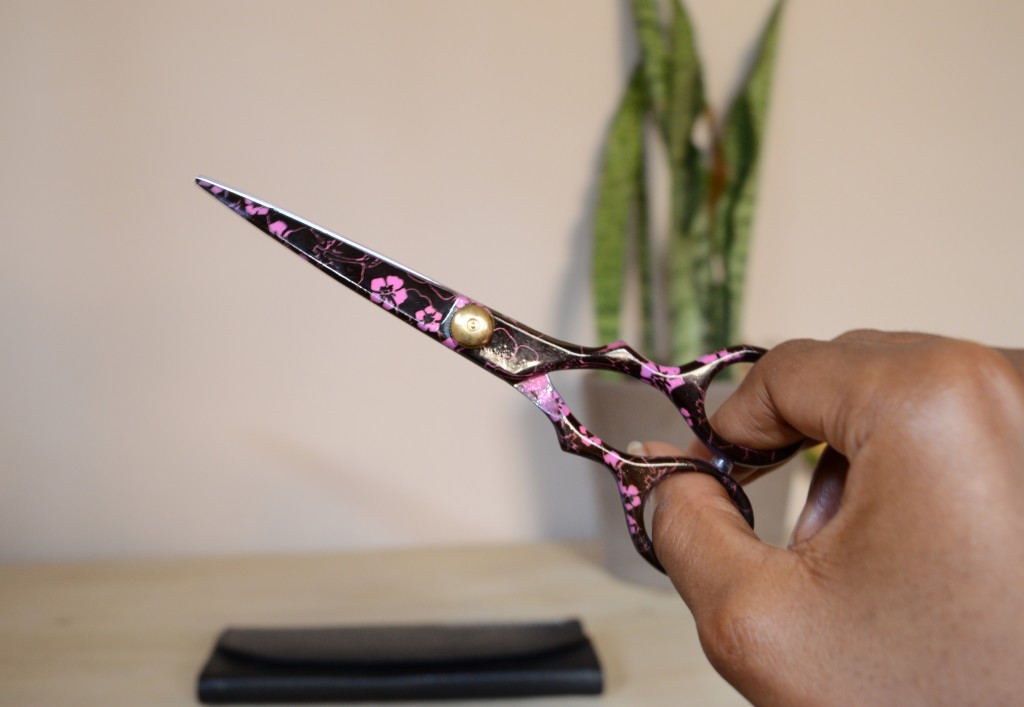
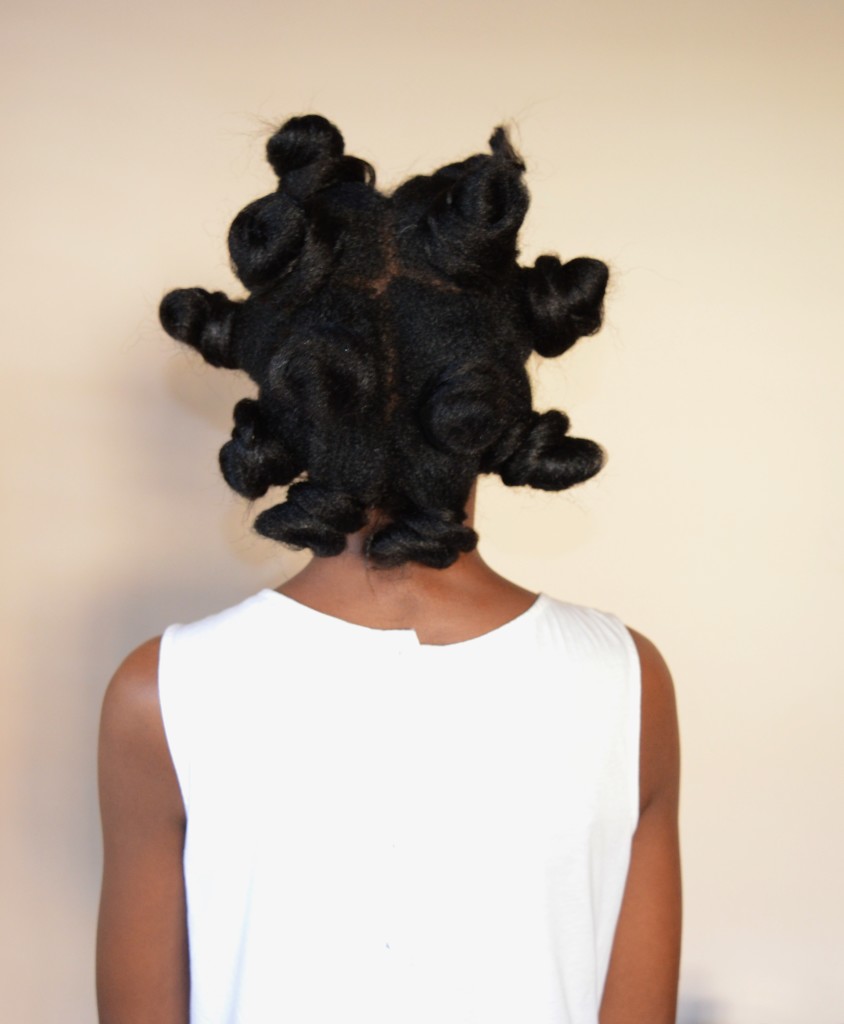
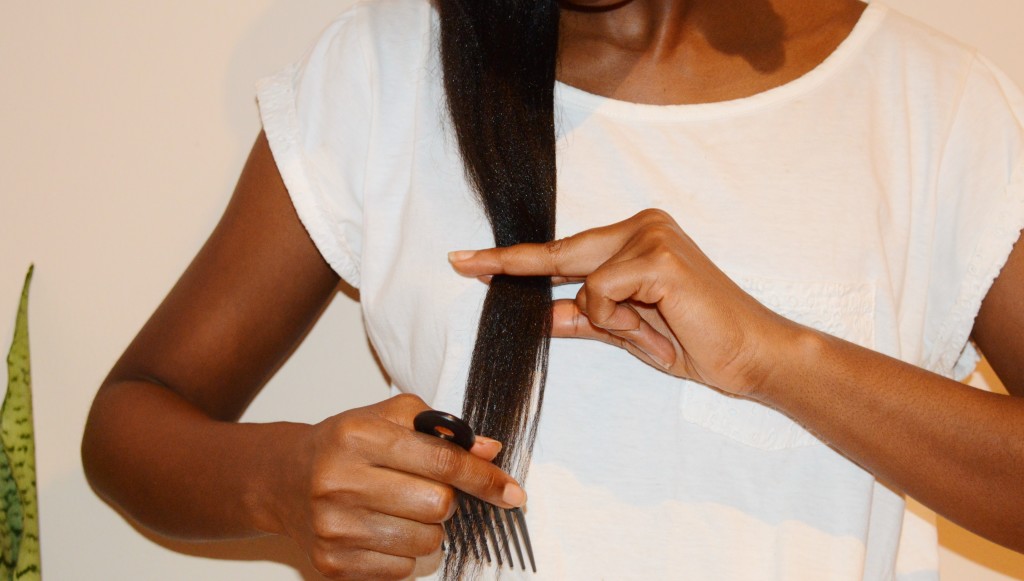
My Scissors and My Ends

I have tried and failed to buy hair scissors in Nigeria because the stores I buy my products from always seem to be out of stock.
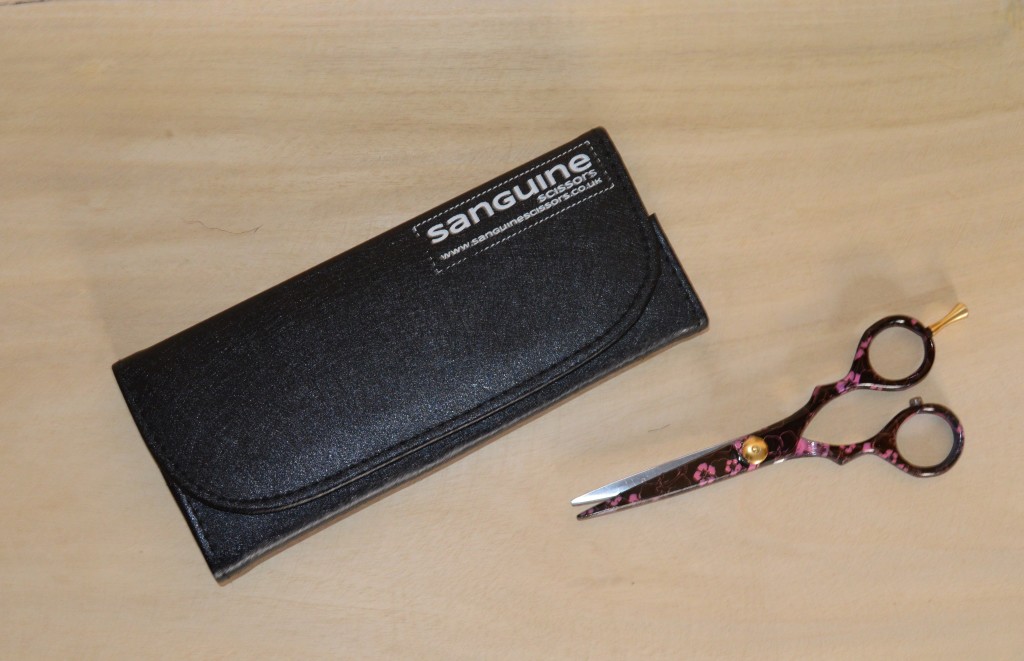
I attended a Beauty Expo late last year and tried to purchase one there but the international company selling the scissors were very high end ( the cheapest one they had was on sale for $130 and I wasn’t willing to spend that amount). So I went on to good old Amazon UK and ordered one which at the time was on sale for £14. I think is very generous given the quality.

DSC_4161
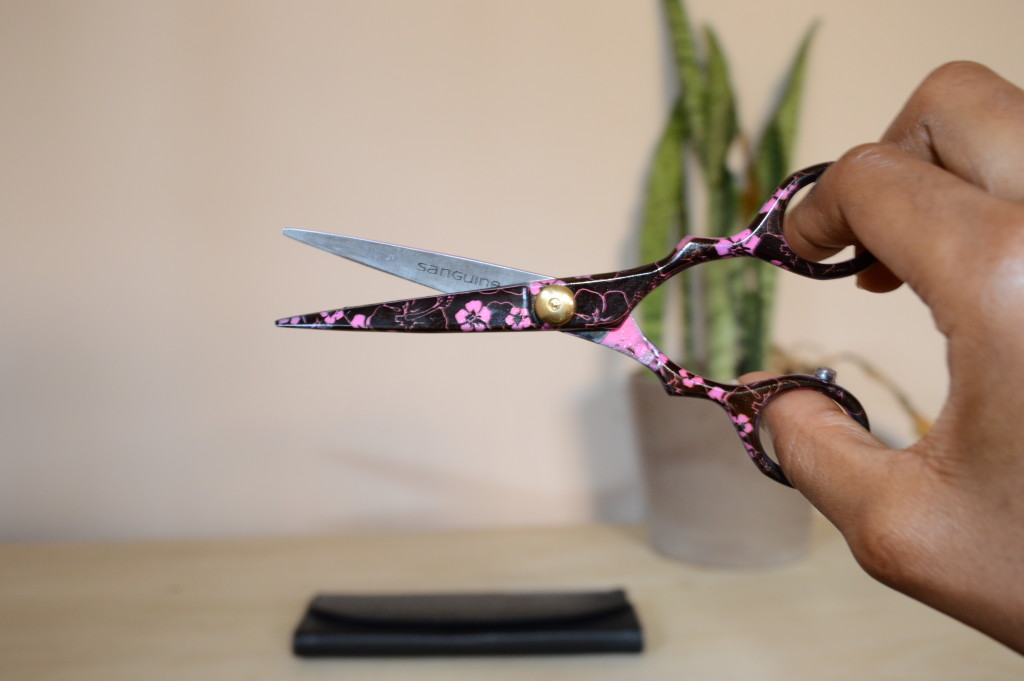
What I love most about the scissors if the little gold circle/dial on the blades which I can rotate to increase and decrease the tension/tightness of the scissors. If the tension of the scissors isn’t right it will bend or fold the hair as it is being cut. It was when I did a little research on the importance of being able to adjust the tension of a hair scissors that I realised that I had actually purchased a really decent one.

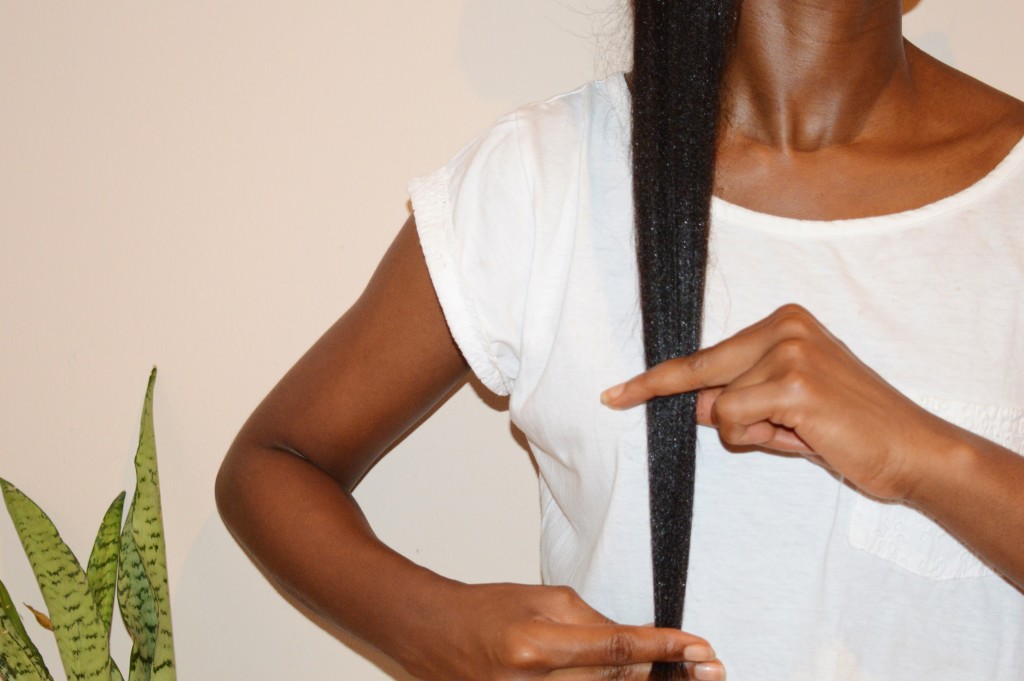
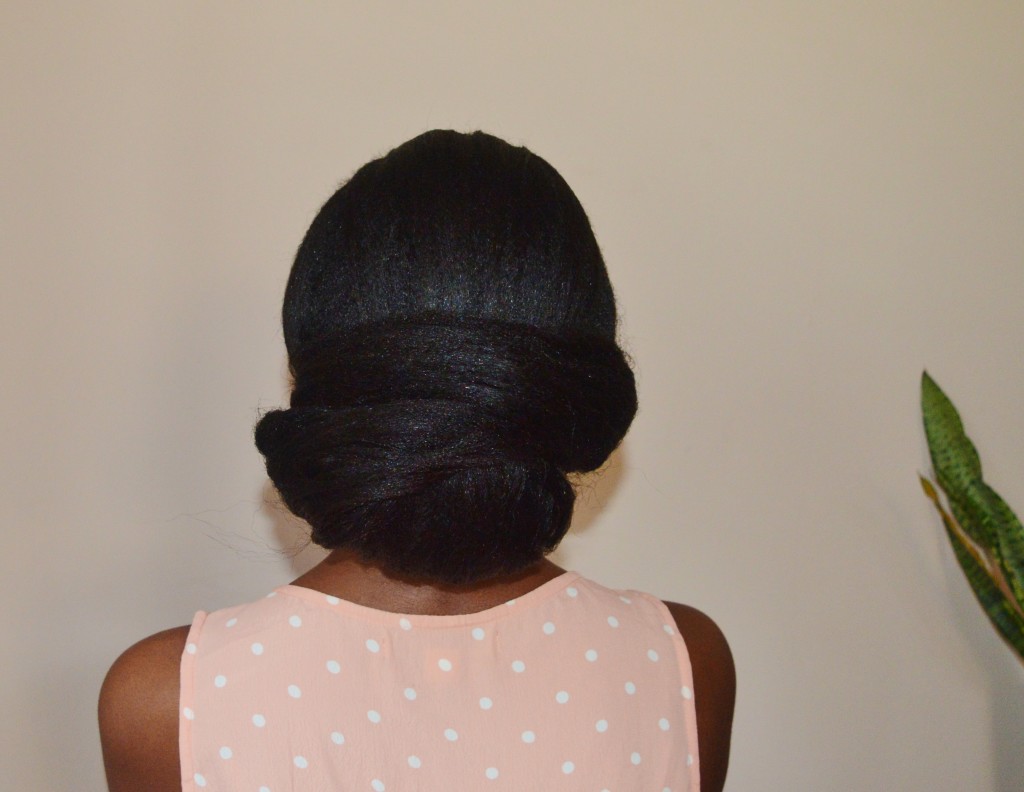
I have used it twice so far and I really can see a difference. My ends look very neat and seem to be absorbing and holding moisture better which are a sign of healthy ends. I also find that I have that nice fresh trim look for much longer compared to when I was using blunt hair scissors.


A decent quality and well cared for scissors will help you retain more hair ( if length is one of your hair goals).  If you sell or know where to buy good quality hair scissors in Nigeria please do share.

I hope you have found this post informative. My next post will be my one month post relaxer update. Come back soon.

X

Lade

Learn | Change | Grow

How I Self Trim My Hair

Hello ladies

This post is long overdue and I actually did write it a while ago but one thing led to another and I’ve just managed to find the time now to post it. Thanks for putting up with me.

I have written a post about trimming and my view on how regularly we should trim which you can find here. I self trim my hair most relaxer days and when ever I feel my ends are too old and weathered or have split ends.  It is a very simple process and has worked for me over the years.

Step One – Use a good hair scissors.

I will write a post on the importance of using a good hair scissors in a separate post soon. I purchased my current one last October on Amazon and it is so fab.  But to be hones it chose it because I thought it was cute.

DSC_4162

Step Two – Section Hair

I tend to part/section my hair in 10 to 12 sections which I keep separated with kids hair bands or in loose bantu knots like the picture below.

Step Three – Detangle and Comb

I take down one section and detangle it thoroughly before combing with a small comb (I never use tiny fine tooth combs).  The comb I am using in the picture below is the smallest size of comb I use on my hair.  anything smaller will cause too much stress to my texlaxed hair.


Step Four – Smoothen and Keep Straight

I use my fingers to further smoothen and straighten the section of hair that I am working on.  I look at the ends of that section and decide how much needs to be cut off.

Step Five – Trim

I trim the section.  I am usually standing in front of the mirror when I do this and make sure I keep my head straight.  I tend to trim about 1 to 1.5 inches depending on how thin my ends have gotten and what needs to be cut off.


Step Six – Repeat

I follow repeat step one to step five on each of the other sections. When I am done with each section, I comb my hair down and level/even out the ends if necessary.

I hope someone finds this posts helpful.  Are there any self trimmers out there?  How do you trim your hair?
My next post will be a quick post about the importance of good hair scissors and how it can actually help you retain hair.

Happy hair journey

x

Lade

Learn | Change| Grow

MARCH BUN OF THE MONTH PICTORIAL

Hello ladies

I hope you have been well.
A few of you wanted to know how I created last month’s bun and so I did this quick pictorial showing how it was done.

In this pictorial I had not combed my hair for two days, my hair was simply finger detangled.  I always encourage my clients and readers to avoid daily combing and so I thought it would be good to show that hair that hasn’t been combed can still be styled and look neat if it has been detangled well.


DSC_3085

I have been enjoying creating the posts for the bun of the month series and I hope you are enjoying them too.

My next blog post is about how I self trim my hair and it should be up this weekend.

Stay blessed and happy hair journey.

x

Lade

Learn | Change |Grow