BUN OF THE MONTH

Hello ladies


A few weeks ago, I styled my hair and took a few pictures for my bun of the month series but it was a massive epic fail.  My hair was 21 weeks post back then and the style just didn’t look right or photograph well.

Now that my hair is freshly texlaxed, I made a second attempt at creating a super quick and cute looking bun although the style I ended up with is sooooo different from what I was going for.


DSC_3083 DSC_3085 DSC_3087 DSC_3090

Unfortunately I haven’t managed to fit in the pictorial showing how I created this style but I am happy to do and post it if anyone is interested.  If you are, please let me know by commenting below.

My next blog post will be about how I self trim my hair  followed by a quick tip I have for blow drying with heat.
Come back soon

x

Lade

Learn | Change | Grow


RELAXER UPDATE

Hello Ladies,

I am back with my first relax/texlax this year. I relaxed my hair after a 5 month and 4 days stretch. The stretch went well. I made more effort to keep my hair moisturised and didn’t push back any wash days and my hair feels and looks better than it has in a while.


I followed my usual relaxer/texlax day routine which I have discussed before but i will set it out again in this post . On my texlax day I complete the following steps:

  • Divide my hair in 5 section, 2 at the front and 3 at the back
  • I detangled each section thoroughly and this took hours by the way.
  • I applied black castor oil mixed with olive oil to my scalp and hair from root to tip.
  • I mixed 3 quarters of my relaxer ( Organic Root Stimulator Olive Oil Relaxer Normal Strength) with 2.5 teaspoons of olive oil.
  • My sister applied the relaxer to the new growth in the back sections. It takes her 6 minutes max. When she was through I applied the relaxer to the front new growth and this also takes me 6 minutes max
  • I smoothen the relaxer into my new growth for 5 minutes ( I DO NOT use a comb to smoothen or comb the relaxer through my hair)
  • After the 17 minutes are up ( 12 minutes application plus 5 minutes of smoothening) i rinse thoroughly and shampoo with a neutralizing at least three times to make sure all the relaxer is removed.
  • I then proceed to deep conditioning, leave-in conditioning and blow drying.
  • I then took a few pictures to share with all you lovely ladies 🙂


Please note that this is what works for me and helps me achieve the degree of texture release that I like.
If you would like to use my methods you are welcome to BUT please make necessary adjustments to suit your hair, for example if you stretched for 3 months you won’t have as much new growth and may need less relaxer. Or if your hair is not as coarse as mine you may need to decrease the application and smoothening time.

I will be trimming off about two inches on my next wash day because iv e got to keep my ends in shape and they need a trim. Overall it was a good texlax day and I on to the next stretch. I am glad to have my hair out for a while, I had missed it.

How are your hair journeys going? Have you relaxed your hair recently? How did it go?

x

Lade

Learn | Change | Grow

FAQ No 2 – How Come You Don’t Leave Your Hair Down

Hello ladies

I hope you are well. This post is the second in the frequently asked questions ( about my hair) series. Many ladies don’t understand why I hardly ever where my hair down and sometimes even I ask myself that same question.


faq collage

Thinking about it there are three main reasons why I keep my hair in buns and up-does .

  • I would have to keep fixing it. Unless my hair is roller set or heat styled, it tends to look dishevelled very quickly when I leave it down so I would have to keep brushing, combing, adjusting and fixing it. I am too lazy when it comes to hair styling so a quick bun seems like the perfect option for me. Hair down for me just means hassle.
  • Black hair and protective styling go hand in hand. Black hair tends to thrive when it is worn in protective styles more often than it is worn down. Our hair (especially the ends of hair) is delicate and needs protection from harsh weather, rubbing/friction on clothes and upholstery and from wear and tear of styling and combing, etc. A simple hair style that can be created with very little manipulation (very little combing and brushing) is best for our hair.
  • I genuinely love and prefer bun and up-does
    I think they suite me better and I prefer them on me. I think every outfit, shoe bag accessories…everything looks better with a bun in my opinion.


So now you know why I where my hair up the vast majority of the time.
Coming up next is my relaxer update post.

Happy hair journey ladies

X

Lade

Learn | Change | Grow


AIR DRYING – How To Do It Right

Hello Ladies,

Sorry for the mini hiatus. I am back with this quick but really educative post about air drying. Air drying my hair on wash days used to be a taboo to me before my hair journey. After I started my hair journey however it is something I still do and highly recommend if healthy hair is goal. In this post I will explain what air drying is, its benefits, some of the cons of air drying and techniques and tips for air drying.

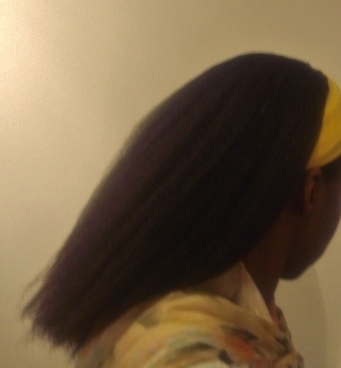
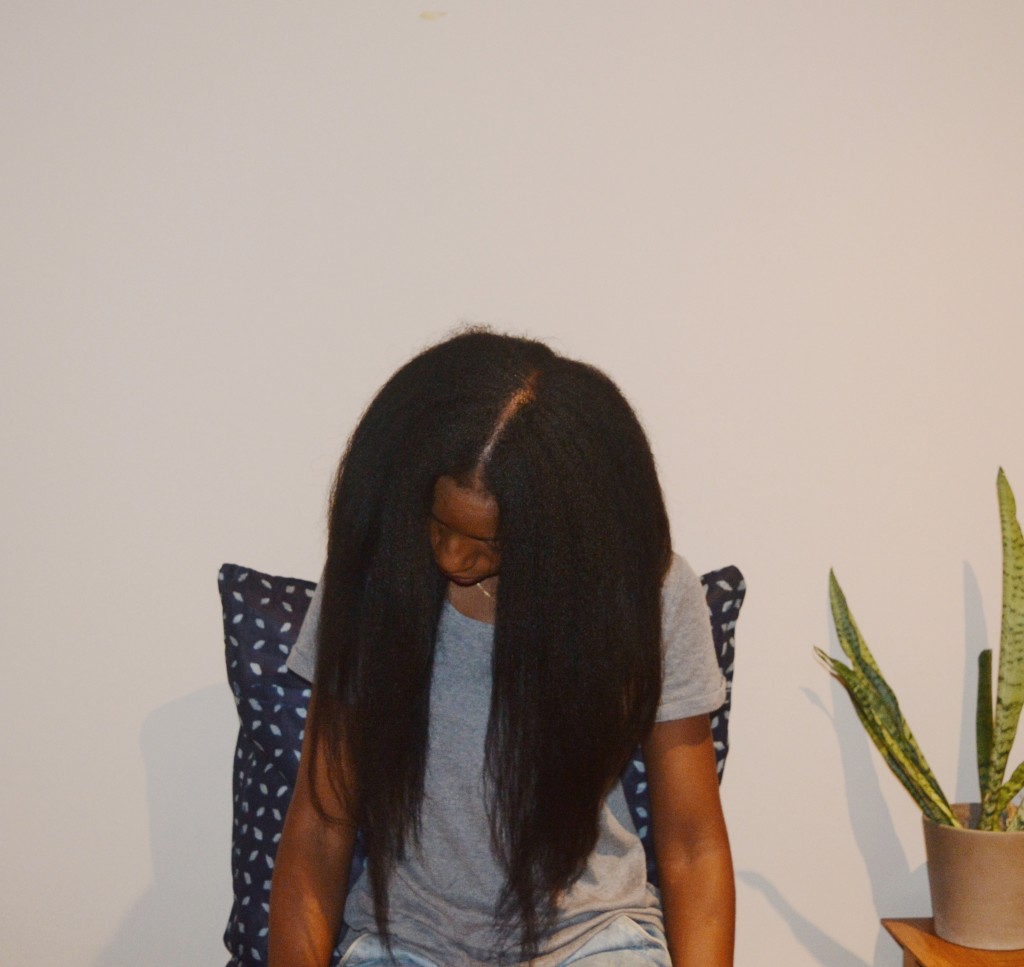
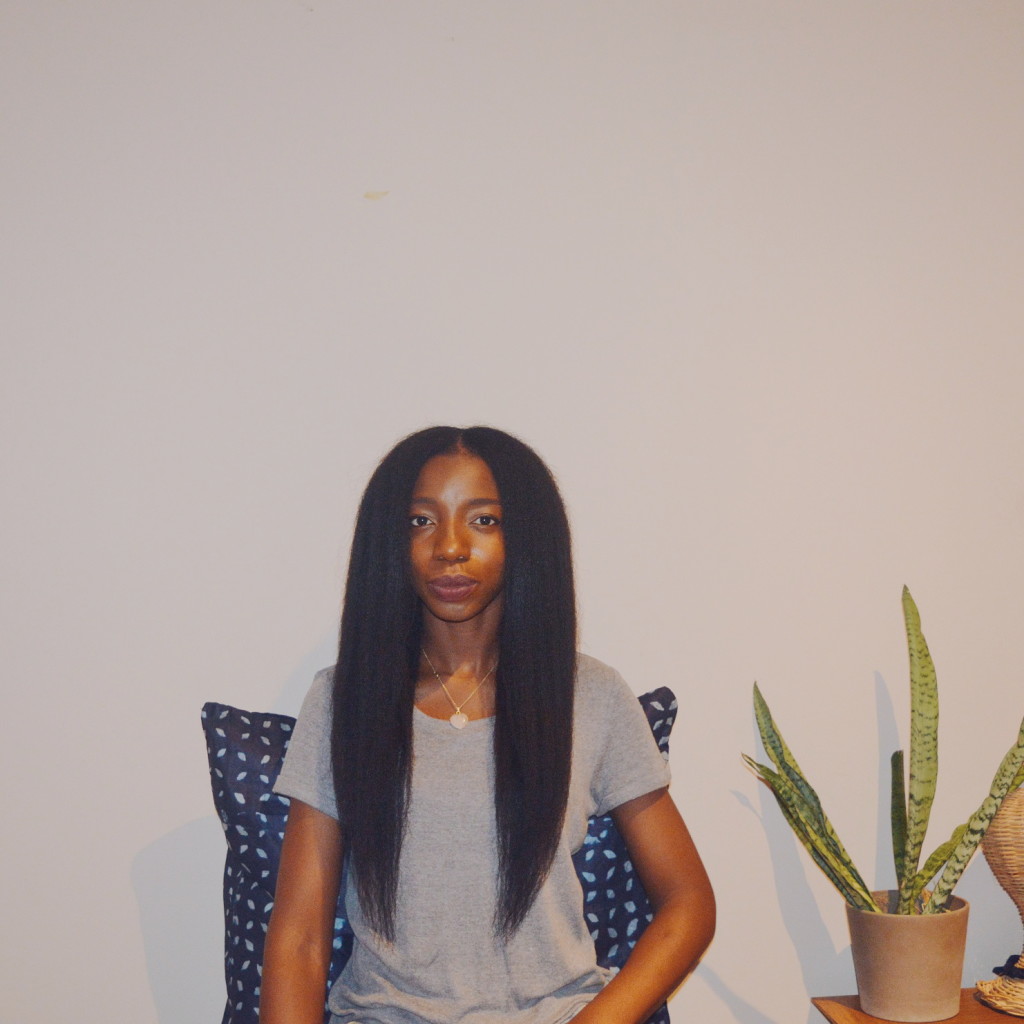
Throwback to me air drying my hair early on in my hair journey (picture taken in December 2010)


What is Air Drying

Air drying simply means that you allow your hair to dry on its own after deep conditioning or co-washing. Instead of blow drying or roller setting, you simply let good old air dry your hair.


Why Is Air Drying Good for Hair

  • Direct heat from blow driers tend to dry hair very quickly and aggressively and this can damage the hairs outer layer. Over time and regular blow drying with heat can cause this out layer to chip off gradually leading to damaged and weaker hair. Air dry will prevent all the above and with time can lead to stronger, healthier and thicker looking hair especially at the ends.
  • Air dying also allows your hair to retain more of its internal moisture which will help it retain its elasticity and softness. Blow drying with heat on the other hand will deplete your hairs internal moisture and cause hair to become drier and more brittle.


Cons of Air Drying

  • Time- allowing your hair to dry on its own will certainly take longer than when you use heat from a blow dryer or hood dryer. This sucks if you are in a rush…unless you don’t mind going out with damp hair.
  • Sleekness- air that is air dried is usually not as sleek and shiny as hair that was blow dried or roller set. Some ladies actually find that their air dried hair can look frizzy and poufy but this can be avoided if you follow the tips provided below.
  • Air drying can lead to tangled and rough hair if proper techniques are not followed.  Again, please see the tips provided below.
DSC06801

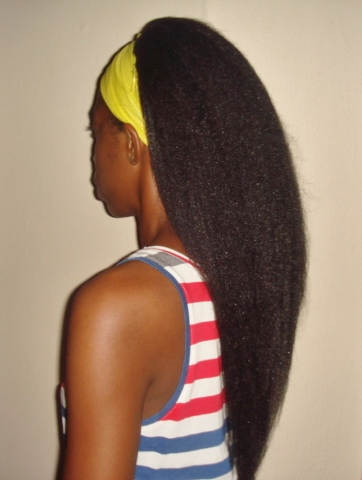
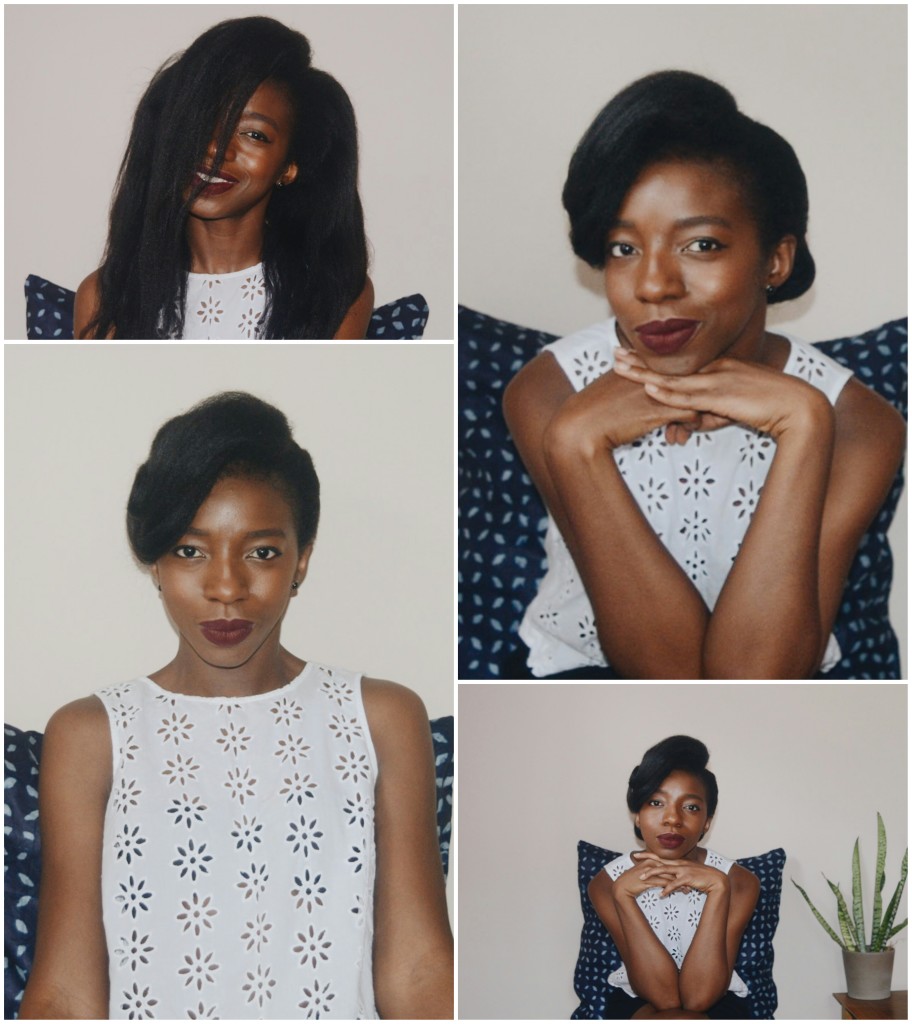
Still air drying my hair later on in my hair journey. This was taken in late 2012. Air drying was a major help for improving the health and feel of my hair so it got stronger and longer

How to Air dry – Tips and Techniques for a Smoother Air Dry

  • After rinsing out your deep conditioner or co-wash conditioner, wrap hair in a cotton tee-shirt for a few minutes to absorb water.
  • Detangle your hair gently in sections and apply your leave in conditioner(s), ensure your ends get their fair share of the products. You can smoothen your hair by combing it gently in sections with a medium or small sized comb ( do not use a fine tooth comb)
  • A few drops of your hair sealant ( eg,olive,coconut, jojoba, almond, grapeseed oil,) to your palms and smooth it over your hair especially the ends. The leave in products and oil will help to keep your hair looking smooth and feeling soft.
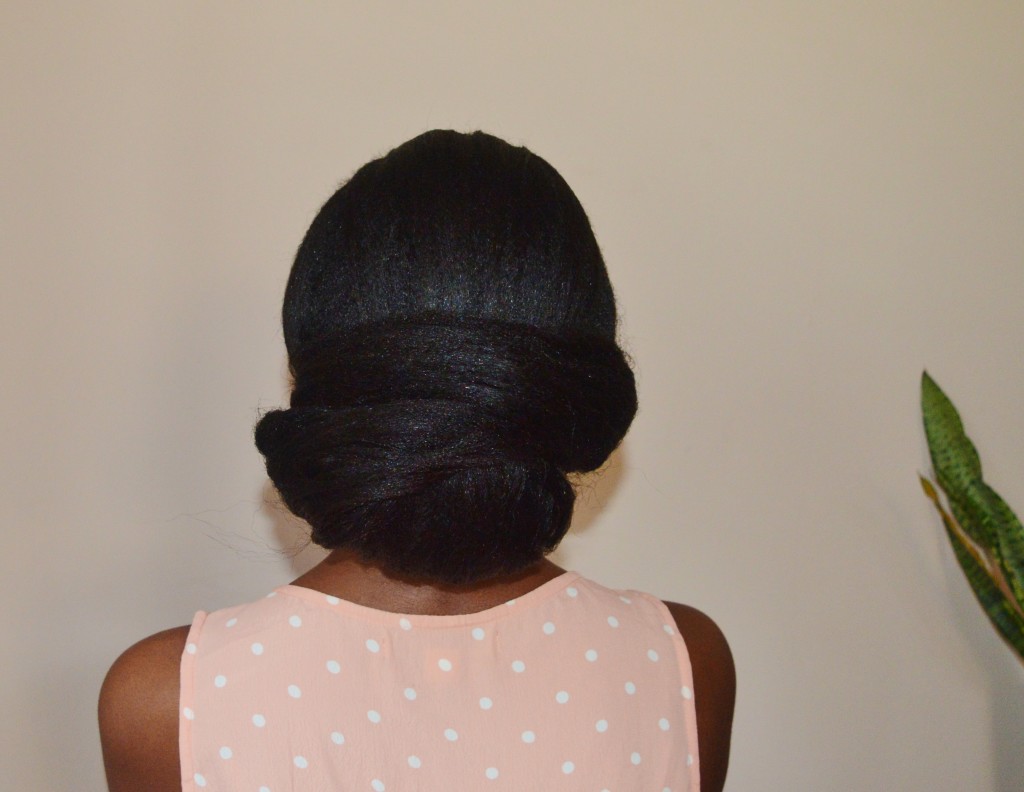
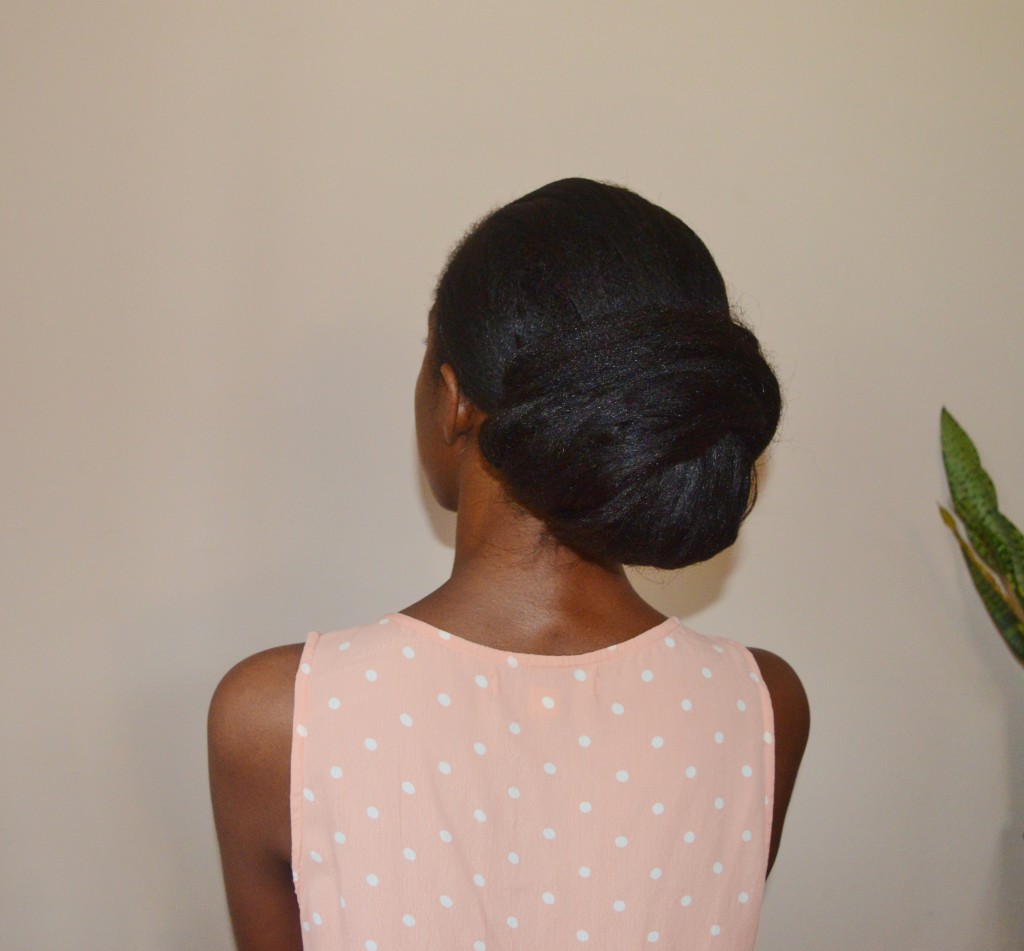
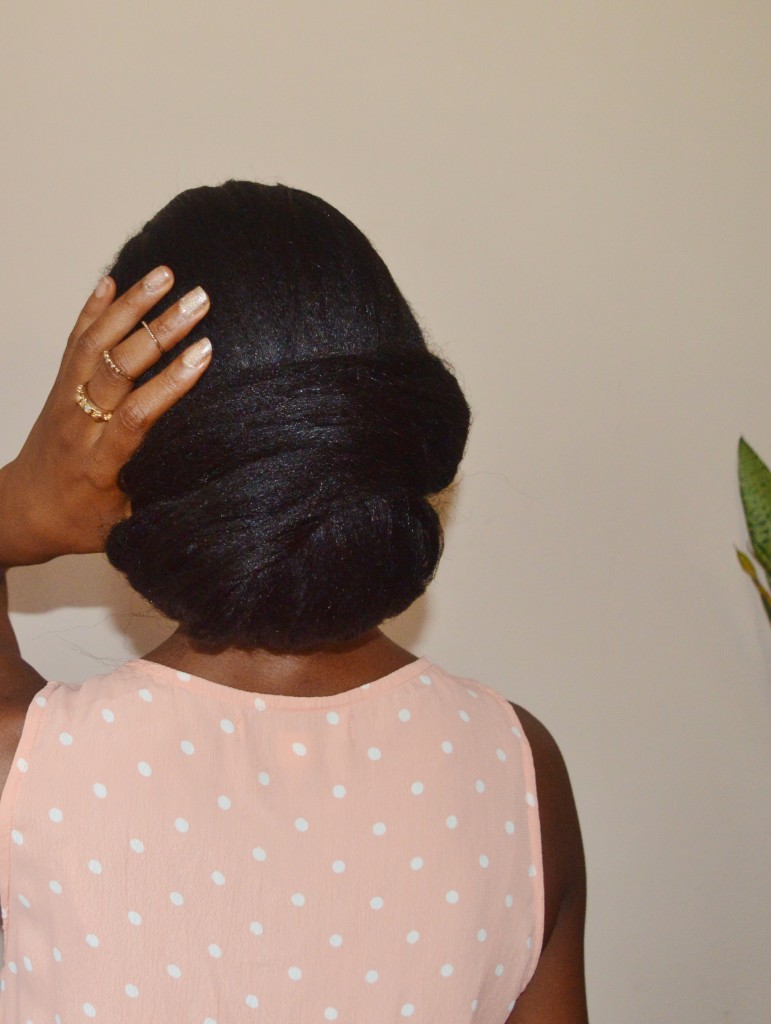
  • Keep your hair in confined or organised. If your hair is natural simply put it in large or medium sized twists or box braids. If your hair is relaxed you can put it in a simple bun or ponytail.Alternatively you can do what is known as the scarf method where you tie a satin scarf around the perimeter of your hair after combing it backwards.   This will get your edges smooth flattened. Keeping your hair organised and confined whilst it is air drying will produce a smoother or more tamed result.


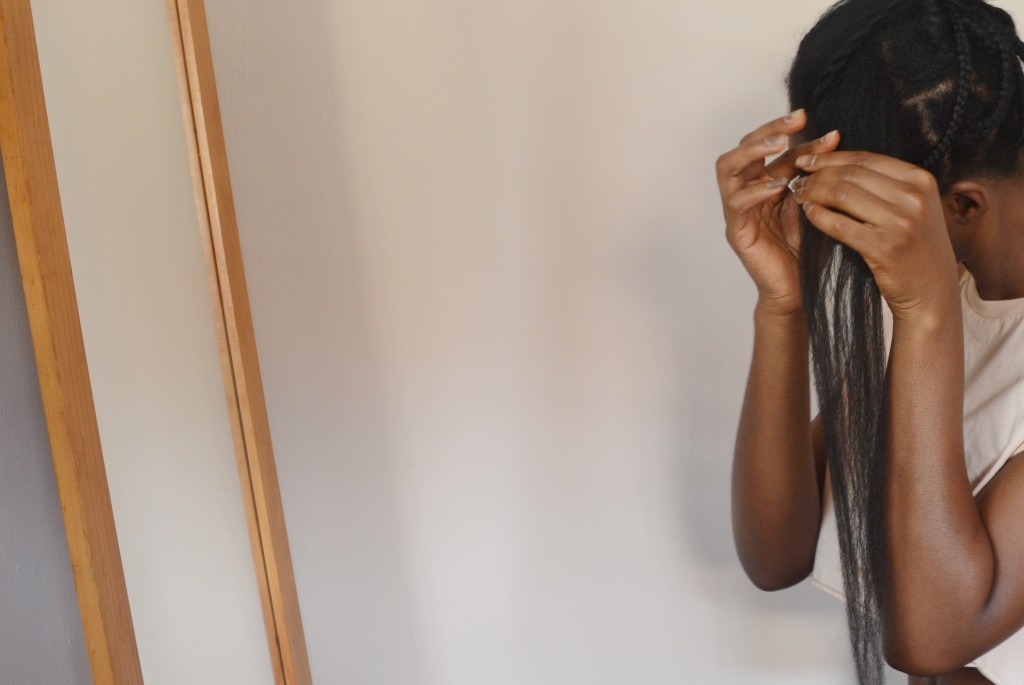
Another method I sometimes use to air dry my hair is the banded base method ( see the picture below) which i have explained thoroughly in a previous post which you can find by clicking here.

IMG_5998

Air drying is a major contributor to the success of my hair journey and I hope this post has encouraged you to try it or stick with it. Is this how you air dry? If you have a different techniques please do share!

My next couple of posts will be a continuation of my FAQ and Bun of the Month series. See you soon.


X


Lade Learn | Change | Grow


NEW QUICK TIPS SERIES

Hello ladies,

I currently have two series (the bun of the month and Frequently Asked Questions series) on-going on Hairducation at the moment.
I decided to add a third one called quick tips. As the name indicates, the series will give very helpful tips which may not seem to be important but can make a significant difference on a hair journey. The posts will also be super short so I can crack them out easily and you can grab the gist of them quickly.


Quick Tip 1 – Mirror Mirror On The Wall

DSC_2467

Detangling my hair whilst putting it in box braids. As part of my wig regimen, I put my hair in box braids so my wig can sit well.


The first quick tip I would like to share is to have a mirror nearby when detangling your hair. Our fingers are good at finding and removing tangles but some tangles can be tight and difficult to remove. Being able to see the knot in the mirror  whilst undoing the tangle will make it easier  to separate the matted strands without loosing too much hair.
Remember less breakage equals thicker and longer hair.

I hope you have found this quick tip helpful.

Happy hair journey

x

Lade

Learn | Change | Grow