OILS ON A HAIR JOURNEY


shea butter


Hello ladies

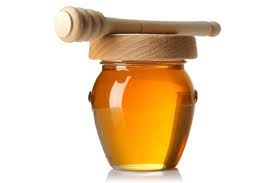
I hope the month of March has been good to you all.  As promised this post is all about oils and natural butters.

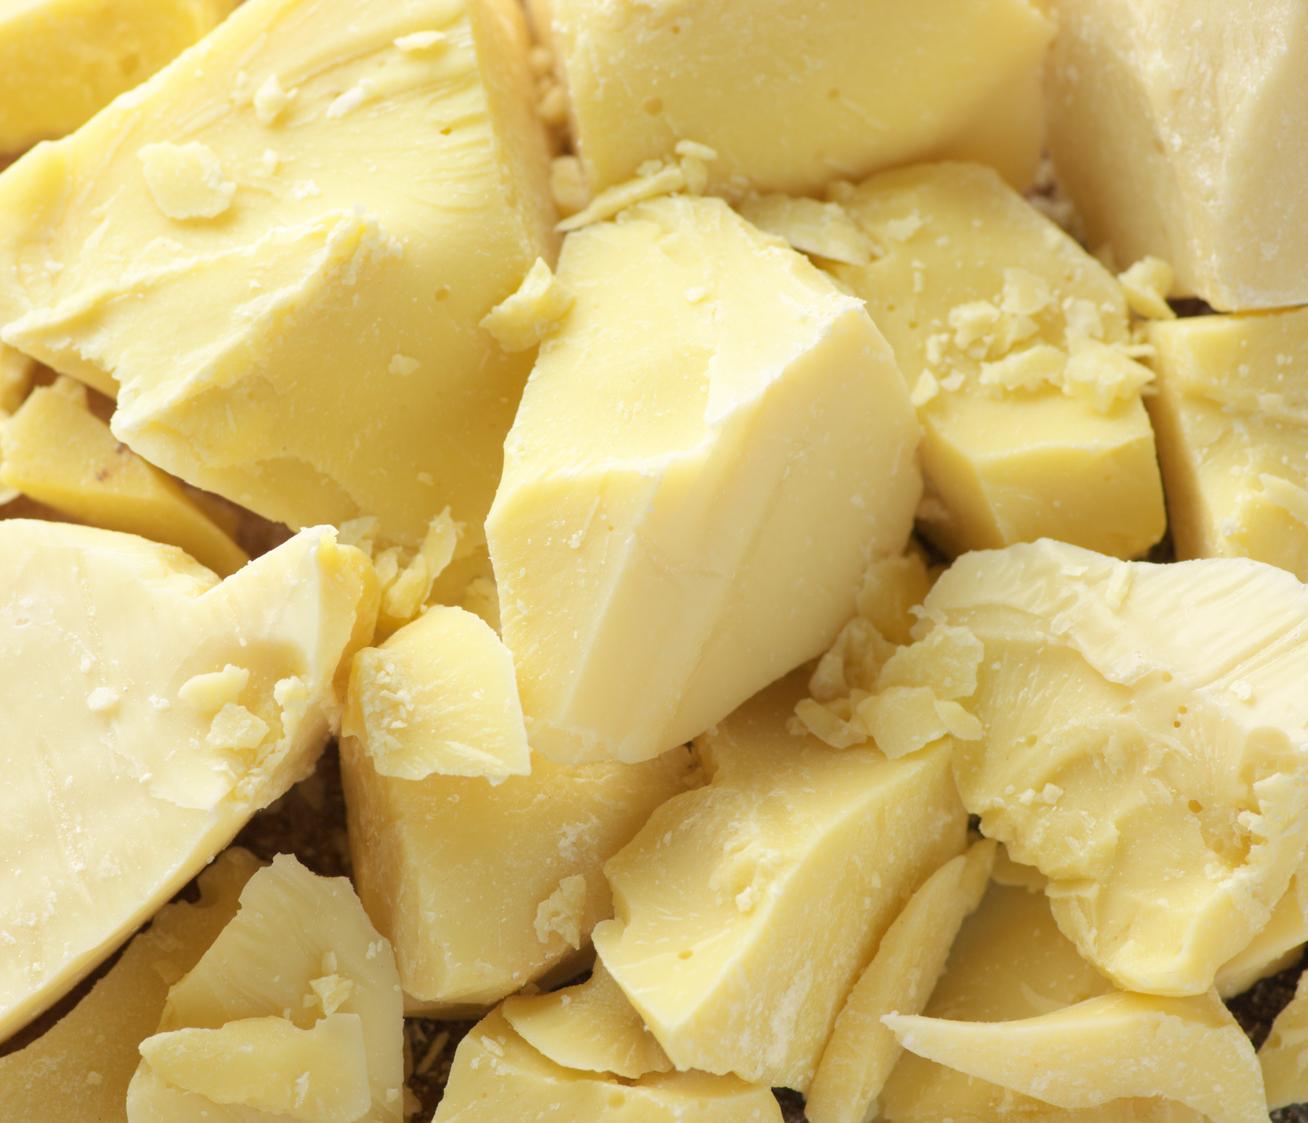
Natural oils and butters (shea butter, have so many great uses in a hair care regimen. I decided to dedicate this blog post to sharing what these uses are and hope that readers will be encourage to use natural oils more in their regimen.


WAYS TO USE OILS ON A HAIR JOURNEY


Oils as a pre-shampoo treatment
Oils are great for lubricating our hair strands which helps with detangling prior to washing. I recently wrote a blog post about the benefits of pre-pooing and using oils as a pre-poo. Please see the post here.


Mixed in with deep conditioners 
Various oils are packed with so many beneficial properties that are great for our hair and scalp.

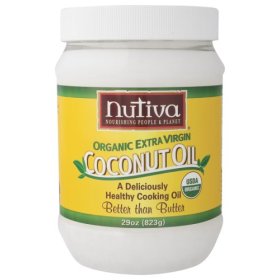
For example coconut oil has a molecular structure that allows it to penetrate our hair where it binds with the protein and helps to reduce protein loss.   Hair that has lost too much protein will become very weak and break easily.   Coconut oil therefore helps to keep our hair healthy and strong from within.

Black castor oil has its anti-inflammatory and anti-bacterial properties and may help with problems like hair thinning and hair loss.

Adding a teaspoon or two of these oils to your deep conditioner will contribute to the health, smoothness, shine and strength of your hair.


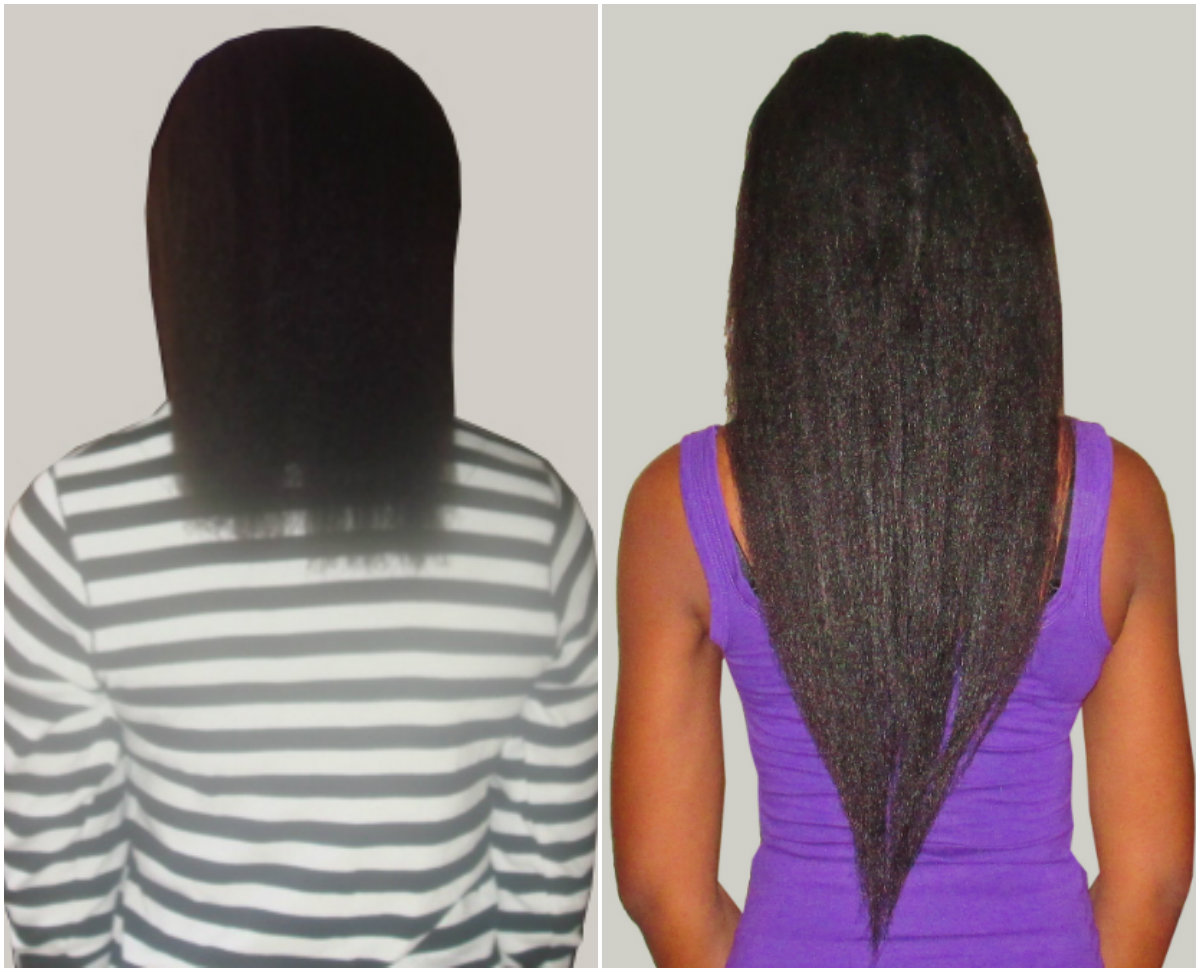
Protect ends and scalp during relaxing
For ladies who relax their hair, it is very important to protect our scalp from direct contact with the relaxer to reduce the risk of scalp burns. It is also important to protect previously relaxed hair from the relaxer.

When relaxer is being washing out of our hair, it will come in contact with our previously relaxed length. Rinsing out relaxer takes time and it runs through the previously relaxed hair for several minutes whilst being washed out. This is enough to begin to process the hair. Over the years this can lead to over processing of the previously relaxed hair.
By applying oil to our scalp and previously relaxed hair we create a barrier which slows down the effects of the relaxer on our scalp and on previously relaxed hair.
When texlaxing my hair, I prefer to use a heavier oil such as JBCO, olive oil or a butter such as Shea butter to protect my scalp and previously relaxed hair. Some ladies simply use good old Vaseline.
Weaken relaxers for texlaxing
Following on from above, oils can be mixed in with relaxers to weaken its strength and straightening ability. This is commonly done by ladies who wish to texlax their hair. I tend to dilute my relaxer with 2 teaspoons of olive oil.


For Shine
Rather than using a hair sheen spray that contains a lot of synthetic ingredients, a few drops of coconut oil can provide amazing shine.
coconut-oil-for-hair-02


Scalp Massages
There are many scalp friendly essential oils we can indulge in.
Rosemary essential oil is one of my personal favourites. With regular use of rosemary oil helps to stimulate our hair follicles which encourages hair growth. It is also believed that rosemary oil slows down premature hair loss and graying of the hair.
Tea tree oil is known for its anti viral and anti bacterial properties. Lavender and peppermint oils are examples of other essential oils popular with ladies on a hair journey and that have great effects on our scalp.

2 to 3 drops of these oils can be mixed in with a teaspoon of a carrier oil like olive, coconut, almond, JBCO, avocado oils. This can applied lightly to your scalp for a tingling and refreshing scalp massage. Alternatively, you can add a few drops into your shampoo and deep conditioners.
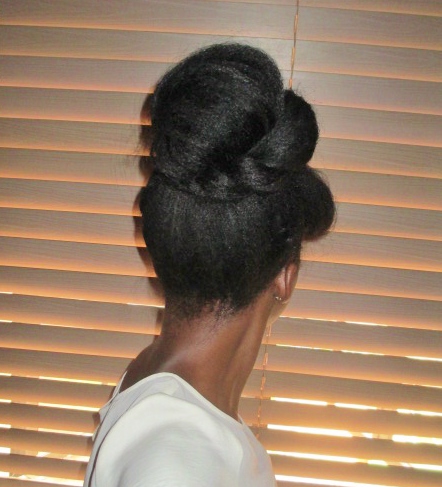
 

To seal in moisture
As part of our hair regimen moisturising usually goes hand in hand with sealing.

As our hair ages the cuticle layer( the outermost layer) is not as compact as it was when the hair first grew out of its root. This porous state of our hair especially at the ends means that it absorbs moisture fairly quickly but this moisture also exits or is evaporated form our hair very quickly.
This is why sealing with an oil plays an important part by slowing down the evaporation of the moisture we have put in our hair. Coconut and olive oils are great for sealing.
Some ladies with natural or very thick relaxed hair prefer to use something heavier like Shea butter or castor oil to seal.


I am sure majority of you use oils or hair butters in your regimen and that it does your hair a world of good. Please share what types of oils you use and how you use them in your regimen. A fellow reader will definitely learn from you.

I have a section on Hairducation in which I share how I grew my hair with wigs but realise that I haven’t dug a little deeper into the techniques of my wig regimen and why I believe it works for me and so many other ladies. In my next blog post I will do just that. Come back soon

X

Lade
Learn | Change | Grow


PICTORIAL: Love on Top


Hello ladies

I hope you are all enjoying your weekend.  This pictorial post is short and sweet.  It is a very simple but cute style which unfortunately didn’t photograph as well as it actually looks in person.   I wish my hair was not as weighed down from all the olive oil I’ve been sealing with.  As a minimum I hope the pictorial gives you the gist on how to create the style.

           THE PICTORIAL: Faux Bob with a Love on Top, Literally

Love on top

 The back section does not have to be worn as a faux bob.  You can leave it down but I wanted to show the style in its most protective form.


love on top 2


Not that I have a Beyoncé theme or anything, but I was going to create some form of halo with the front braids but ran out of time.  I am sure so many of you will be able to come up with more creative versions of the style.  Please share your ideas.

My next blog post will be about oils, oils, oils…… and hair butters.  I will be sharing why and how oils and butters are so beneficial on a hair journey and can make a real difference to the look and feel of your hair. From texlaxing   to wash days ,every step of my hair regimen includes some sort of oil and I will be sharing some of my personal oil combos I use on my hair.

Come back soon ladies.

x

Lade

Learn | Change | Grow

FIGHTING SCALP DRYNESS – Moisturising versus Oiling


Scalp oiling

Hello Ladies

Scalp dryness is a common problem amongst so many ladies and I believe so many of us routinely oil our scalp because we believe it is essential for hair growth and to prevent scalp dryness.

In this post I will give a brief overview on our scalp structure, causes of scalp dryness and how to prevent it.


SCALP STRUCTURE

Like the skin on our bodies, the skin on our scalp has three layers which are the epidermis, dermis and subcutaneous layer. The epidermis is the top layer and is the part that we see hair growing out of.
Our scalp is naturally moisturised from within by water being pushed up to the epidermis from the deeper skin layers. Our skin also produces a natural oil called sebum. The sebum reaches the surface of our scalp through our hair follicles. Sebum’s function is to stop our skin from becoming excessively dry by preventing moisture loss.


CAUSES OF SCALP DRYNESS

Common causes of scalp dryness include

  • Not drinking enough water.
    If you are not drinking enough water, your body will send the water that you do consume to your vital organs first. Drinking enough water will ensure that an adequate amount is sent to your scalp helping to keep it hydrated from within.
  • Insufficient sebum production
    The amount of sebum our scalp produces can be affected by various things such as genetics, hormonal imbalances, medications, skin diseases, a poor diet etc. Whatever the cause, insufficient sebum production leads to moisture being lost or evaporated from our scalp quicker than a person who produces adequate amount of sebum resulting in dryness.
  • Using Harsh Products or Reaction to Ingredients in Products
    Harsh ingredients in hair products can leave the skin on our body and scalp feeling dry.  Also please remember that some people just react to certain ingredients even if it is a natural or organic product.
  • Build up of shed skin, dirt and product residue
    The skin on our scalp (like the rest of our body) sheds and flakes off, however if we do not clean our scalp regularly to remove shed skin, product residue and dirt build-up, it will simple pile up on our scalp leading to dryness, itching and other scalp problems.


RELIEF FOR SCALP DRYNESS

  1. Drink Up
    Consume enough water and have a balanced diet so that you give your body what it needs to moisturise and keep moisture locked in.
  2. Clean Up
    Ensure that your scalp is cleaned regularly either by using a gentle shampoo, co-washing or other means. The aim is to remove build up and actually moisturize your scalp skin externally by bringing it into direct contact with water. This is actually the best way to externally moisturise your scalp. Remember oils do not moisturise, they help to seal/lock in moisture.
  3. Experiment with New Products
    It may be that the products you are using might be harsh for your scalp or perhaps your skin simply does not react well with some ingredients in your products. If possible you can try other well recommended brands or an alternative natural product, eg switching from coconut oil to olive oil.
  4. Light Oiling
    If you find that despite regular cleansing (and using gentle products) your scalp still feels dry, it may be that your scalp may not be producing sufficient sebum to keep the moisture locked in. If this is the case a very small amount of a very light oil such as Jojoba oil can be applied to your scalp and massaged in. If like me you have heard rave reviews about a very heavy oil like JBCO ( Jamaican Black castor Oil) and would like to apply it on your scalp I would advise that you either use very little at a time or can dilute the thickness using jojoba or maybe coconut oil.

Scalp oiling is NOT necessary for hair growth.
Our scalp is designed to be moisturised naturally, if you do have dry scalp despite or simply out of habit feel the need to oil your scalp it is okay to do so HOWEVER try to use natural oil that a light and do not apply so much that you clog your hair follicles.


MY SCALP & I

IMG_6608

Depending on how busy I am, I apply oil to my scalp once a week but I do this as part of my scalp massage rather than to fight dryness.

I have gone through periods when I have not applied oil to my scalp for months but my scalp and hair is fine because I keep it clean and moisturised.  In the picture above my scalp has not been oiled for one month.
My scalp only becomes dry and itchy when I haven’t washed or cleaned it for 2 weeks +, i.e. when it is dirty.

I hope you have found this post informative and helpful.  Do you oil your scalp? If yes do you do it out of habit or to combat scalp dryness.  Share your experience ladies.

The next post will be a hair update post.  My regimen basically went out the window ad I have some explaining to do.

Come back soon

x

Lade

Learn | Change | Grow


THE BENEFITS OF PRE-POOING


Hello again ladies

Now this is a first, two posts in one day.  I am super tied up for the next few days and decided to crack on with this blog post whilst I have the time.

My wash days always start the same way; with detangling and pre-pooing to before washing. Pre-pooing is simply a pre-shampoo treatment which helps to prepare and protect my hair during the washing process. Pre-pooing isn’t an essential part of a healthy hair regimen however it is a practice completed by many ladies on a health hair journey. There are some ladies however who also have success on their hair journey without pre-pooing. In my opinion the benefits are worth it especially because it is not too time consuming.

I hope to keep things short and sweet in this post. I will share the benefits of pre-pooing, examples of pre-poo formulas and methods of pre-pooing.


Benefits of Pre-Pooing

  • Applying the pre-poo whilst detangling will lubricate your hair which will make removing the knots and tangles easier. It reduces breakage whilst detangling by softening the hair fibre and making it more elastic.
  • It helps to soften dirt and debris on hair fibres so that it slides off easier during the washing process
  • Helps reduce cracking and damage to the hair cuticles. When our hair is being washed, it absorbs water and expands/increases in size. After washing our hair returns to its normal size however when doing so the outer layer( the cuticle) can crack as our hair dries. Applying as a pre-poo can help to reduce how much our hair swells during washing and thereby reduce the risk of the cuticle cracking as our hair dries.

Pre-Poo Formulas – What Can You use to Pre-poo your hair

There are so many various concoctions used for pre-pooing by ladies the world over. It is not possible to list them all but will list a few options

Oil based
Oils such as coconut, olive, almond oil, castor oil etc. can be used as a pre-poo. Some ladies use a combination of such oils. A few drops of essential oil can be added if preferred.

oils


Conditioner based
A light weight moisturising instant conditioner can also be used as a pre-poo. A little bit of oil can be added to the conditioner.

vo5


Honey Based Mixtures
Honey is also a popular pre-poo amongst ladies on a hair journey. Honey is usually mixed with some oil. Some ladies even use a mixture of honey, oils and conditioners.

honey
Other natural pre-poo options include eggs, avocadoes, bananas, coconut milk, etc.

Methods of Pre-Pooing

A little bit of your pre-poo can be added to your hair as you detangle it in sections. After detangling, you can keep your hair in sections and apply a generous amount of the pre-poo to your hair. You should then cover your hair with a conditioning cap and do either of the following

Option one
Leave your hair covered with the pre-poo for an hour or more before washing.

Option two
Leave your hair covered and apply heat for 15 minutes before moving on to washing.

Are you into pre-pooing?  If yes please share your recipe with us.

The next post will be about oiling your scalp: should you or should you not oil your scalp.  Hopefully my schedule will let me have that post up soon.

Happy hair journey ladies

x

Lade

Learn | Change | Grow 


GROWING BEYOND SHOULDER LENGHT

Before&after1

Prior to my hair journey, my heir ends always seemed to become damaged when I tried to grow it beyond shoulder length.


I am glad I have finally created time to write this post. When it comes to Hairducation I love writing educative posts the most because I believe that it such posts that truly helps ladies with their hair journey.

This post is inspired by all the ladies who have said these famous words ….” my hair gets to a shoulder length and stops growing”.
I assure you I said the same about my hair pre my hair journey.
At shoulder length my hair would have loads of split ends and would become thin from breakage. This resulted in me doing mini-chops on my ends and being back to neck length. This was a cycle for me and I believed that my hair was not designed to grow beyond shoulder length and that if I tried it would somehow become damaged by itself and need to be cut.

If you think your hair has stopped growing at a certain length, it is likely that what is actually happening is that your hair damage and breakage has increased (especially at your ends).
Basically your hair growth has remained the same but you are experiencing breakage at your ends which makes it appear as though your hair has stopped growing and is stuck at shoulder length.

What I hope to do in this post is show how our hair care and hair styling habits at shoulder length causes so many of us to experience breakage which we what we think is stagnant hair growth. The aim is that making readers aware of the points below will help them move past this length.

Common Causes of The Shoulder Length Hump

A) Styling Habit 1 – Increased use of heat on the ends alone (heat damage at ends)

IMG_6563

Throwback picture from many many years ago. My hair was fully relaxed shoulder length. I always wore my hair down with the ends curled with a hot iron/curling tong. Sorry about the picture quality its a scan of the actual picture


A lot of ladies are really happy to show off their hair when it has reached shoulder length. I might be speaking for myself but I believe that for many ladies shoulder length used to be seen as long hair “for a black lady”.
Whenever my hair crept to shoulder length I would be eager to wear it down and show it off at every opportunity but I didn’t want the ends to just hang down. I would want the ends to be a little curled so every morning I would comb my hair down, apply a little grease to my ends and use the curling iron on my ends alone. I know so many other ladies who have this habit.
I have discussed the cons of using direct heat on our hair in some of my older posts.
Regular use of direct heat on your ends will cause the ends of your hair to become drier, very brittle and more susceptible to breakage than the roots or middle parts of your hair (ie the parts that you are not heat styling every day). The heat damage will also cause an increase in split ends which means even more breakage and need to trim/cut the ends. This in turn leads to many of us thinking our hair just isn’t meant to grow past this length.


B) Styling Habit 2 – Hair worn down more or exclusively (physical & environmental damage at ends)

Nowadays my hair ends are usually hidden and protected from environmental and physical damage.  I do wear it down sometimes....

Nowadays my hair ends are usually hidden and protected from environmental and physical damage. I do wear it down sometimes….

This is really just a follow on from point 1 above. Protective styling has helped me and so many other ladies move past the shoulder length hump.
When our hair is shorter than shoulder length, the ends are in some ways protected from the friction and rubbing on clothes and scarves or chair backs that occurs with shoulder length.

 
By the time we reach shoulder length, keeping our ends up becomes necessary to avoid or reduce physical damage.
Also ladies who wear their hair down tend to comb and brush their ends often during the day to keep it looking neat. This further increases the physical damage suffered by our ends.

 
By keeping our hair in protective styles we reduce the frequency of physical damage our ends will experience.
Another factor that is to be considered is that the sun, wind, harmattan (this is one my Nigerian ladies will understand) and winter cold can really make our hair, especially at the ends feel super dry. Moisturising and sealing and hiding our ends in protective styles helps to keep them better hydrated, elastic and better equipped to fight breakage.
I am not saying we can never leave our hair down; we simply need to wear it in protective styles more often than we leave it down.


C) Not Updating Your Regimen

One of the many things I was not taught but had to find out from experience on my hair journey was the importance or reviewing and updating my hair regimen. Practices, techniques and products which may have worked for you at one length may not work for you at another length.
as your hair gets longer if you start experiencing more tangles, or maybe your hair seems to be breaking more or just isn’t holding on to moisture as well you should probably switch things up a little.
For example maybe you need to change the type of comb you are using to a bigger one, maybe you need to work in smaller sections, maybe you need to use a heavier moisturising product, maybe wrapping your hair every night isn’t working for you anymore because your hair is longer, maybe you should start shampooing inn sections, maybe you need to review your protein ,moisture balance etc
Simply think of what hair challenges you are facing at this longer length and possible ways of overcoming them. So if your hair seems to not be moving past the shoulder length hump, maybe its time to review your hair regimen.


As always I hope this post has been helpful to someone out there. Are you stuck at shoulder length? What do you think may be the culprit? Have you recently moved past shoulder length after years of being stuck there? Please share tips on how you did it.

 
The next post will be about the benefits of pre-pooing (a pre shampoo treatment). I know some ladies do not see the point of it but I NEVER ever shampoo my hair without doing a pre-poo because it has does so much good for my hair. Please come back soon to find out how.
X
Lade

 
Learn | Change | Grow