CO-WASHING

Hello ladies

Thank you all so much for your comments about my certification.   I am glad you have faith in me.  Todays blog post as promised is all about co-washing.  I am sure some of you co-wash your hair already but for the ladies that don’t know what co-washing is, I hope you find this post insightful.


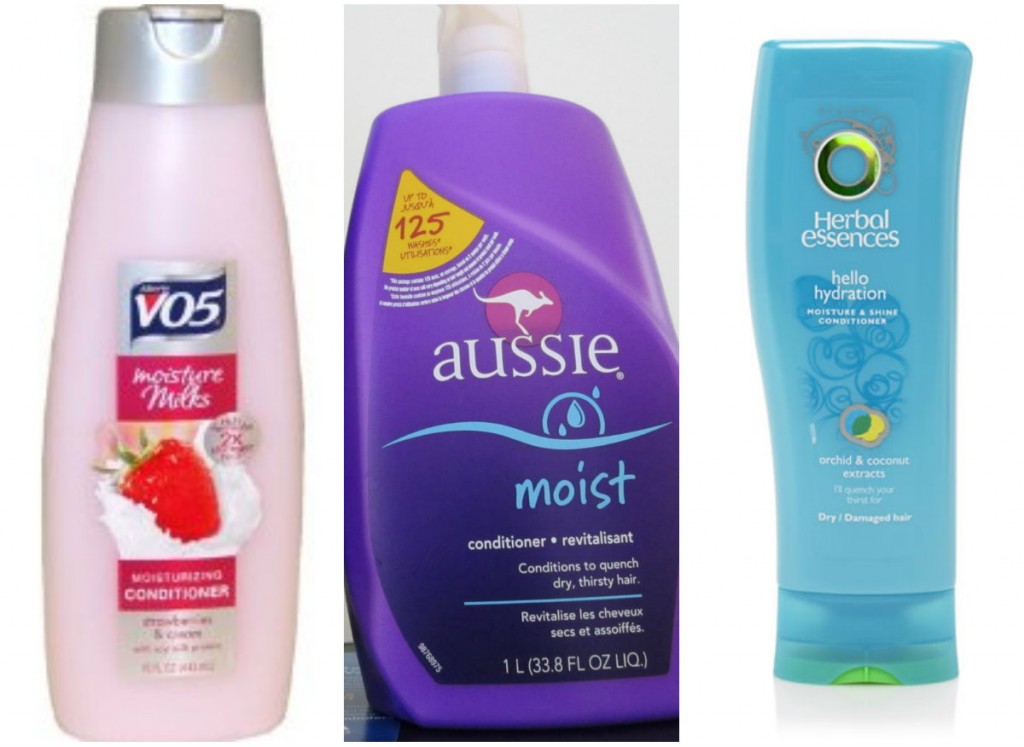
Co-wash conditioners


WHAT IS CO-WASHING

Co-washing as the name suggests simply means washing or cleansing your hair with a conditioner instead of a shampoo.   A lot of conditioners have very mild cleansing agents which can effectively lift some dirt, oils and residue from hair fibres.
Co-washing is not an essential aspect of black hair care, it is something you can experiment with and incorporate into your regimen if you believe it may be beneficial for you.  At the beginning of my hair journey I experimented with co-washing but it didn’t seem to make a big difference to my hair.  I know several ladies however who swear by it and never miss co-washing sessions.

WHO MAY BENEFIT FROM COWASHING

1) One of the main benefits of co-washing is that it is a great way to get a mid week moisture boost.  Some ladies notice their hair’s dryness is reduced by incorporating co washing once or twice during the week.
Some ladies may find co-washing beneficial in the first few months of their hair journey.  This is because lot of ladies hair, prior to their hair, journey is chronically dry and in need of extra moisture for a while to help restore some of its moisture levels.

2)  Co-washing is ideal for ladies who may want to wet their hair several times a week and it is a less harsh compared to shampooing.  This is very popular with natural haired ladies who tend to find it easier to detangle, comb and/or style their hair when it is wet or damp.

3) Babies and toddlers may benefit from co-washing alone and perhaps shampooing once or twice a month.  Again this is because shampoos can be quite harsh when used too often on a baby or toddlers hair.

4) Ladies who exercise very often may want to cleanse their hair more than once a week may benefit from co-washing.

5) Ladies who are transitioning may find co-washing helpful in their transition.  It helps to keep their natural new growth moisturised, soft and manageable.

CONS OF COWASHING

1) Some ladies opt out of shampooing completely and only co-wash their hair.  This works really well for a lot of ladies.  However after a while there may be some product residue left on the hair making it look dull and weighing it down.  Ladies who co-wash only should try to wash their hair with a clarifying shampoo every 3 to 4 weeks or when they feel their hair needs it.  This will help strip off stubborn dirt and product residue.

2) We all know how hectic life can get and sometimes it may be a little difficult to squeeze in a mid week hair treatment.  For ladies who have shorter hair (natural or relaxed) it may be easier to fit in co washing mid week.   This is because detangling, co washing, drying and styling shorter hair mid week may not be as tasking as it would be for a lady with longer hair.  Sometimes it really isn’t practical especially if your hair is in a long term protective style.


HOW TO CO-WASH PRACTICAL TIPS

Type of Conditioner

moisturising instant conditioner should be used  to co wash.  It is best to use a light instant conditioner (thin and watery consistency, the instructions usually say that it should be rinsed out after a few minutes).  Instant conditioners are light weight and even if used several times a week will not leave too much residue on your hair.
Deep conditioners should not be used for co-washing and they are usually too thick and heavy to be used several times a week as it will leave a lot of residue on your hair.

Methods of Co-washing

There are so many methods and ways of co washing your hair, some ladies pre-poo before co-washing, some ladies co-wash dry hair and some prefer to wet their hair before co-washing.  I will set out two methods below but please note that you can experiment a bit and come up with a method that you think will work best for your hair.

A – detangle your hair ,some coconut or olive oil  can be applied to help with detangling.  Apply conditioner to your hair from root to tip; this can be done in sections.  Massage your scalp gently and pull the conditioner through the length of your hair, do not rub or twist the length of your hair. After a few minutes, rinse thoroughly with warm water. Apply some more conditioner massage and rinse out after 2 to three minutes.  Try to complete the co-washing in sections to avoid unnecessary tangling.  Also do not roll up or bunch up the length of your hair to your scalp as this may cause tangling.

B- Detangle and wet hair lightly, apply conditioner to hair from root to tip, massage your scalp gently, pull the conditioner through the length of your hair for a few minutes and rinse out.  At this stage some ladies deep condition their hair using their moisturising deep conditioner.  They simply apply the deep conditioner, cover their hair with conditioning cap and apply heat for some minutes and then rinse out.

After the final conditioner has been rinsed out, you can proceed by applying your leave in conditioners and drying your hair.
Currently I do not co-wash my entire head however when I ‘am wearing wigs I occasionally co-wash the leave out hair to boost its moisture levels.  I will do a full post on how I care for my leave out hair soon.

I hope you’ve found this blog post useful. Please come back soon for the next post in which I will share the full details of the Hairducation Consultation Service.

Are you a co-washer?  What conditioner do you use and what is your method?

X

Lade

Learn | Change | Grow

HAIR BY TYPE 4 – Some We Made Earlier

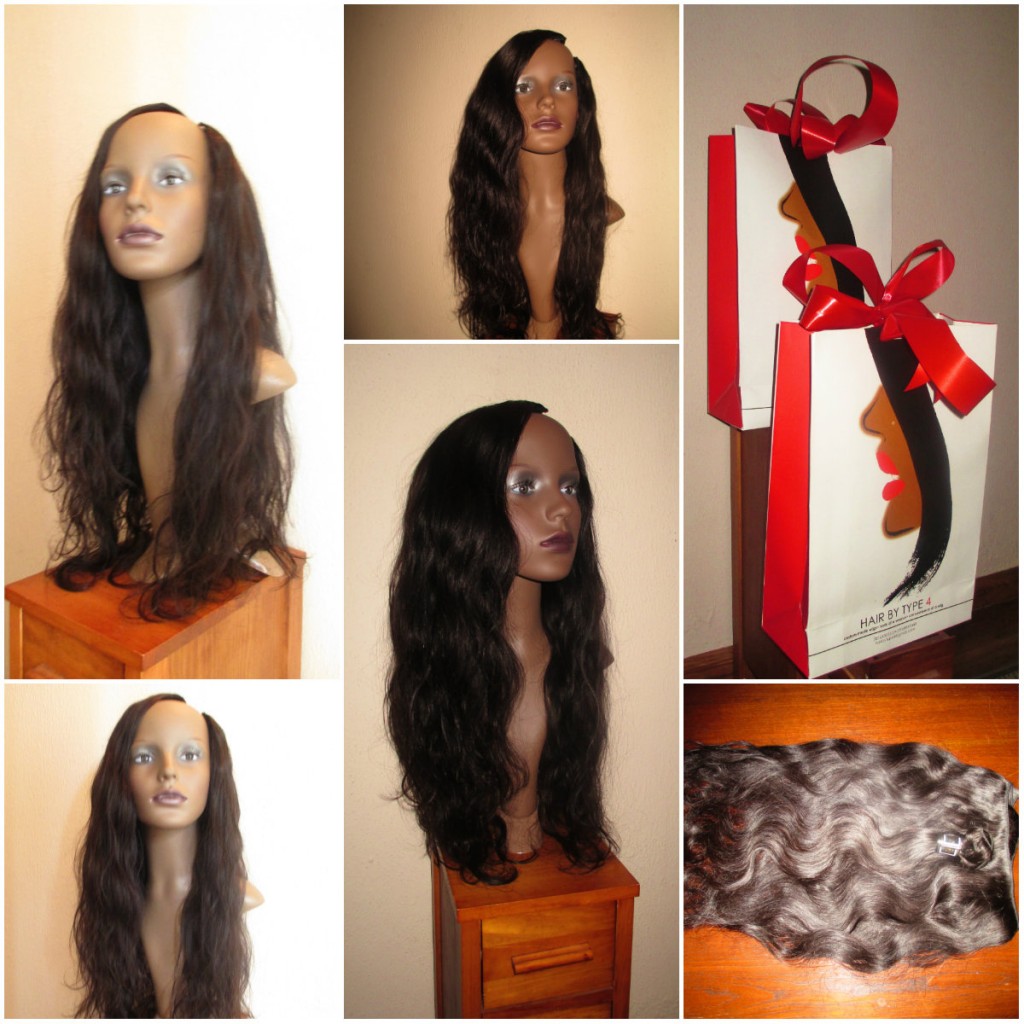
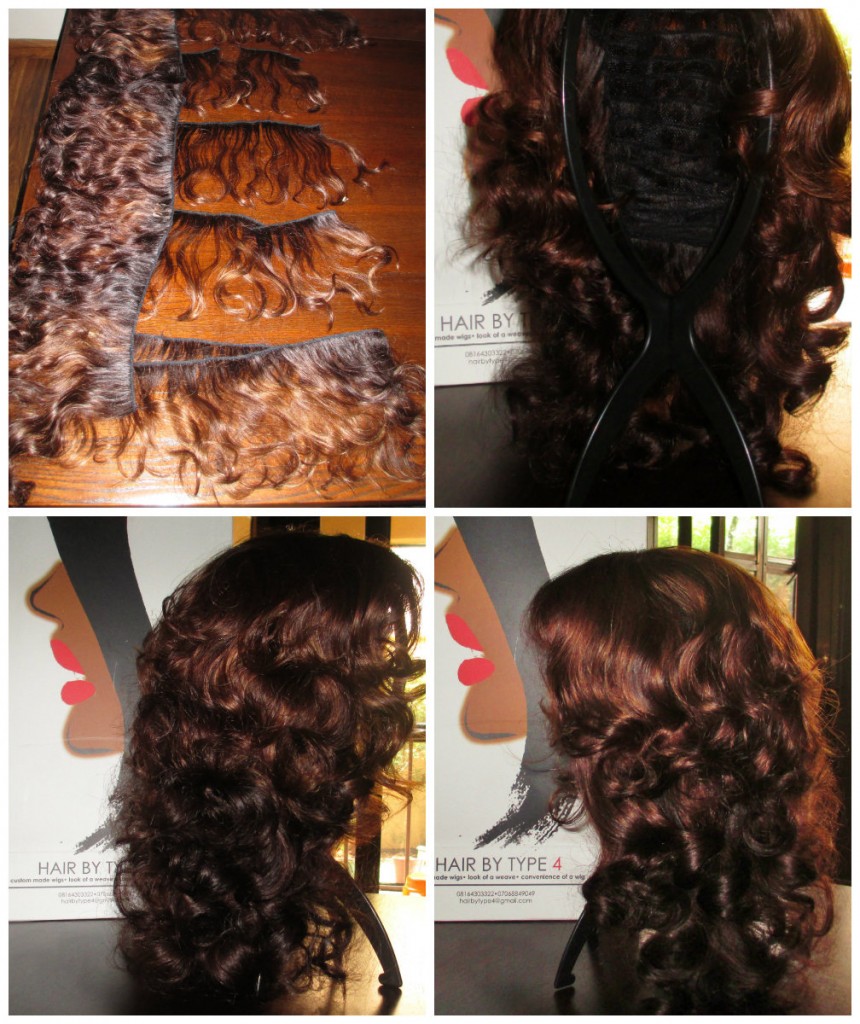
Custom made wig for TA

Hello ladies,

As many of you may know, my sister and I have a wig production company, Hair by Type 4, which specialises in creating u-part wigs.

U-part wigs are the only form of hair extensions I wear. I have shared why I stopped wearing weaves, started wearing wigs and how I used u-part wigs to grow my hair in this post.  I love u-part wigs because it gives the look of a weave without spending hours in a salon, aggressive pulling and tugging of you own hair, very tight and often uncomfortable sewing and restricted access to you hair. With u-part wigs you can have your cake and eat it too.
We have had loads of requests for information and pictures of our wigs. Many of you lovely readers have become clients which has been awesome. I decided it was high time for me to put up a few pictures of some of the wigs we have created.
Hair by Type 4 clients have two options; the custom made service or the readymade style option. In this post I will focus on the custom made service. I will do another post soon to showcase our readymade styles.


THE CUSTOM WIG SERVICE

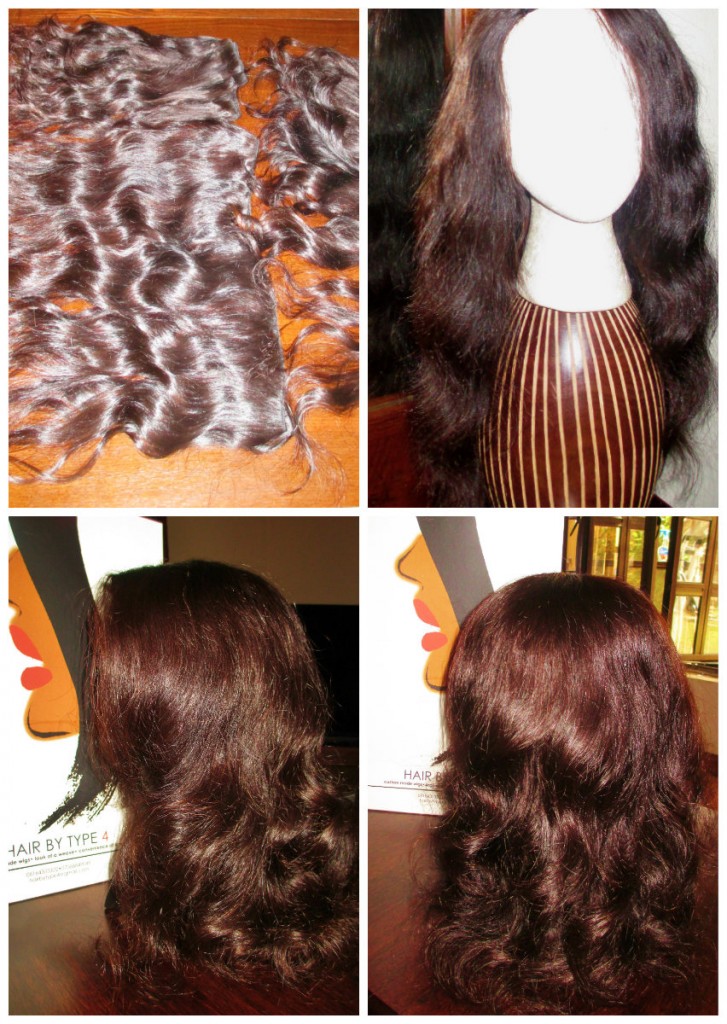
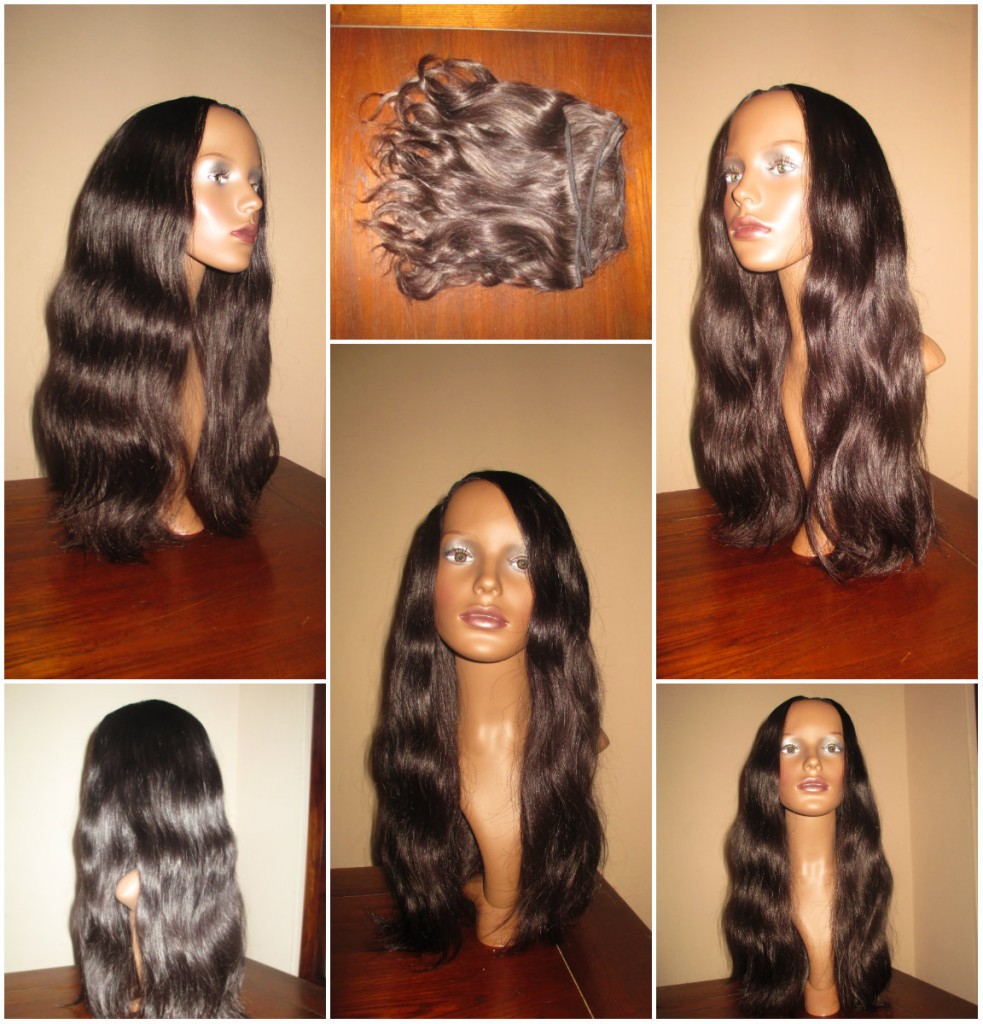
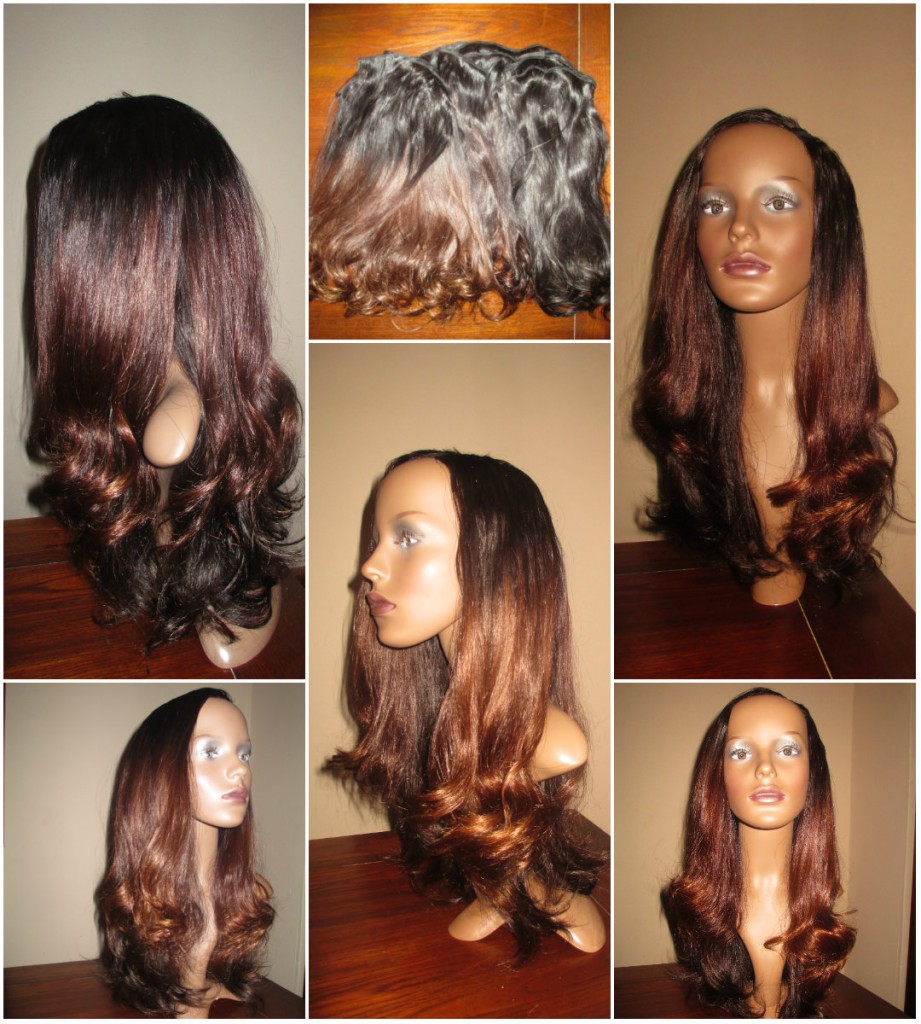
We can create you a custom made U-part wig with your own hair extensions.  You can choose the style, location of the part and supply us the hair to convert into a wig for you.  Mass produced wigs cannot meet the taste of every woman. The custom wig service allows you to use hair wefts you like to create a style you want.

Please note that Hair by Type 4 wigs are not hand sewn or glued on wigs which are created in most salons. Our wigs are created mechanically ensuring that the wigs will last for many years without need for repair, re- stitching or re-gluing. It also ensures a better finished product.
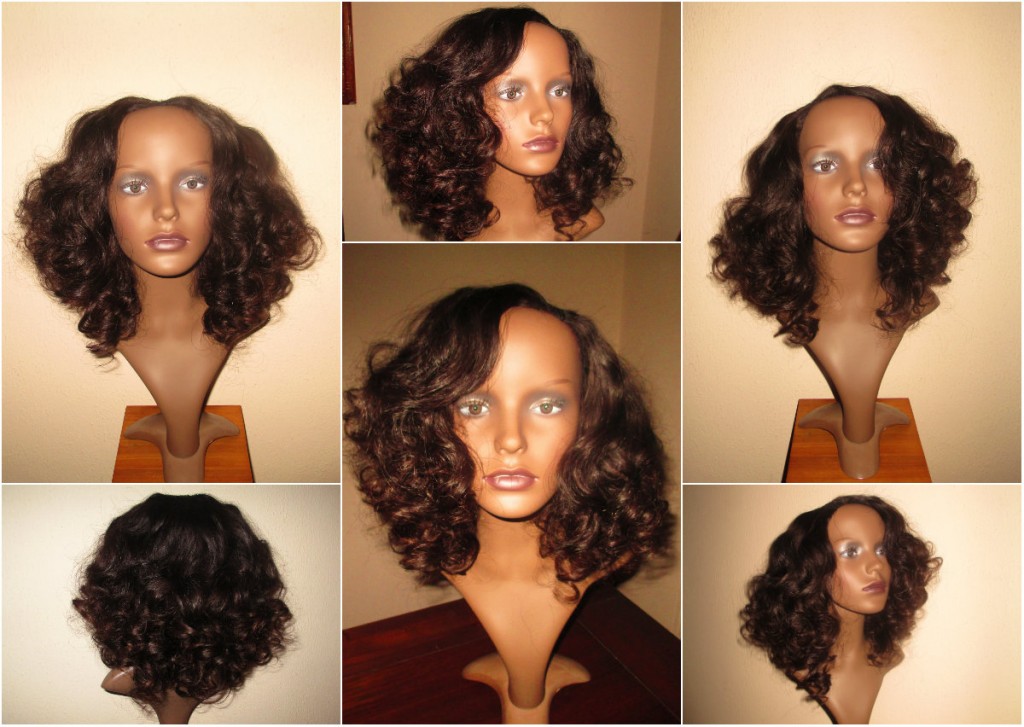
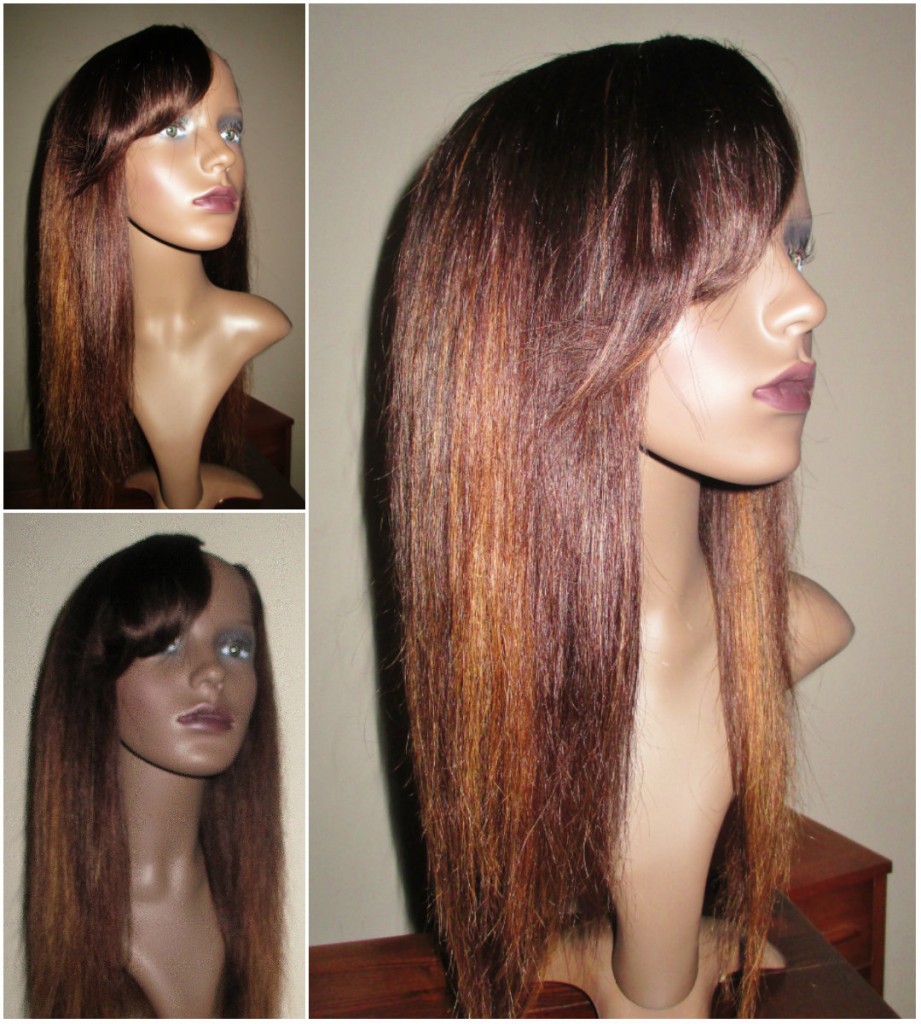
Some of you my recognise your wigs below 

Custom Made wig for TA 2

Custom Coloured Racy Collage

Hair by Type4 Custom Wig 1

Hair by Type4 Custom Wig 2


Custom wig for B

Custom wig for NN

If you would like further information or would like to place an order please send an email to hairbytype4@gmail.com

Are you a wig lover like me? Why or how did you start wearing wigs?  What is your wig regimen?
X

Lade

Learn | Change | Grow
TEXLAXING (PART 2) – METHODS OF TEXLAXING & MY TEXLAXED STORY

Hello Ladies

I am glad to be putting up this blog post at last….sorry for the delay.
For ladies do not know what texlaxing is, please read part one.  In this blog post, I will discuss methods of texlaxing, how I transitioned to texlaxed and which methods I use to texlax my hair.

Before I jump into part two, I would like to address some comments left on part one.  A few ladies commented that they struggled with tangles and knots as a result of texlaxing, especially on their wash days.
I can certainly understand where you are coming from ladies as I used to have this problem too.  The solution that helped me overcome this problem was washing in braids and ALWAYS working on my hair in sections.  Please see the blog posts I have written on these methods.  I hope they help you reduce the stress of tangles and knots.  Remember you can always tweak my suggestions to suit you.


METHODS OF TEXLAXING

1)      Weakening the relaxer by adding a few teaspoons of oil or conditioner.  Do not add any essential oil.  Only carrier oils such as olive, coconut, almond, castor oil etc, should be added.
The oils or conditioner added also change the relaxers consistency, making it more runny thereby also reducing its straightening power.

2)      Adding a heavy oil or grease to your new growth.  This barrier slows the speed at which the relaxer opens up the cuticles to start working.

3)      Time reduction – not giving the relaxer enough time to straighten your new growth.  Simply rinse of the relaxer earlier than you are supposed to.  The relaxer would have broken some protein bonds in your hair but not as much as it would have if the relaxer was left on for full time.

4)      Minimal or no smoothing- when we apply relaxer to our hair it breaks some bonds in our hair however smoothing/pulling the roots  also contributes to our hair taking its new straight form.  By either smoothing very little or not smoothing at all, our hair will not become completely straight.

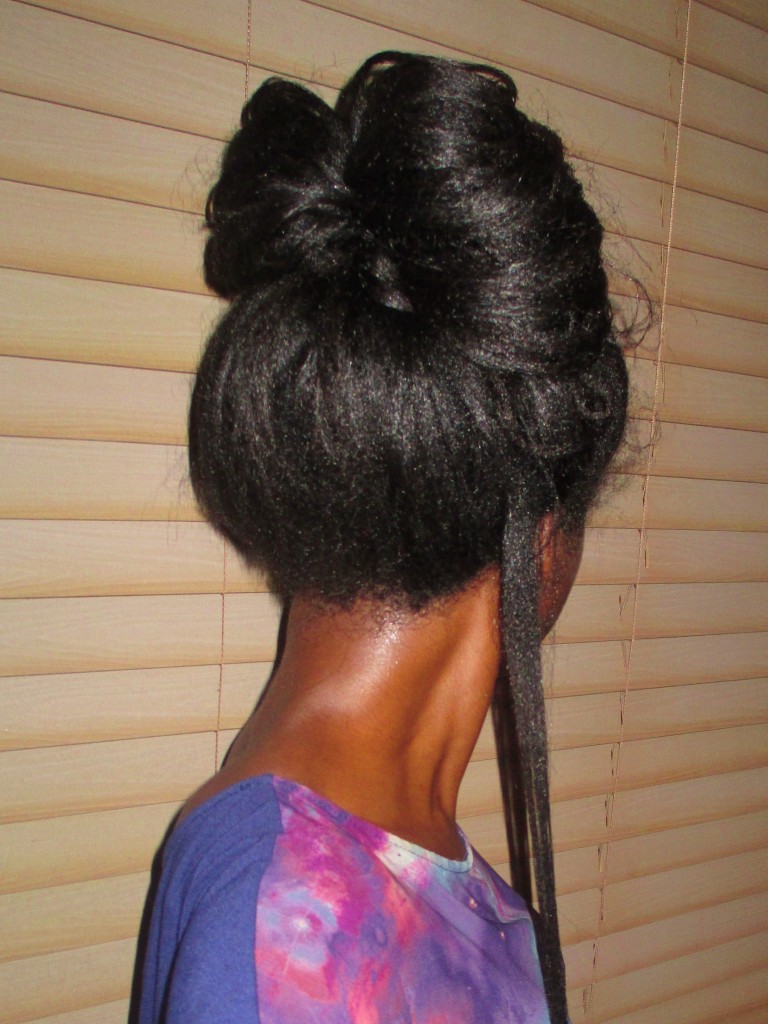
HOW I TRANSITIONED TO TEXLAXED texlaxed hair bun

The first time I texlaxed my hair was before my hair journey.  It was during the period I was experiencing a lot of breakage and shedding and was in panic mode about the state of my hair. I searched the internet for a certified afro hair stylist and decide to try out her salon.

During my appointment she explained to me that she did not relax hair bone straight because it was not good for our hair.  I agreed because I was desperate to stop my hair breakage and was willing to try almost anything.   She texlaxed my hair and at first I hated it desperately……it just seemed poofy to me.  For many weeks after, my workmates kept commenting on how thick my hair was and I had gotten used to the texture in my hair.  I grew to love it and that was the end of my relaxer days.
I still did not have a hair regimen then so my breakage carried continued.
When I started my hair journey I gradually trimmed off my relaxed ends.

MY TEXLAXING METHOD

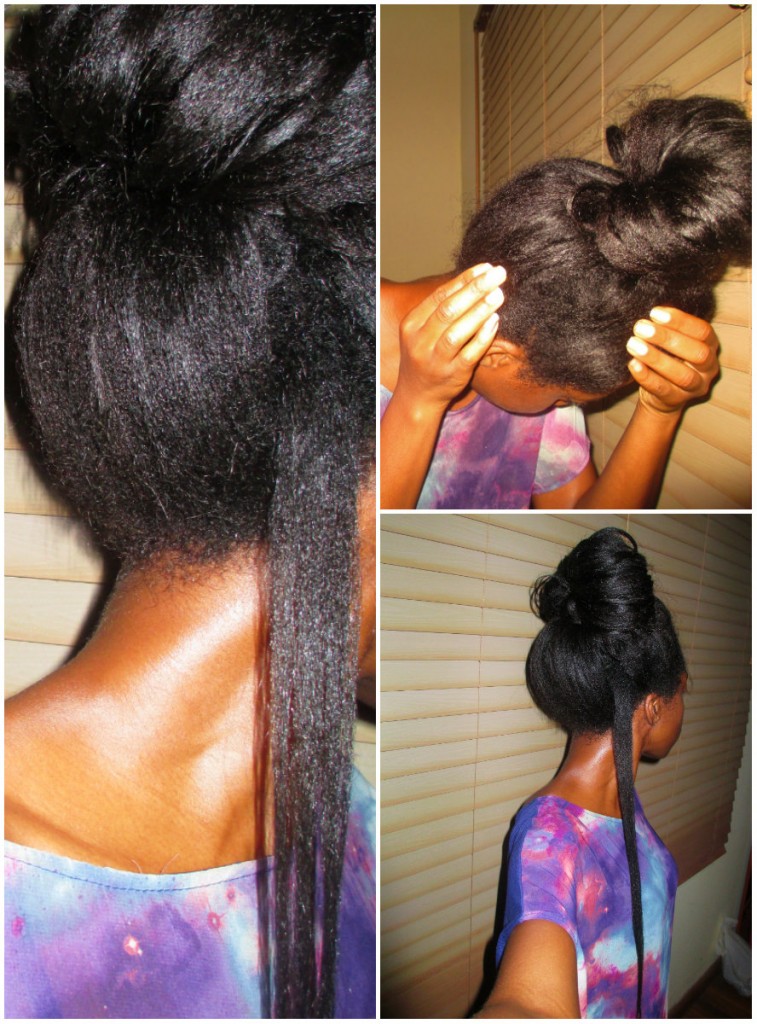
texlaxed hair collage

My texlaxed hair at 9 weeks post. You can see the uneven textures if you look closely however from a distance its not too obvious.

I like my hair to look as natural (unrelaxed) as possible.  I must have said so many times but will say again that my aim is to have hair that looks like stretched out natural hair. I think this is what suites me best and I love big hair.  So every time I texlax I go the extra mile to avoid getting bone straight results.
For this reason I use methods 1 to 4 when I texlax my hair.  Yes!!!! 1 to 4.

1)      I weaken my relaxer by adding olive to it.  I tend to use half a jar ( of Organic Roots Stimulator no base relaxer)  when I relax my hair and I mix in 2 to 3 teaspoons of olive oil.

2)      I apply Jamaican Black Castor Oil (JBCO) to my new growth, olive or coconut oil to my previously relaxed hair.

3)      It takes my sister and I between 10 to 12 minutes to apply relaxer to my new growth.  Considering the fact that I usually have 3 inches of thick new growth that is actually quite quick.  Once the relaxer is in my hair,   I wait a maximum of 5 minutes to rinse it out.

4)      After the relaxer has been applied to my new growth, I simply massage/pull my roots straight once.  I don’t go through smoothing with the end of a comb or spend ages pulling my roots into a straight shape.


Please note the following

1)      It took me a while to figure out how much texture I wanted to leave in my hair and how to achieve this.  There been a lot of experiment over the course of my hair journey but now the above method works for me.  Sometimes some parts of my hair still get straighter than I would like but overall I am happy with the results I get.

2)      You are more than welcome to try my method if you like but please note that it may get you a different result, ie your hair could end up being straighter or retain more texture than mine.  You don’t have to use all 4 methods that I use.  A lot of ladies simply use method 1 only and it works for them like a charm. I encourage you to experiment a little.

3)      Texlaxed hair has a lot of challenges; it tends to tangle more and can be more time consuming than bone straight relaxed hair.  The fact however is that texlaxed hair is NOT the same as relaxed hair and should not be treated the same way.  If you are transitioning to texlaxed you will have to review your techniques and your products.  Check that your moisture and protein balance levels are still okay for your hair (do you need to use less protein and more moisture or is your old formula still okay), you may need to work in smaller sections, etc.

Despite the cons I am a firm believer and fan of texlaxing.  I believe that its advantages are worth that extra time required.  But that is just my opinion and you should do what you want to do with your hair whether it’s going natural, texlaxing or have it pin straight.   It’s all about being informed.


I hope you’ve found this post useful.  Are you texlaxed or thinking of transitioning to texlaxed?  What method do you use? What do you like or loath about your texlaxed hair?

Coming up next is a hair update post and a style pictorial. It’s been ages since I did one of those.  Happy hair journey ladies.  Come back soon.

X

Lade

Learn | Change | Grow
DANDRUFF & TIPS FOR GETTING RID OF IT

Hello ladies,

I hope you have been well and that life is being good to you.
I have been asked by several ladies for advice about dandruff and remedies to make it go away.  I have never suffered from dandruff myself but over the years of my hair journey I have learnt about it. In this blog post I will attempt to explain what dandruff is, what causes it and ways to treat its symptoms.


WHAT IS DANDRUFF
dandruff 2

Dandruff is a scalp condition characterised by a flaky and itchy scalp.  It is often confused with dry scalp or other scalp conditions with similar symptoms such as eczema.
The flakes from dandruff can be embarrassing, the itch is annoying and unfortunately dandruff can lead to some hair loss.

WHAT CAUSES DANDRUFF

Our bodies are covered internally and externally with many varieties of bacteria and fungi.  This is normal.
Dandruff occurs when the fungi on our scalp grows or is produced at a higher rate than normal. The increase of fungus on the scalp causes a change to the composition of the sebum on our scalp.  The increase of the fungus and alteration of our scalp sebum causes the cells on the scalp to become less adhesive and flaky.


TREATMENTS FOR DANDRUFF

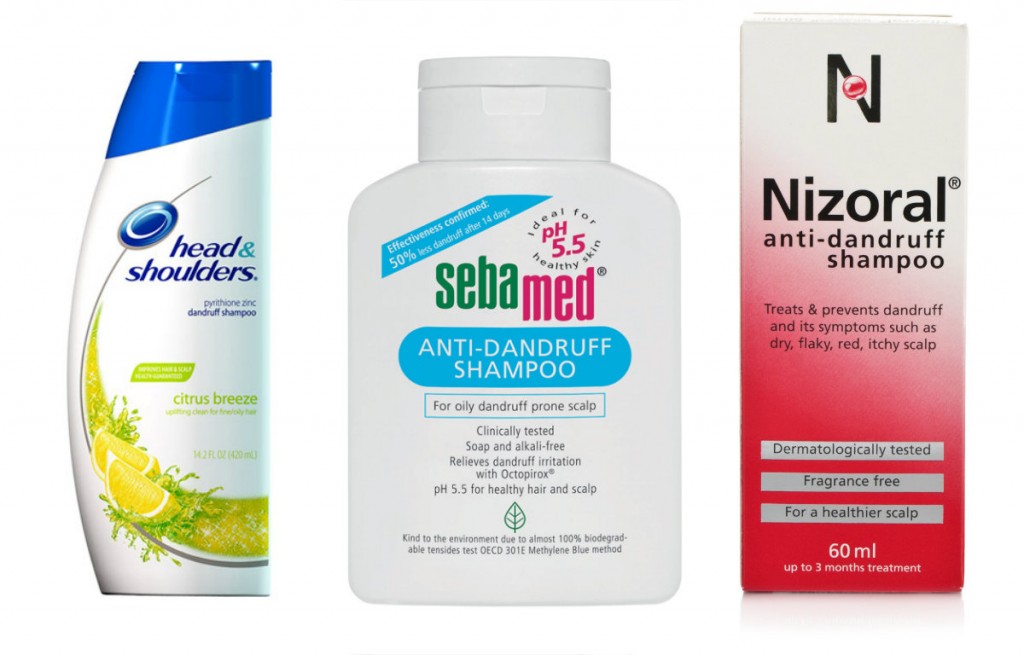
Anti dandruff shampoo collage

Some examples of anti-dandruff shampoos.

Anti-dandruff shampoos are produced by companies which usually have the funds to carry out extensive research before creating their products. They’ve done their homework and their shampoos should relieve the symptoms of dandruff.
If you do have dandruff, regular cleansing with anti-dandruff shampoo should help (if you follow the given instructions).
If it does not you should see a dermatologist or trichologist to:

–  confirm whether or not what you have is actually dandruff or another scalp condition.
– prescribe a stronger anti-dandruff shampoo or soothing cream and generally to help you manage the condition.


NATURAL REMEDIES FOR DANDRUFF

The suggestions below are some home treatments for dandruff which ladies on various hair care forums have claimed helped stopped their dandruff.  I cannot guarantee that these methods will work for you.  In fact some remedies which some women claimed worked for them made the condition worse in other ladies.

Remember my advice is that you seek medical advice from a dermatologist if anti-dandruff products have not helped.  However I realise that several women like  to try natural remedies.  So on that note please see the information below.


1) NATURAL OILS

 A) Pure extra virgin coconut oil
Several ladies on hair care forums claim that massaging a small amount of coconut oil into their scalp helped to relieve their dandruff.
A cause of concern for me is that coconut oil contains oleic acid.  Whilst doing research on dandruff, I read that the fungus which causes dandruff actually feeds on oleic acid.  So if anything,  using coconut oil on your scalp if you have dandruff may worsen the condition.
Please note that olive oil and castor oil also contain oleic acid.  As I mentioned above some ladies claim that this worked for them.  It may work for you but note that it could potentially make it worse.

B) Neem Oil
Neem oil has antibacterial and antifungal properties.

C) Pure Tea Tree oil or pure rosemary oil
These also have antifungal and anti bacterial properties.  As these are essential oils, a few drops must be added to carrier oil before being applied to the scalp.
Please do not use essential oils if you are pregnant unless you have been permitted to do so by your doctor.

How to use oils for treating dandruff

i) Pre-shampoo treatment –a few drops of tea-tree or rosemary oil should be added to coconut oil or neem oil.  Massage the mixture into your scalp.  Leave on for a few hours before you shampoo.

ii) Shampoo – add a few drops of tea-tree or rosemary oil to your shampoo. Wash and rinse thoroughly.

iii) Scalp massages –twice/three times  mix a few drops of tea tree oil or rosemary oil with coconut or neem oil.  The mix can be massaged to your scalp twice or three times a week.


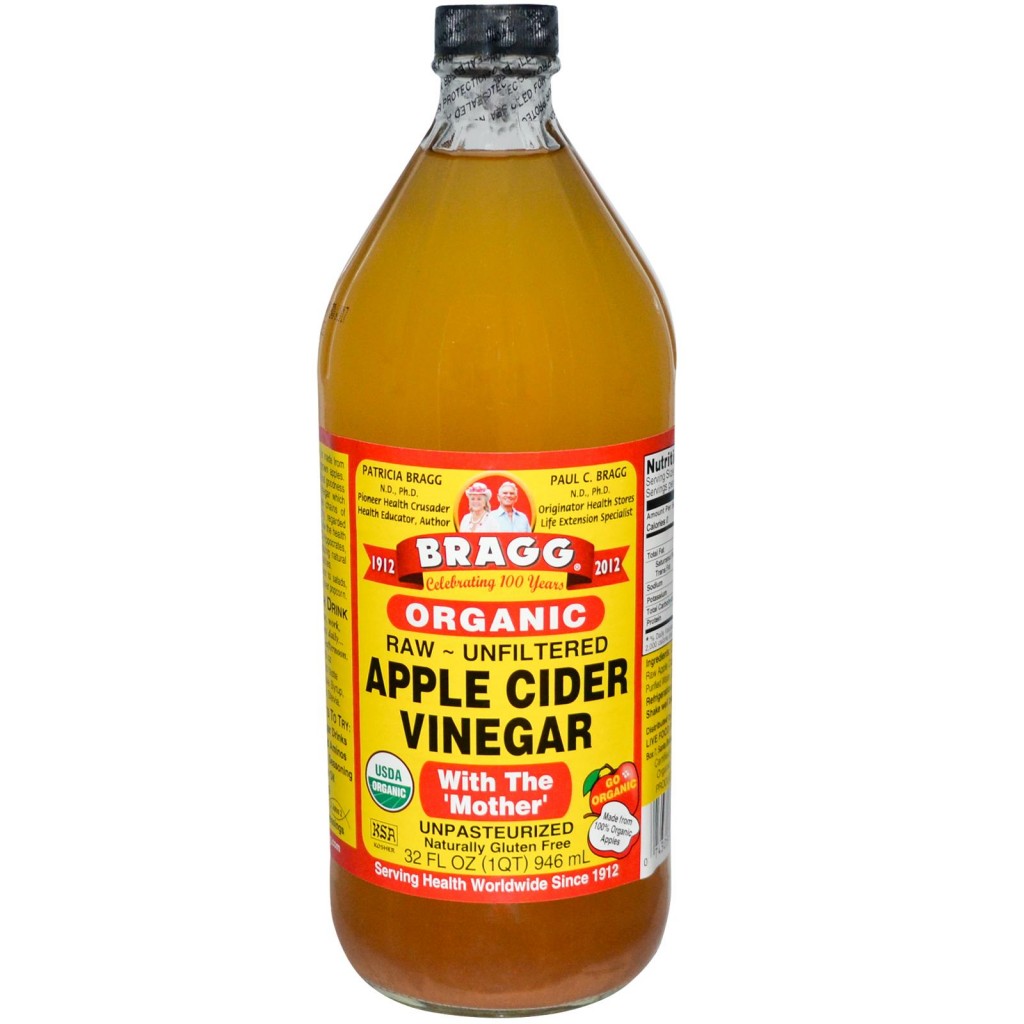
2) APPLE CIDER VINEGAR (ACV)

Apple cider vinegar

This is another natural product which has antibacterial and antifungal properties.
An apple cider treatment can be used as a final rinse after washing and deep conditioning your hair.

How To use Apple Cider For Treating Dandruff
Mix one quarter of a cup of apple cider vinegar with 2 cups of cool water.  After washing and rinsing out the deep conditioner from your hair, pour the mixture over your hair and scalp.
Take care not to let any get into your eyes. If you have any unhealed scab on your scalp it will sting a little. (If it does, just rinse the affected are with water)
You can either use the mix as your final rinse or you can leave the mix on your hair and scalp for 10/15 minutes and then rinse it off using cool water.
Apply your leave in conditioners, detangle and air dry or blow dry your hair using cool air.


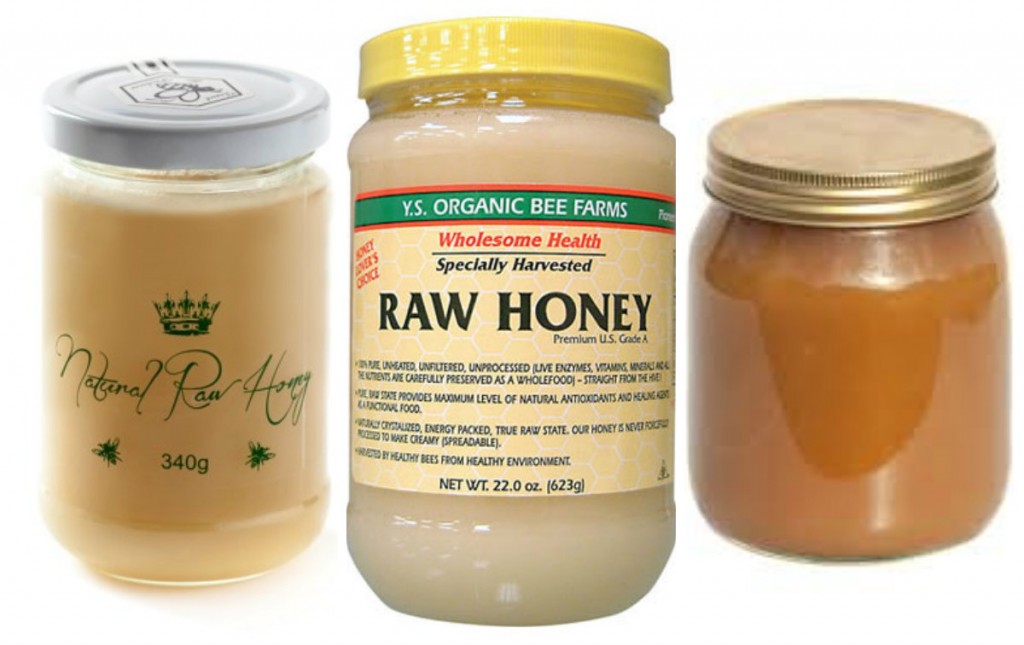
3) RAW/CRUDE HONEY
Raw crude honey collage

Yes you guessed it.  Honey has antibacterial, antifungal and antioxidant properties.
In clinical studies carried out in 2001, honey was found to be very effective in treating dandruff.
Of all the natural remedies out there this is by far my favourite because it is backed by research showing that it is effective.
To find out how honey can be used to treat dandruff and for more information about the 2001 study please click on this link.  You’ll be glad you did.


These are not the only natural treatments for dandruff but I decide to focus on these three.
This post is longer than I intended it to be but I am glad I’ve got it all out in one blog post.  If you suffer (or think you suffer from) dandruff, I hope you have found this helpful.
Because dandruff is a medical condition I think it is important for me to state that this post is not intended to provide medical advice, diagnosis or treatment.


I am truly looking forward to writing my next blog post about texlaxing.  It is something that is really close to my heart (hair wise).  I intend to explain what texlaxing is, the pros and cons of texlaxing, methods of texlaxing, how I transitioned to texlaxing and how I currently texlax my hair.

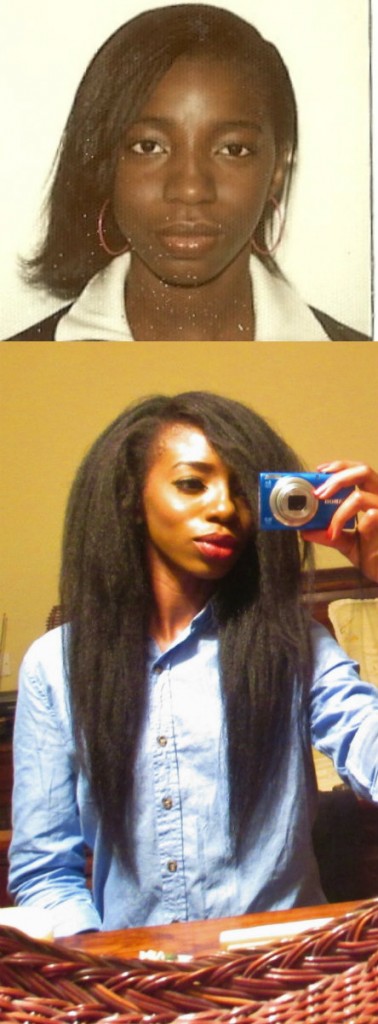
transition to texlaxed hair

Texlaxing changed my hair from limp to full and a tad bit wild (which I love)

So if you want to know how I changed the thickness of my hair, please come back soon.

Stay blessed ladies.

X
Lade

Learn| Change | Grow

THE GIVEAWAY WINNER

Hello ladies

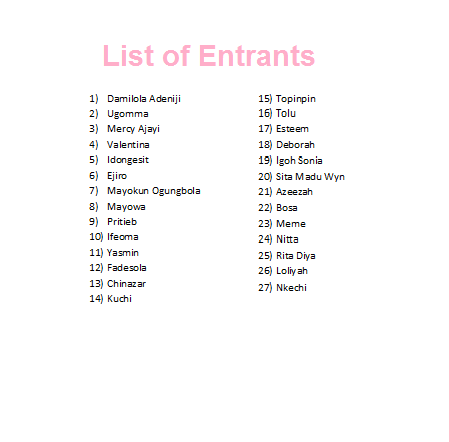
Let me start by saying thank you to all the participants for the giveaway.  There were 27 ladies who entered the competition.

List of Entrants

As promised I collated the list of entrants and selected a winner using Random.org.
As can be seen in the picture below, the winner of the giveaway is entrant 22: Bosa.
I contacted Bosa last week and she has received the hair dryer and soft hood bonnet.  She was so happy to find out she won and I am certain she will make good use of the gifts.

Giveaway - the winner

I am going to have another giveaway soon which will be open to readers in Nigeria and internationally.

The next blog post is almost completed and will be up soon.

x

Lade

Learn | Change | Grow