Hello Ladies
I am glad to be putting up this blog post at last….sorry for the delay.
For ladies do not know what texlaxing is, please read part one. In this blog post, I will discuss methods of texlaxing, how I transitioned to texlaxed and which methods I use to texlax my hair.
Before I jump into part two, I would like to address some comments left on part one. A few ladies commented that they struggled with tangles and knots as a result of texlaxing, especially on their wash days.
I can certainly understand where you are coming from ladies as I used to have this problem too. The solution that helped me overcome this problem was washing in braids and ALWAYS working on my hair in sections. Please see the blog posts I have written on these methods. I hope they help you reduce the stress of tangles and knots. Remember you can always tweak my suggestions to suit you.
METHODS OF TEXLAXING
1) Weakening the relaxer by adding a few teaspoons of oil or conditioner. Do not add any essential oil. Only carrier oils such as olive, coconut, almond, castor oil etc, should be added.
The oils or conditioner added also change the relaxers consistency, making it more runny thereby also reducing its straightening power.
2) Adding a heavy oil or grease to your new growth. This barrier slows the speed at which the relaxer opens up the cuticles to start working.
3) Time reduction – not giving the relaxer enough time to straighten your new growth. Simply rinse of the relaxer earlier than you are supposed to. The relaxer would have broken some protein bonds in your hair but not as much as it would have if the relaxer was left on for full time.
4) Minimal or no smoothing- when we apply relaxer to our hair it breaks some bonds in our hair however smoothing/pulling the roots also contributes to our hair taking its new straight form. By either smoothing very little or not smoothing at all, our hair will not become completely straight.
HOW I TRANSITIONED TO TEXLAXED 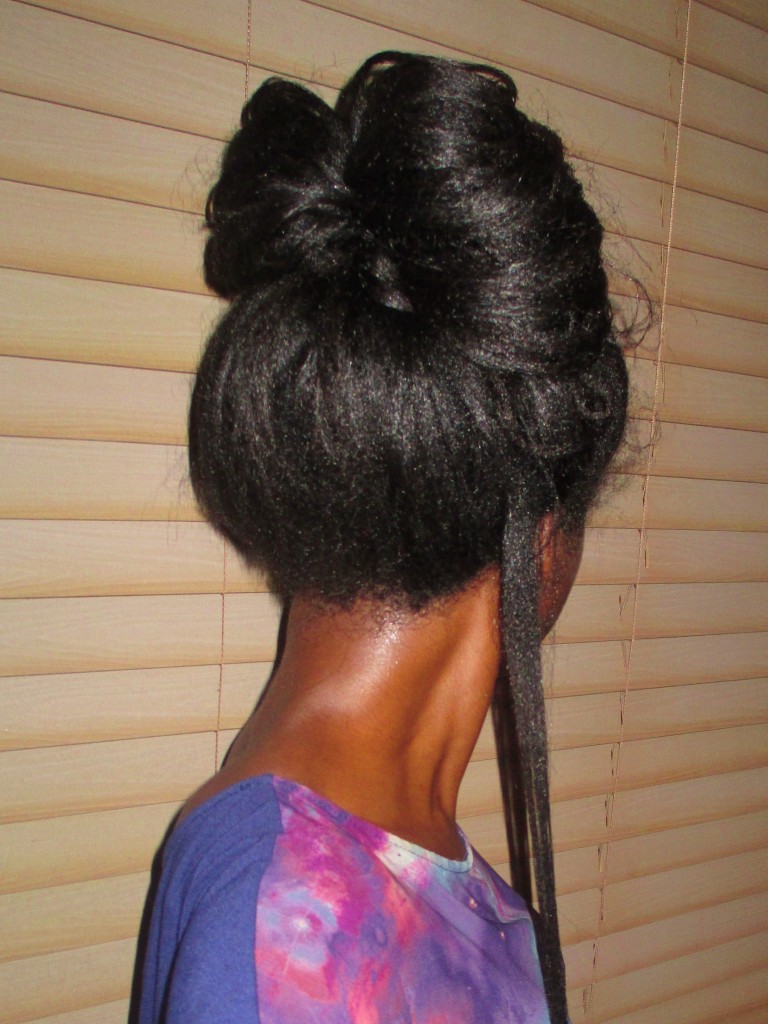
The first time I texlaxed my hair was before my hair journey. It was during the period I was experiencing a lot of breakage and shedding and was in panic mode about the state of my hair. I searched the internet for a certified afro hair stylist and decide to try out her salon.
During my appointment she explained to me that she did not relax hair bone straight because it was not good for our hair. I agreed because I was desperate to stop my hair breakage and was willing to try almost anything. She texlaxed my hair and at first I hated it desperately……it just seemed poofy to me. For many weeks after, my workmates kept commenting on how thick my hair was and I had gotten used to the texture in my hair. I grew to love it and that was the end of my relaxer days.
I still did not have a hair regimen then so my breakage carried continued.
When I started my hair journey I gradually trimmed off my relaxed ends.
MY TEXLAXING METHOD
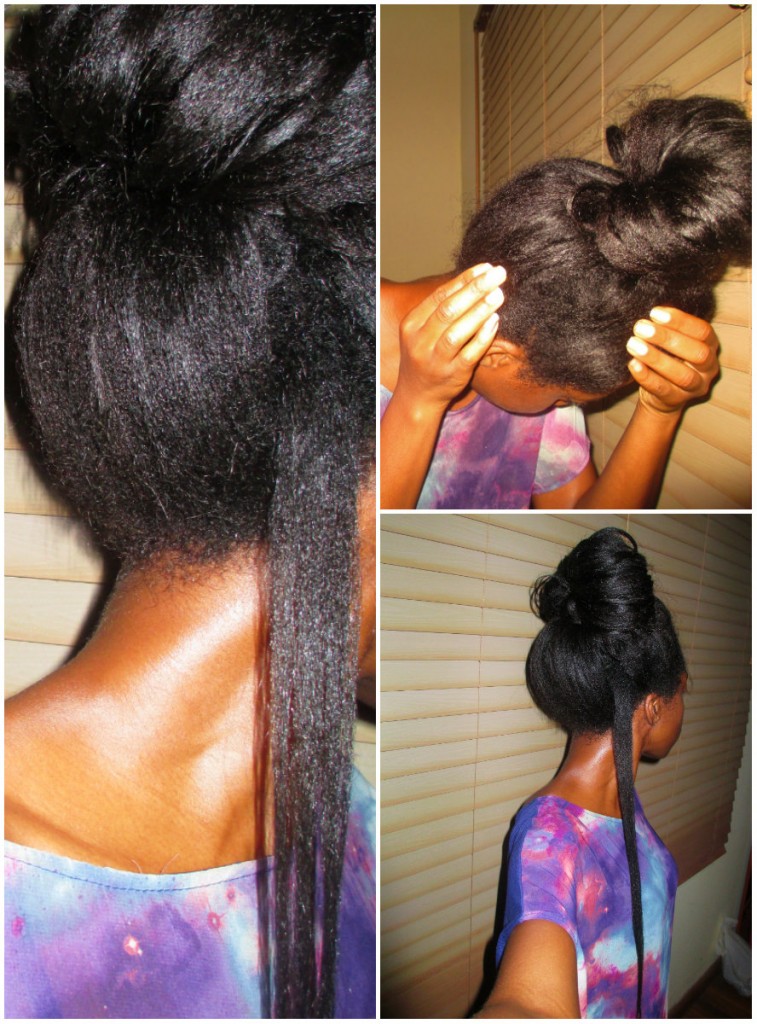
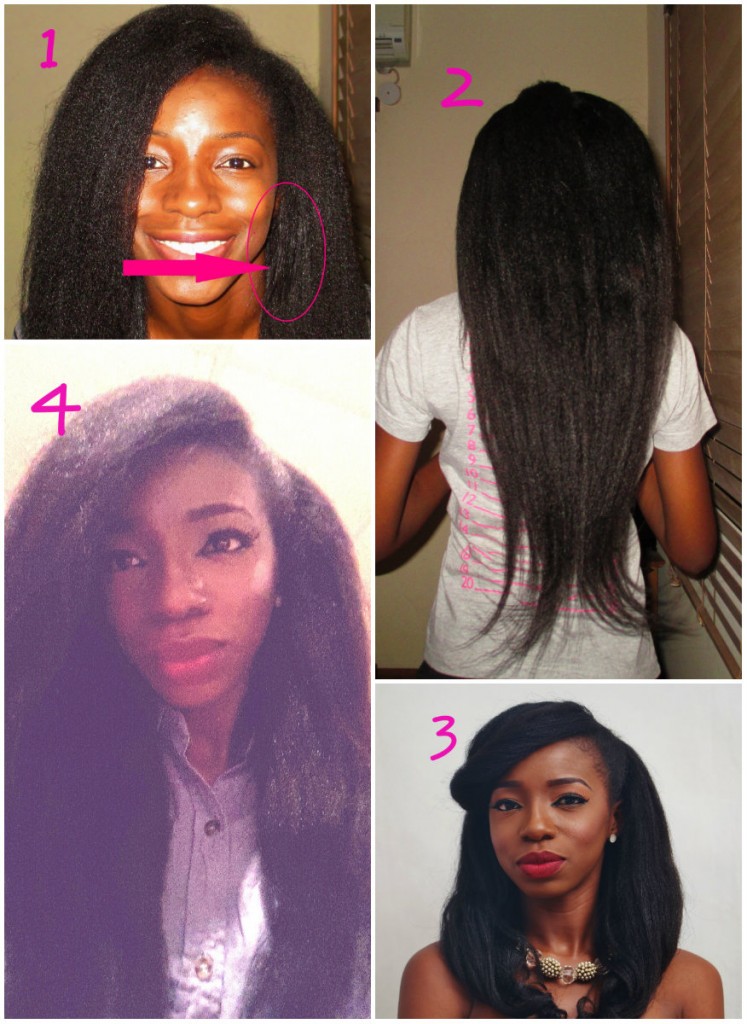
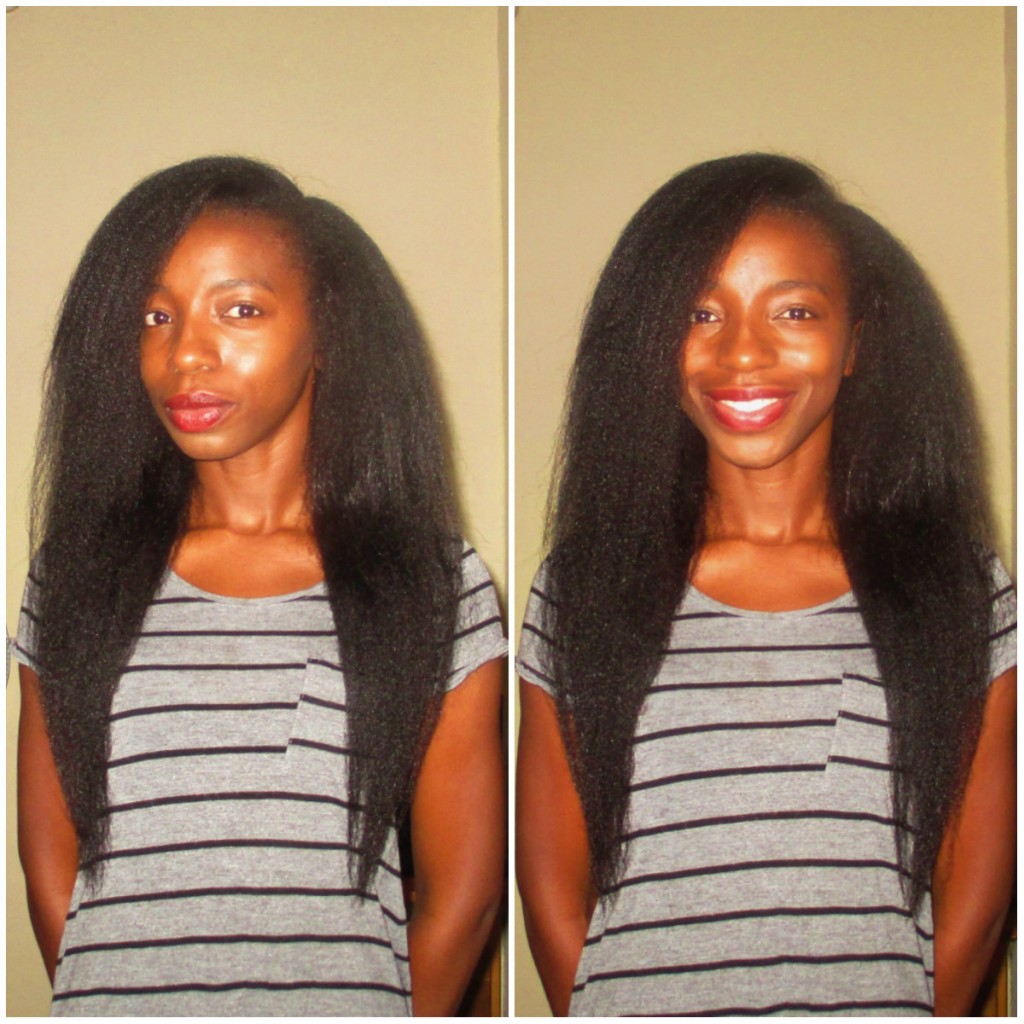
My texlaxed hair at 9 weeks post. You can see the uneven textures if you look closely however from a distance its not too obvious.
I like my hair to look as natural (unrelaxed) as possible. I must have said so many times but will say again that my aim is to have hair that looks like stretched out natural hair. I think this is what suites me best and I love big hair. So every time I texlax I go the extra mile to avoid getting bone straight results.
For this reason I use methods 1 to 4 when I texlax my hair. Yes!!!! 1 to 4.
1) I weaken my relaxer by adding olive to it. I tend to use half a jar ( of Organic Roots Stimulator no base relaxer) when I relax my hair and I mix in 2 to 3 teaspoons of olive oil.
2) I apply Jamaican Black Castor Oil (JBCO) to my new growth, olive or coconut oil to my previously relaxed hair.
3) It takes my sister and I between 10 to 12 minutes to apply relaxer to my new growth. Considering the fact that I usually have 3 inches of thick new growth that is actually quite quick. Once the relaxer is in my hair, I wait a maximum of 5 minutes to rinse it out.
4) After the relaxer has been applied to my new growth, I simply massage/pull my roots straight once. I don’t go through smoothing with the end of a comb or spend ages pulling my roots into a straight shape.
Please note the following
1) It took me a while to figure out how much texture I wanted to leave in my hair and how to achieve this. There been a lot of experiment over the course of my hair journey but now the above method works for me. Sometimes some parts of my hair still get straighter than I would like but overall I am happy with the results I get.
2) You are more than welcome to try my method if you like but please note that it may get you a different result, ie your hair could end up being straighter or retain more texture than mine. You don’t have to use all 4 methods that I use. A lot of ladies simply use method 1 only and it works for them like a charm. I encourage you to experiment a little.
3) Texlaxed hair has a lot of challenges; it tends to tangle more and can be more time consuming than bone straight relaxed hair. The fact however is that texlaxed hair is NOT the same as relaxed hair and should not be treated the same way. If you are transitioning to texlaxed you will have to review your techniques and your products. Check that your moisture and protein balance levels are still okay for your hair (do you need to use less protein and more moisture or is your old formula still okay), you may need to work in smaller sections, etc.
Despite the cons I am a firm believer and fan of texlaxing. I believe that its advantages are worth that extra time required. But that is just my opinion and you should do what you want to do with your hair whether it’s going natural, texlaxing or have it pin straight. It’s all about being informed.
I hope you’ve found this post useful. Are you texlaxed or thinking of transitioning to texlaxed? What method do you use? What do you like or loath about your texlaxed hair?
Coming up next is a hair update post and a style pictorial. It’s been ages since I did one of those. Happy hair journey ladies. Come back soon.
X
Lade
Learn | Change | Grow


