Bed Hair Options

Hello ladies

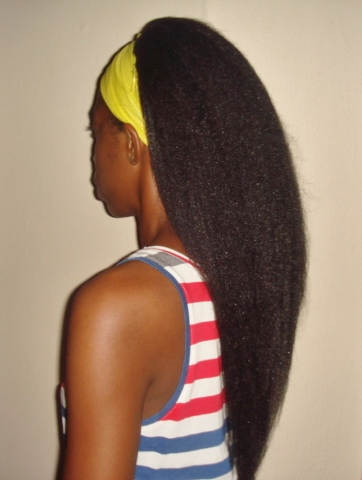
I often get asked how I wear my hair to bed.  Many ladies ask if I wrap my hair or if I take down my bun every night.
I wrote a post a while back showing how I used to cross-wrap my hair at night.  You can read that post here.

I no longer cross wrap my hair at night and I certainly don’t do a traditional wrap either.
How I wear my hair now depends on what style I have worn that day.


Option One.

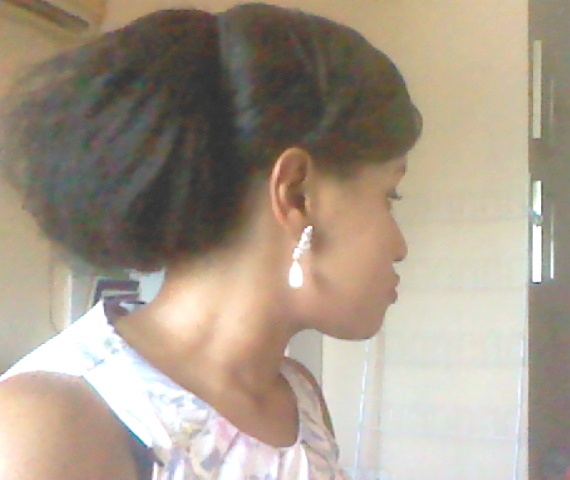
If I have worn a bun or style that I plan to wear again the next day,   I simply cover my bun/style with a big scarf.
The next day I use a hair mist/moisture spray to moisturise the outside of the bun/style and use a brush to neaten my edges.  My hair styles are never  tight or uncomfortable so there is no tension and I can sleep comfortably.


Option Two

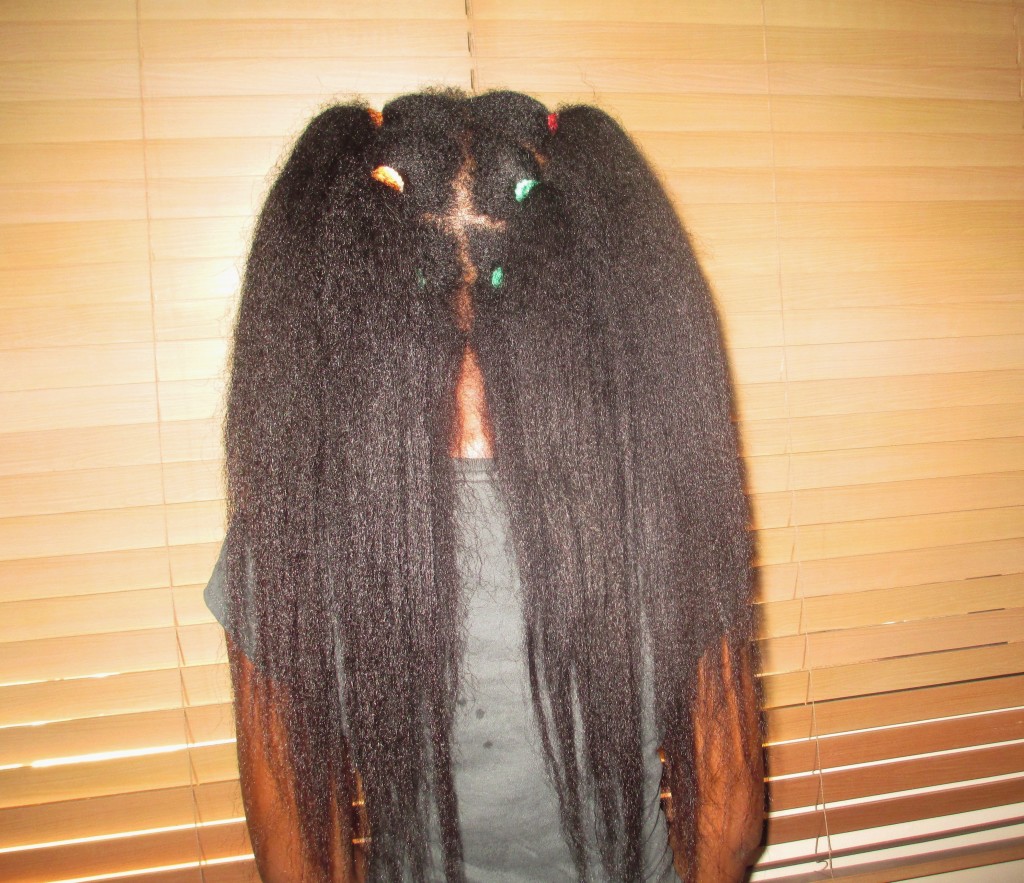
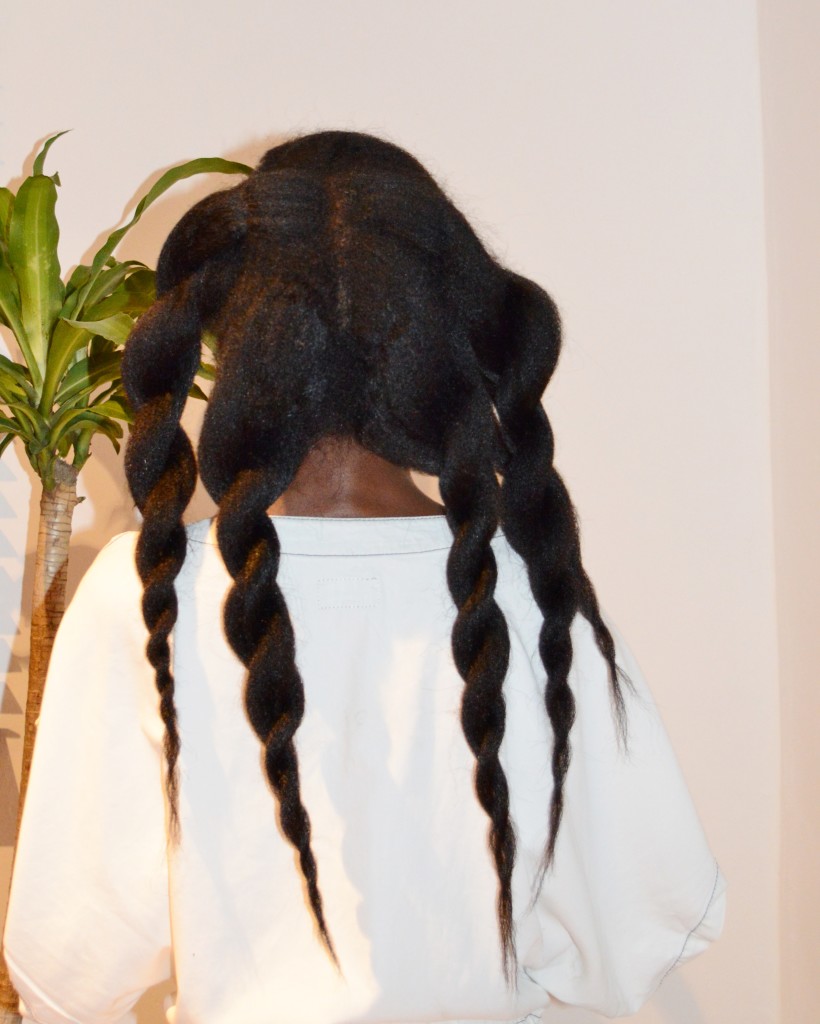
Sometimes after moisturising and sealing my hair in sections, I put it in large twists and pile the twists on my head and cover with a scarf.  I also do this if the style I have been wearing has gotten too rough and I’ve taken it down to detangle and moisture and seal thoroughly.

The next morning I simply undo the loose twists and restyle my hair.

These two options work well for me.  What do you do to your hair when you’re going to bed?

X

Lade

Learn | Change | Grow

April Bun of The Month

Hello ladies

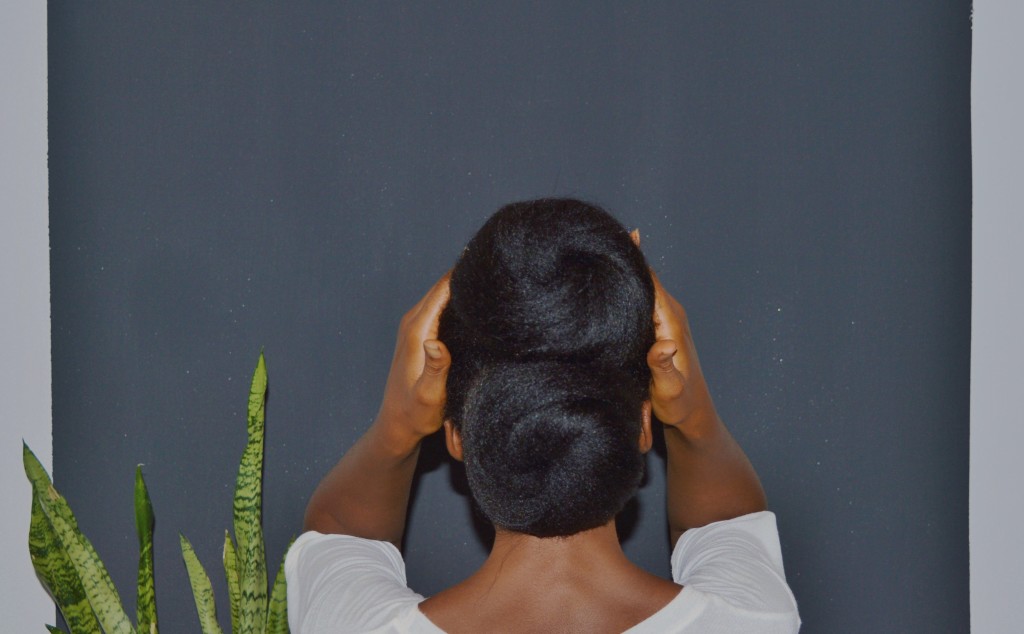
This bun of the month series is quickly becoming the one I get the most feedback from and this months one is a special one because it is a collaborative post with another Nigerian based Hair Care Blogger, Tonkabelle of Wura’s Secret Hair.
I will share my pictorial and a few pictures and then I’ll show you Tonkabelle’s bun and add a link to her website so you can learn all about her and her hair.

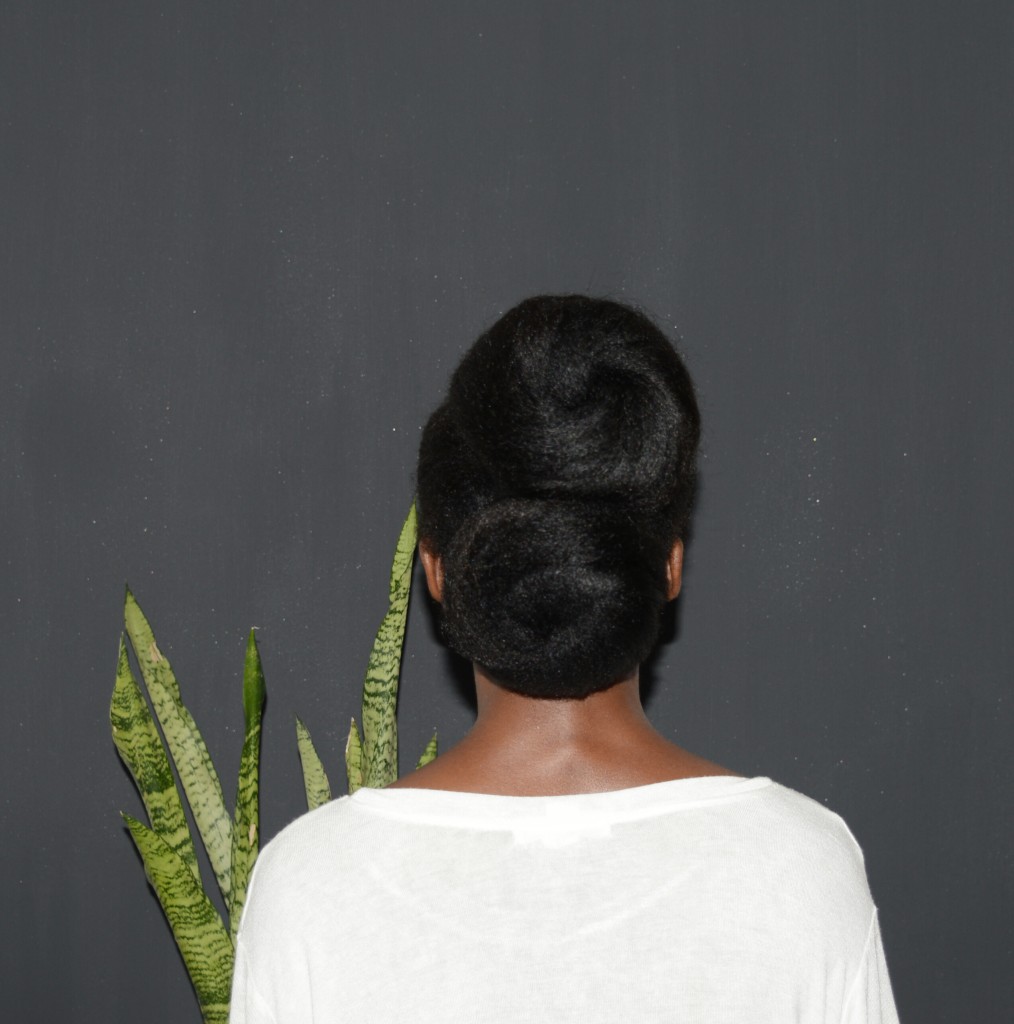
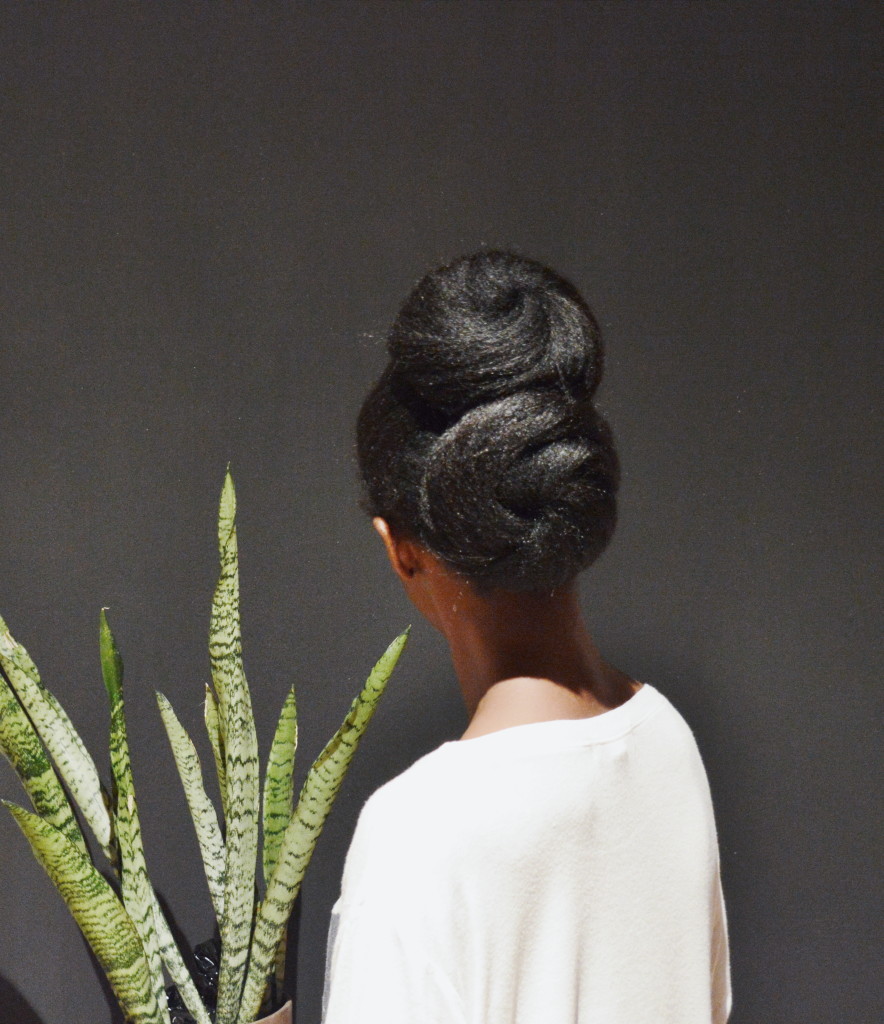
This months bun almost didn’t happen.  Believe it or not when I set up my camera I didn’t have a clue what style to create.  I hoped i’d figure something out and I am quite impressed that I was able to knock out this style from nowhere.
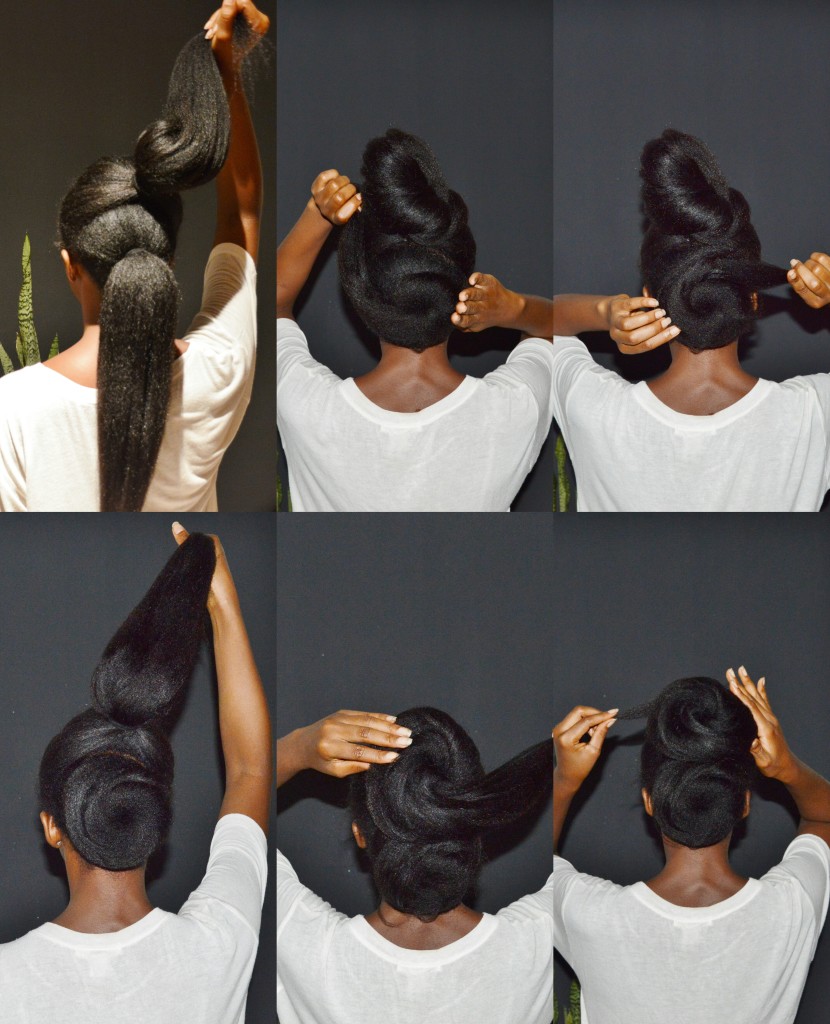
As with other buns in this series it took less than 5 minutes to create and is super easy.  If you create this style or other buns from the series, id love to see your pictures and how the styles look on your hair.  Simply send the pictures to rehairducation’gmail.com or tag me on Instagram @hairducation.


THE SWIRL BUN PICTORIAL


TONKABELLE‘S BUN

To see how Tonkabelle created her bun click here.


Voluminous Bun 6


I hope you like both our buns.  The next post will be my hair update post followed by a quick tip on how to protect your ends whilst blow drying.  come back soon.

X

Lade

Learn | Change | Grow


Is Your Hair Scissors Damaging Your Ends?

Hello ladies

I have self trimmed my hair for many years now and plan to continue doing so in the future. I have always known that it was important to invest in good quality hair cutting scissors.  I was also aware that there were some do’s and don’ts of caring for your hair scissors.   Unfortunately I ignored these until very recently.

In the past, I used any kind of scissors to cut my hair but when I started a hair journey I bought my hair scissors from my local hair and beauty store at the time. The problem was that I took zero care of my scissors and that had some consequences for my hair.

In this post, I will share a little bit of information about why the scissors you use to cut your hair and how you maintain it matters.  I have learnt so much whilst carry out research for this post and I will post some links below to some sites that go even deeper for ladies or hair stylists who would like to lean more.
 

DSC_4153


The Design

Like many people, I knew that there are sooo many different types of scissors for cutting various types of material and fibres. I always assumed this was just to make the cutting process easier or smoother but I somehow failed to realise that the design also has a huge impact on the material being cut.

Using scissors that have not been designed to cut hair can cause cuticle damage to the areas that are being cut. So although your ends may look “fresh and healthy” when you fist cut them with the wrong type of scissors, what you will get is ends that are damaged as they are being cut.
These damaged ends will then split easily and quickly which means you will end up having to trim your hair more frequently. This can be avoided by using the right type of scissors


The Importance of Caring for Your Scissors

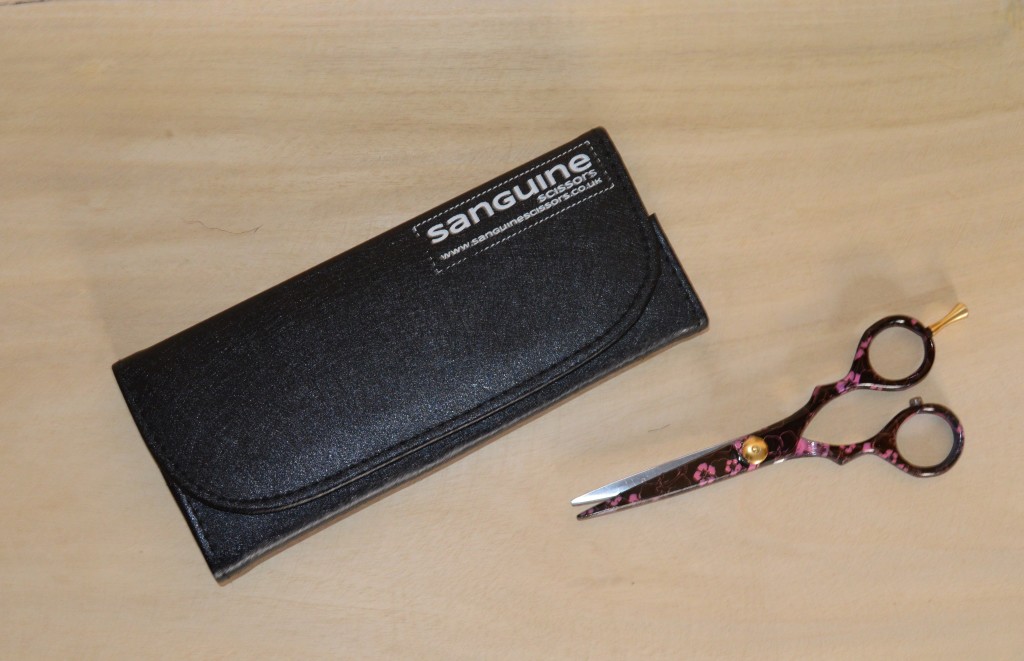
A good hair scissors should have sharp blades!!!!!   When I received my scissors, I gently touched the blade I was stunned and scared by how sharp it was.
A very sharp scissors is needed to give hair fibres that clean and smooth cut. A blunt scissors on the other hand will tear through the hair fibre damaging the cuticle and creating new splits although this may not be apparent at first.
If a blunt scissors has been used, usually within a week or two, the ends that looked sharp and felt smooth will begin to look frayed and feel rough again.

To avoid this happening, it is important that you use your hair scissors for cutting hair only and not other fibres like paper or fabric as this will cause the blades to become dull.
Please do not use your hair scissors to cut the hair of weaves and wigs even if they are labelled as 100% human hair or virgin hair.  Apparently such hair is usually coated or cleaned/treated with chemicals which can damage the scissors.
A lot of salons may not have scissors dedicated specifically for cutting the hair that grows on their clients head  but not for weaves and wigs so it may be best you invest in your own which you can take to the salon.

If you are really interested in learning more about the anatomy of a hair cutting scissors and how to maintain it please click on link 1 and link 2.


My Scissors and My Ends

I have tried and failed to buy hair scissors in Nigeria because the stores I buy my products from always seem to be out of stock.
I attended a Beauty Expo late last year and tried to purchase one there but the international company selling the scissors were very high end ( the cheapest one they had was on sale for $130 and I wasn’t willing to spend that amount). So I went on to good old Amazon UK and ordered one which at the time was on sale for £14. I think is very generous given the quality.
DSC_4161
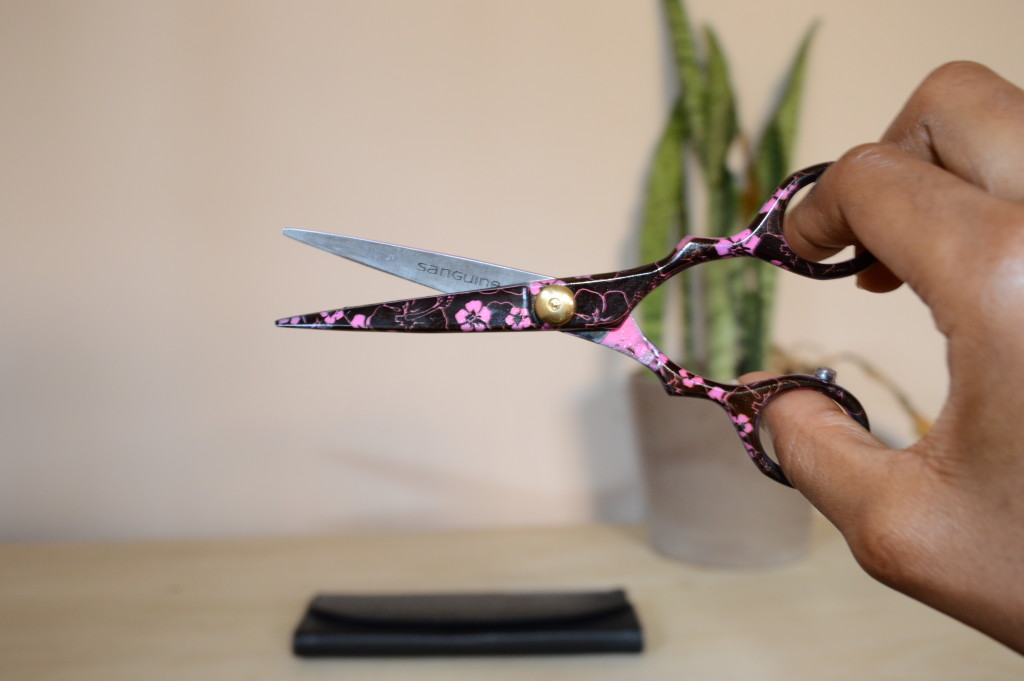
What I love most about the scissors if the little gold circle/dial on the blades which I can rotate to increase and decrease the tension/tightness of the scissors. If the tension of the scissors isn’t right it will bend or fold the hair as it is being cut. It was when I did a little research on the importance of being able to adjust the tension of a hair scissors that I realised that I had actually purchased a really decent one.

I have used it twice so far and I really can see a difference. My ends look very neat and seem to be absorbing and holding moisture better which are a sign of healthy ends. I also find that I have that nice fresh trim look for much longer compared to when I was using blunt hair scissors.


A decent quality and well cared for scissors will help you retain more hair ( if length is one of your hair goals).  If you sell or know where to buy good quality hair scissors in Nigeria please do share.

I hope you have found this post informative. My next post will be my one month post relaxer update. Come back soon.

X

Lade

Learn | Change | Grow
RELAXER UPDATE

Hello Ladies,

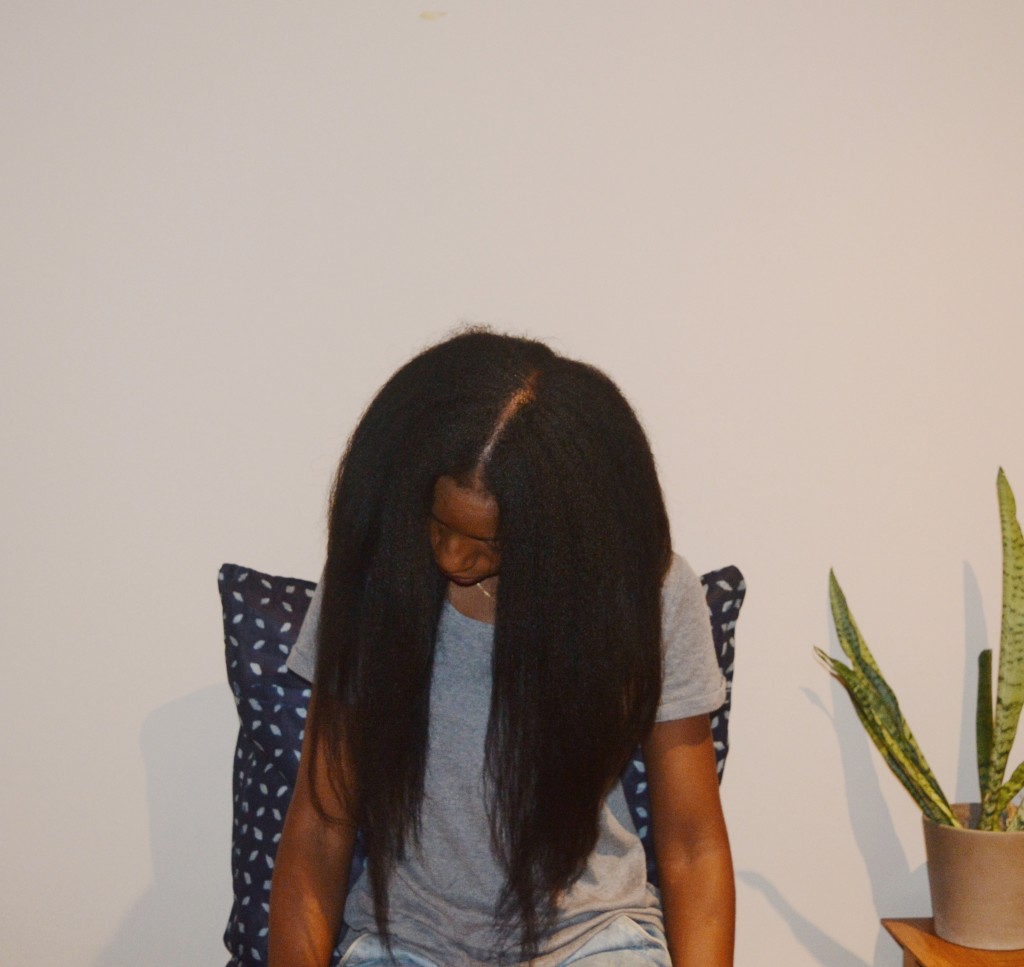
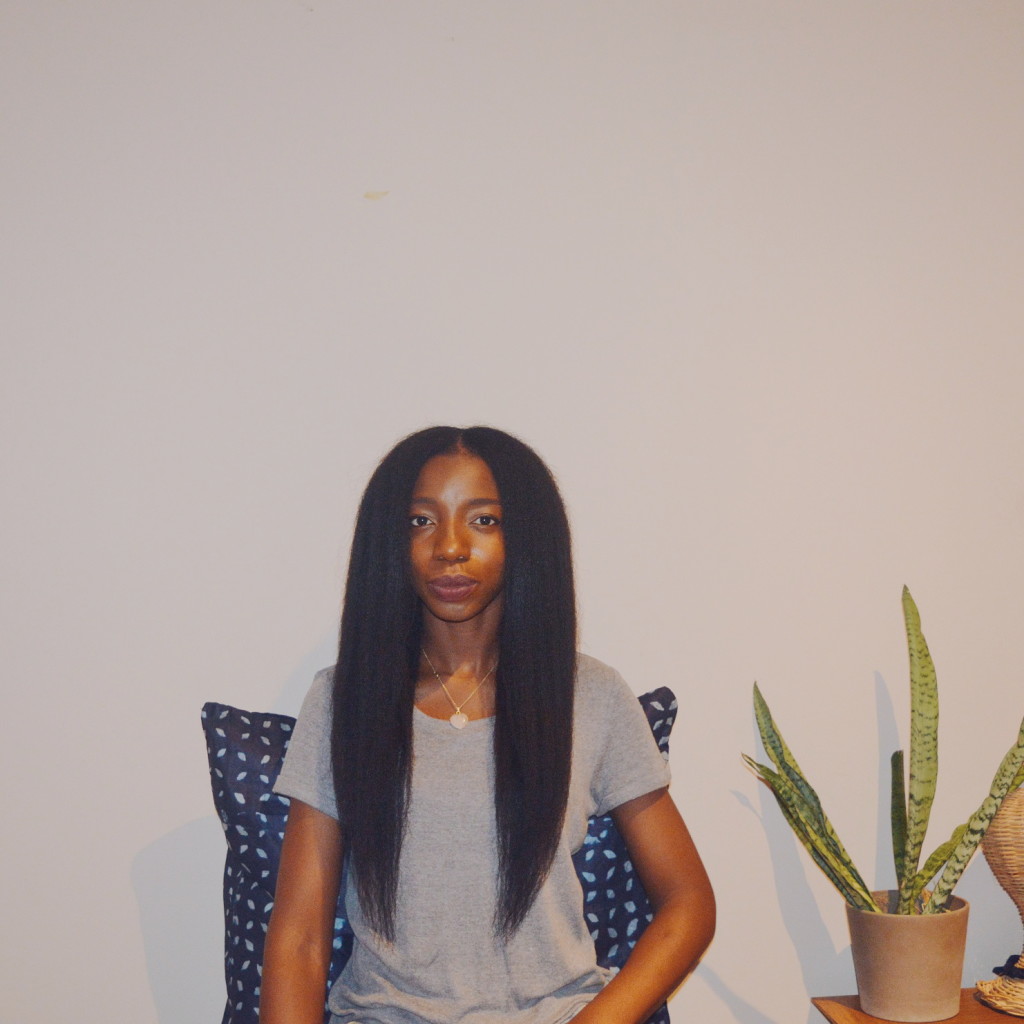
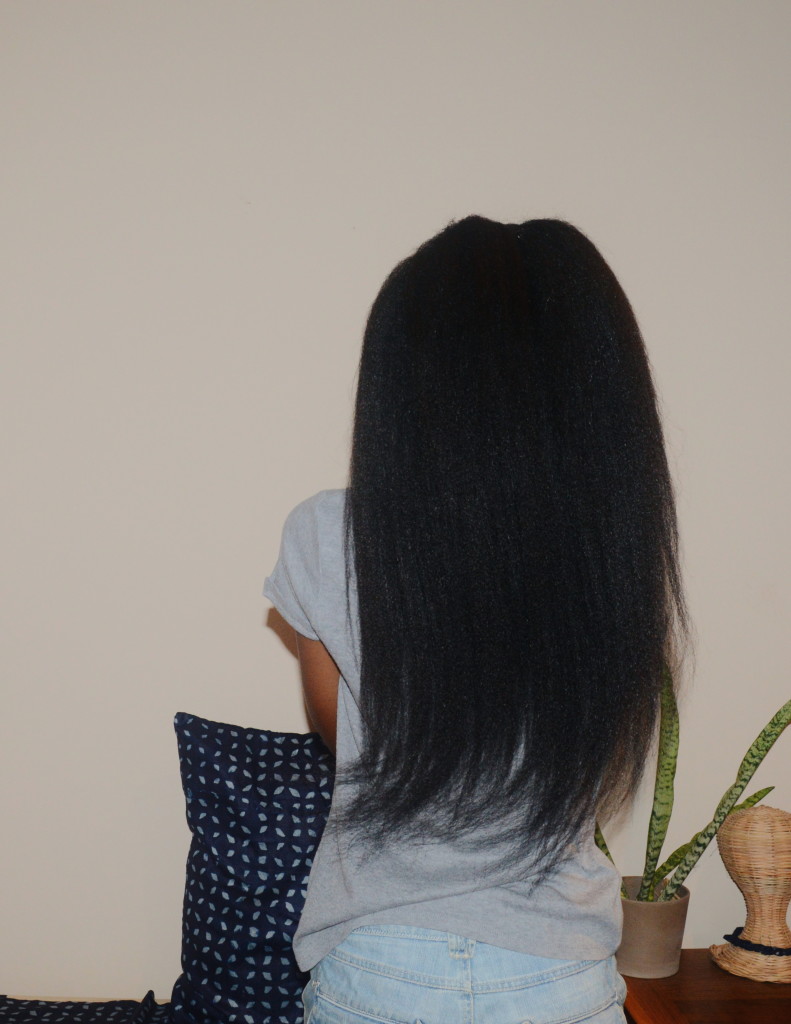
I am back with my first relax/texlax this year. I relaxed my hair after a 5 month and 4 days stretch. The stretch went well. I made more effort to keep my hair moisturised and didn’t push back any wash days and my hair feels and looks better than it has in a while.


I followed my usual relaxer/texlax day routine which I have discussed before but i will set it out again in this post . On my texlax day I complete the following steps:

  • Divide my hair in 5 section, 2 at the front and 3 at the back
  • I detangled each section thoroughly and this took hours by the way.
  • I applied black castor oil mixed with olive oil to my scalp and hair from root to tip.
  • I mixed 3 quarters of my relaxer ( Organic Root Stimulator Olive Oil Relaxer Normal Strength) with 2.5 teaspoons of olive oil.
  • My sister applied the relaxer to the new growth in the back sections. It takes her 6 minutes max. When she was through I applied the relaxer to the front new growth and this also takes me 6 minutes max
  • I smoothen the relaxer into my new growth for 5 minutes ( I DO NOT use a comb to smoothen or comb the relaxer through my hair)
  • After the 17 minutes are up ( 12 minutes application plus 5 minutes of smoothening) i rinse thoroughly and shampoo with a neutralizing at least three times to make sure all the relaxer is removed.
  • I then proceed to deep conditioning, leave-in conditioning and blow drying.
  • I then took a few pictures to share with all you lovely ladies 🙂


Please note that this is what works for me and helps me achieve the degree of texture release that I like.
If you would like to use my methods you are welcome to BUT please make necessary adjustments to suit your hair, for example if you stretched for 3 months you won’t have as much new growth and may need less relaxer. Or if your hair is not as coarse as mine you may need to decrease the application and smoothening time.

I will be trimming off about two inches on my next wash day because iv e got to keep my ends in shape and they need a trim. Overall it was a good texlax day and I on to the next stretch. I am glad to have my hair out for a while, I had missed it.

How are your hair journeys going? Have you relaxed your hair recently? How did it go?

x

Lade

Learn | Change | Grow
AIR DRYING – How To Do It Right

Hello Ladies,

Sorry for the mini hiatus. I am back with this quick but really educative post about air drying. Air drying my hair on wash days used to be a taboo to me before my hair journey. After I started my hair journey however it is something I still do and highly recommend if healthy hair is goal. In this post I will explain what air drying is, its benefits, some of the cons of air drying and techniques and tips for air drying.

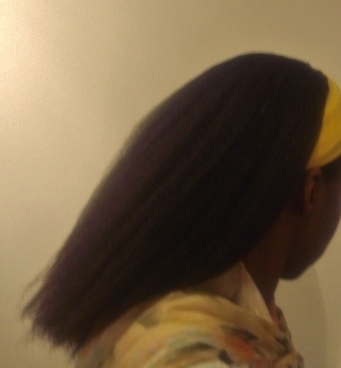
Throwback to me air drying my hair early on in my hair journey (picture taken in December 2010)


What is Air Drying

Air drying simply means that you allow your hair to dry on its own after deep conditioning or co-washing. Instead of blow drying or roller setting, you simply let good old air dry your hair.


Why Is Air Drying Good for Hair

  • Direct heat from blow driers tend to dry hair very quickly and aggressively and this can damage the hairs outer layer. Over time and regular blow drying with heat can cause this out layer to chip off gradually leading to damaged and weaker hair. Air dry will prevent all the above and with time can lead to stronger, healthier and thicker looking hair especially at the ends.
  • Air dying also allows your hair to retain more of its internal moisture which will help it retain its elasticity and softness. Blow drying with heat on the other hand will deplete your hairs internal moisture and cause hair to become drier and more brittle.


Cons of Air Drying

  • Time- allowing your hair to dry on its own will certainly take longer than when you use heat from a blow dryer or hood dryer. This sucks if you are in a rush…unless you don’t mind going out with damp hair.
  • Sleekness- air that is air dried is usually not as sleek and shiny as hair that was blow dried or roller set. Some ladies actually find that their air dried hair can look frizzy and poufy but this can be avoided if you follow the tips provided below.
  • Air drying can lead to tangled and rough hair if proper techniques are not followed.  Again, please see the tips provided below.
DSC06801

Still air drying my hair later on in my hair journey. This was taken in late 2012. Air drying was a major help for improving the health and feel of my hair so it got stronger and longer

How to Air dry – Tips and Techniques for a Smoother Air Dry

  • After rinsing out your deep conditioner or co-wash conditioner, wrap hair in a cotton tee-shirt for a few minutes to absorb water.
  • Detangle your hair gently in sections and apply your leave in conditioner(s), ensure your ends get their fair share of the products. You can smoothen your hair by combing it gently in sections with a medium or small sized comb ( do not use a fine tooth comb)
  • A few drops of your hair sealant ( eg,olive,coconut, jojoba, almond, grapeseed oil,) to your palms and smooth it over your hair especially the ends. The leave in products and oil will help to keep your hair looking smooth and feeling soft.
  • Keep your hair in confined or organised. If your hair is natural simply put it in large or medium sized twists or box braids. If your hair is relaxed you can put it in a simple bun or ponytail.Alternatively you can do what is known as the scarf method where you tie a satin scarf around the perimeter of your hair after combing it backwards.   This will get your edges smooth flattened. Keeping your hair organised and confined whilst it is air drying will produce a smoother or more tamed result.


Another method I sometimes use to air dry my hair is the banded base method ( see the picture below) which i have explained thoroughly in a previous post which you can find by clicking here.

IMG_5998

Air drying is a major contributor to the success of my hair journey and I hope this post has encouraged you to try it or stick with it. Is this how you air dry? If you have a different techniques please do share!

My next couple of posts will be a continuation of my FAQ and Bun of the Month series. See you soon.


X


Lade Learn | Change | Grow