THE BENEFITS OF PRE-POOING


Hello again ladies

Now this is a first, two posts in one day.  I am super tied up for the next few days and decided to crack on with this blog post whilst I have the time.

My wash days always start the same way; with detangling and pre-pooing to before washing. Pre-pooing is simply a pre-shampoo treatment which helps to prepare and protect my hair during the washing process. Pre-pooing isn’t an essential part of a healthy hair regimen however it is a practice completed by many ladies on a health hair journey. There are some ladies however who also have success on their hair journey without pre-pooing. In my opinion the benefits are worth it especially because it is not too time consuming.

I hope to keep things short and sweet in this post. I will share the benefits of pre-pooing, examples of pre-poo formulas and methods of pre-pooing.


Benefits of Pre-Pooing

  • Applying the pre-poo whilst detangling will lubricate your hair which will make removing the knots and tangles easier. It reduces breakage whilst detangling by softening the hair fibre and making it more elastic.
  • It helps to soften dirt and debris on hair fibres so that it slides off easier during the washing process
  • Helps reduce cracking and damage to the hair cuticles. When our hair is being washed, it absorbs water and expands/increases in size. After washing our hair returns to its normal size however when doing so the outer layer( the cuticle) can crack as our hair dries. Applying as a pre-poo can help to reduce how much our hair swells during washing and thereby reduce the risk of the cuticle cracking as our hair dries.

Pre-Poo Formulas – What Can You use to Pre-poo your hair

There are so many various concoctions used for pre-pooing by ladies the world over. It is not possible to list them all but will list a few options

Oil based
Oils such as coconut, olive, almond oil, castor oil etc. can be used as a pre-poo. Some ladies use a combination of such oils. A few drops of essential oil can be added if preferred.

oils


Conditioner based
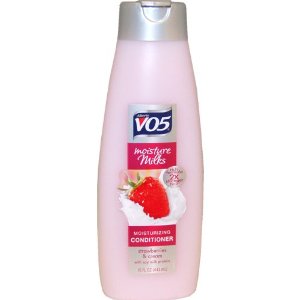
A light weight moisturising instant conditioner can also be used as a pre-poo. A little bit of oil can be added to the conditioner.

vo5


Honey Based Mixtures
Honey is also a popular pre-poo amongst ladies on a hair journey. Honey is usually mixed with some oil. Some ladies even use a mixture of honey, oils and conditioners.

honey
Other natural pre-poo options include eggs, avocadoes, bananas, coconut milk, etc.

Methods of Pre-Pooing

A little bit of your pre-poo can be added to your hair as you detangle it in sections. After detangling, you can keep your hair in sections and apply a generous amount of the pre-poo to your hair. You should then cover your hair with a conditioning cap and do either of the following

Option one
Leave your hair covered with the pre-poo for an hour or more before washing.

Option two
Leave your hair covered and apply heat for 15 minutes before moving on to washing.

Are you into pre-pooing?  If yes please share your recipe with us.

The next post will be about oiling your scalp: should you or should you not oil your scalp.  Hopefully my schedule will let me have that post up soon.

Happy hair journey ladies

x

Lade

Learn | Change | Grow 


GROWING BEYOND SHOULDER LENGHT

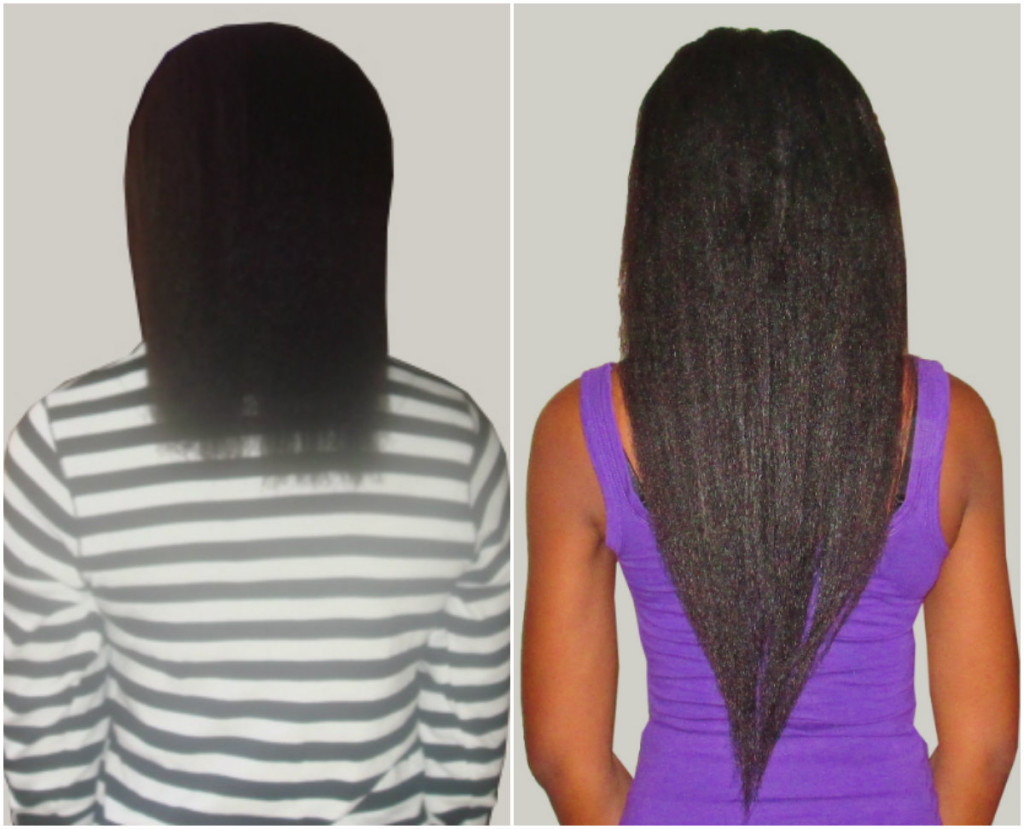
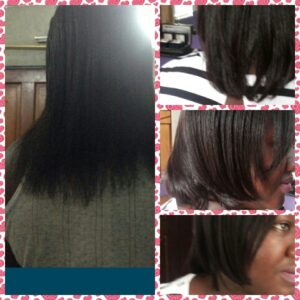
Before&after1

Prior to my hair journey, my heir ends always seemed to become damaged when I tried to grow it beyond shoulder length.


I am glad I have finally created time to write this post. When it comes to Hairducation I love writing educative posts the most because I believe that it such posts that truly helps ladies with their hair journey.

This post is inspired by all the ladies who have said these famous words ….” my hair gets to a shoulder length and stops growing”.
I assure you I said the same about my hair pre my hair journey.
At shoulder length my hair would have loads of split ends and would become thin from breakage. This resulted in me doing mini-chops on my ends and being back to neck length. This was a cycle for me and I believed that my hair was not designed to grow beyond shoulder length and that if I tried it would somehow become damaged by itself and need to be cut.

If you think your hair has stopped growing at a certain length, it is likely that what is actually happening is that your hair damage and breakage has increased (especially at your ends).
Basically your hair growth has remained the same but you are experiencing breakage at your ends which makes it appear as though your hair has stopped growing and is stuck at shoulder length.

What I hope to do in this post is show how our hair care and hair styling habits at shoulder length causes so many of us to experience breakage which we what we think is stagnant hair growth. The aim is that making readers aware of the points below will help them move past this length.

Common Causes of The Shoulder Length Hump

A) Styling Habit 1 – Increased use of heat on the ends alone (heat damage at ends)

IMG_6563

Throwback picture from many many years ago. My hair was fully relaxed shoulder length. I always wore my hair down with the ends curled with a hot iron/curling tong. Sorry about the picture quality its a scan of the actual picture


A lot of ladies are really happy to show off their hair when it has reached shoulder length. I might be speaking for myself but I believe that for many ladies shoulder length used to be seen as long hair “for a black lady”.
Whenever my hair crept to shoulder length I would be eager to wear it down and show it off at every opportunity but I didn’t want the ends to just hang down. I would want the ends to be a little curled so every morning I would comb my hair down, apply a little grease to my ends and use the curling iron on my ends alone. I know so many other ladies who have this habit.
I have discussed the cons of using direct heat on our hair in some of my older posts.
Regular use of direct heat on your ends will cause the ends of your hair to become drier, very brittle and more susceptible to breakage than the roots or middle parts of your hair (ie the parts that you are not heat styling every day). The heat damage will also cause an increase in split ends which means even more breakage and need to trim/cut the ends. This in turn leads to many of us thinking our hair just isn’t meant to grow past this length.


B) Styling Habit 2 – Hair worn down more or exclusively (physical & environmental damage at ends)

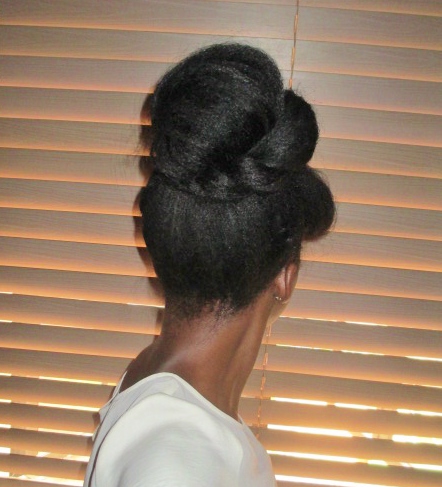
Nowadays my hair ends are usually hidden and protected from environmental and physical damage.  I do wear it down sometimes....

Nowadays my hair ends are usually hidden and protected from environmental and physical damage. I do wear it down sometimes….

This is really just a follow on from point 1 above. Protective styling has helped me and so many other ladies move past the shoulder length hump.
When our hair is shorter than shoulder length, the ends are in some ways protected from the friction and rubbing on clothes and scarves or chair backs that occurs with shoulder length.

 
By the time we reach shoulder length, keeping our ends up becomes necessary to avoid or reduce physical damage.
Also ladies who wear their hair down tend to comb and brush their ends often during the day to keep it looking neat. This further increases the physical damage suffered by our ends.

 
By keeping our hair in protective styles we reduce the frequency of physical damage our ends will experience.
Another factor that is to be considered is that the sun, wind, harmattan (this is one my Nigerian ladies will understand) and winter cold can really make our hair, especially at the ends feel super dry. Moisturising and sealing and hiding our ends in protective styles helps to keep them better hydrated, elastic and better equipped to fight breakage.
I am not saying we can never leave our hair down; we simply need to wear it in protective styles more often than we leave it down.


C) Not Updating Your Regimen

One of the many things I was not taught but had to find out from experience on my hair journey was the importance or reviewing and updating my hair regimen. Practices, techniques and products which may have worked for you at one length may not work for you at another length.
as your hair gets longer if you start experiencing more tangles, or maybe your hair seems to be breaking more or just isn’t holding on to moisture as well you should probably switch things up a little.
For example maybe you need to change the type of comb you are using to a bigger one, maybe you need to work in smaller sections, maybe you need to use a heavier moisturising product, maybe wrapping your hair every night isn’t working for you anymore because your hair is longer, maybe you should start shampooing inn sections, maybe you need to review your protein ,moisture balance etc
Simply think of what hair challenges you are facing at this longer length and possible ways of overcoming them. So if your hair seems to not be moving past the shoulder length hump, maybe its time to review your hair regimen.


As always I hope this post has been helpful to someone out there. Are you stuck at shoulder length? What do you think may be the culprit? Have you recently moved past shoulder length after years of being stuck there? Please share tips on how you did it.

 
The next post will be about the benefits of pre-pooing (a pre shampoo treatment). I know some ladies do not see the point of it but I NEVER ever shampoo my hair without doing a pre-poo because it has does so much good for my hair. Please come back soon to find out how.
X
Lade

 
Learn | Change | Grow

2014 RECAP & 2015 GOALS

2015 new year picture

Happy new year ladies

I hope you have all have a great start to the year. I pray that 2015 brings us all good health, happiness and God’s blessings. When I reflect on all that has happened in the first few weeks of the year it makes me realise just how much I have to be grateful for.

As this is my first post of the year I will share a quick recap of 2014 and some of my plans for 2015.

2014 Was…..

My Hair

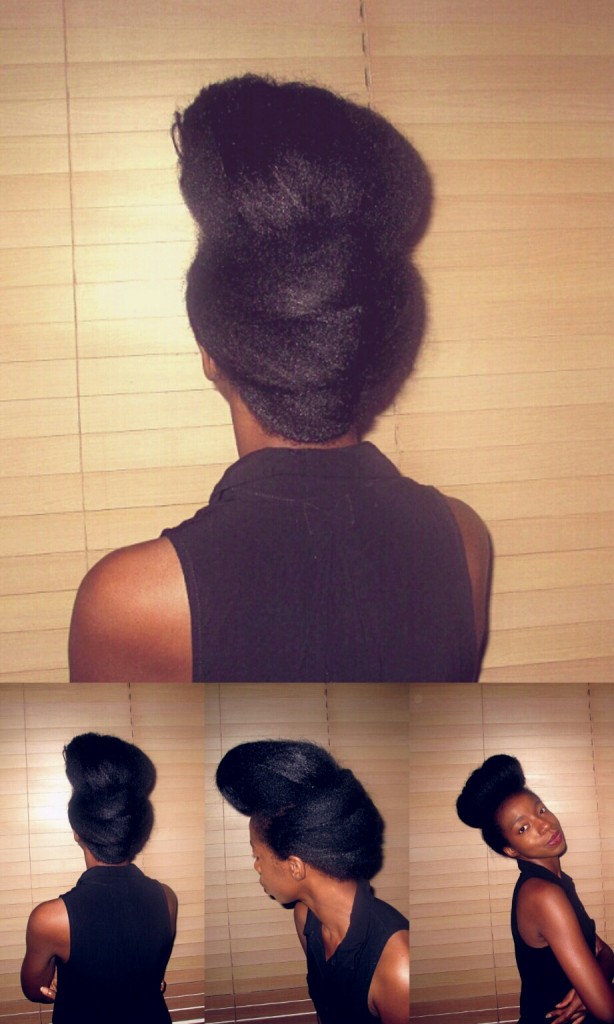
Updo

I can honestly say that in 2014 I became 100% happy with my hair. I always had a love/hate thing for my ends and hoped to trim them off gradually which I did. After my impromptu relax and trim in December I realised that I now liked my ends and was happy with my hair from root to tip. This does not mean I think my hair is perfect…I could still list out all its flaws but I am now pleased with the state of my ends that I finally feel contented. So yay to 2014!!!

The Hairducation Consultation Service

By far the biggest dream come true for me in 2014 was the launch of the Hairducation Consultation Service.

A few years back I would never have imagined that I would be doing half the things I do today and I could not be happier despite the ups and downs of being a serial entrepreneur. I thank God first and foremost and then I thank you all for your kind words of encouragement, your support, your patronage and for making my dreams come true…..thank you.

It has been such a pleasure for me to get to know my clients and their hair.  One of my clients was kind enough to share her progress with me and gave me permission to share it with you all.

Afolakemi result

When I met with her she was already on a hair journey but found sometimes felt confused by the vast amount of information on various sites. She wasn’t always sure what she was doing was right or wrong for her hair and wanted me to guide her through it.

I met and consulted with her, created her hair regimen and followed up with her regularly. What I loved the most about working with her was that she played her part. She followed the regimen HOWEVER she had a few suggestions for tweaking the regimen which we discussed and agreed on.
For me the best part was of the whole process was her sending me her pictures and saying “ we did it together so I thought I should share my progress with you.

The difference might not seem outstanding to some but I certainly see progress. Her hair is thicker and a bit longer. Now imagine what it will look like 2 or 3 years into her journey. I don’t offer instant hair growth and fortunately all my clients seem to have realistic growth expectations. I look forward to taking on more clients in 2015.

In 2015 I will…….

My hair plans for 2015 are twofold

1)  I would like to maintain my current hair health and length of my hair, this means I really have to stop skipping wash days…..a bad habit I seem to be developing.

2)  I would like to reduce my shedding rate by focusing on hair care from within i.e. eating better, exercising regularly, getting more sleep and drinking more water. I do all these thing already but I am so inconsistent and this is what I need to work on. One month I am good…next month…..not so good.

I am so excited about what 2015 has in store and hope more of all our dreams become reality. What goals did you reach in 2014? What are your 2015 goals?

The next blog post will be about the shoulder length hump, why many ladies seem stuck at this length and how to grow past it.
Come back soon ladies.

x

Lade
Learn | Change | Grow
RELAXER UPDATE

IMG_6221


I hope you have had a lovely Christmas ladies.

There comes a time when you just say to yourself “ okay that’s it, I am done”. That was me 2 weeks ago when I decided to end my stretch at 16 weeks!!!! So as a surprise I have a relaxer update for you….it was a surprise for me too. I wasn’t supposed to texlax until early January.


WHY I ENDED MY STRETCH EARLY

Some of you may recall that my hair was under processed after my last texlax in August. At first it seemed okay but a few weeks down the line I literally still had a mini afro. My new growth wasn’t texlaxed …it was blown out very slightly.

As even more time went by, I realised that I could not tell the difference between my blown out hair and my new growth. I considered doing a corrective relaxer but felt that I would be able to cope because I had many years experience of managing different textures. I decided that I would stretch for 18 to 20 weeks.

At 16 weeks post, I had a wash day and was panicking at the thought of the time and arm strain it would take to sort my hair out. I said to myself “ Lade, what the heck are you doing”. It suddenly dawned on me that I had been ignoring my own advice. I always champion reviewing your hair and tweaking your regimen if necessary and there I was ignoring the fact that I had 4 months of new growth and 5 months worth of blown out hair…that is 9 months of almost natural hair added to 20 inches of texlaxed hair. It was TOO MUCH for me. So I knew….it was time.


IMG_6241 - Copy

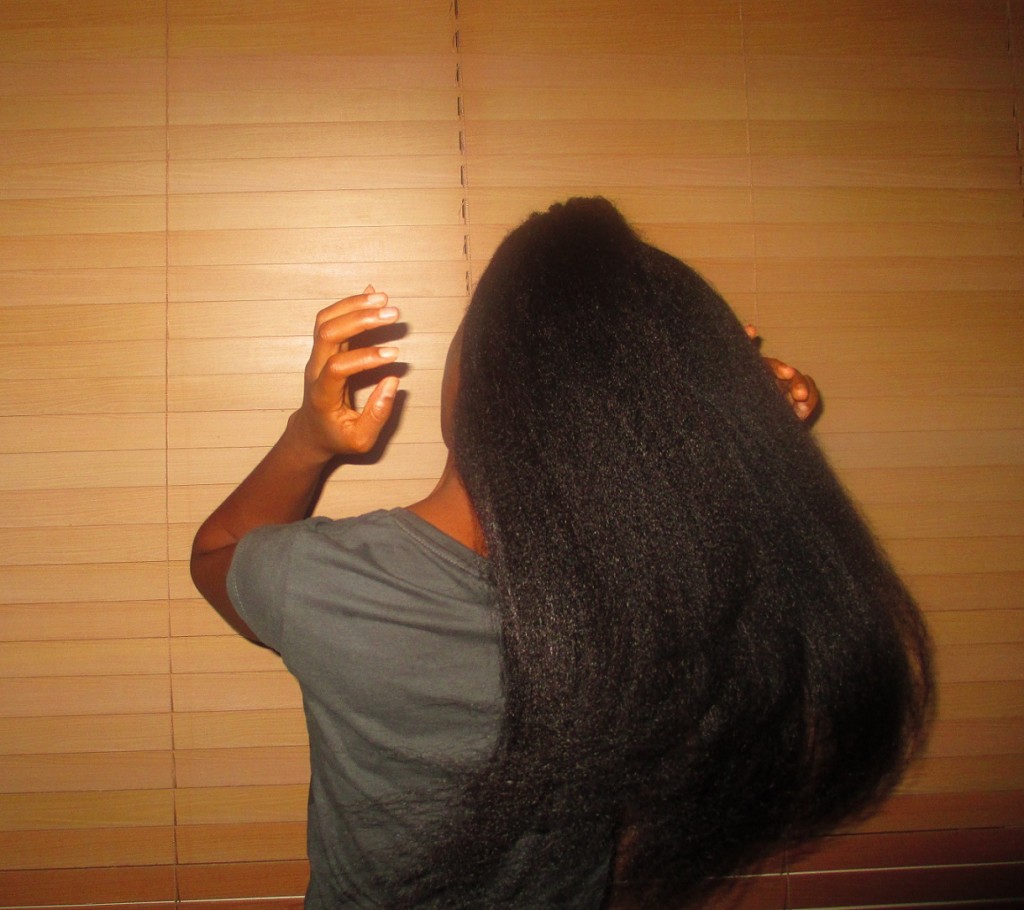
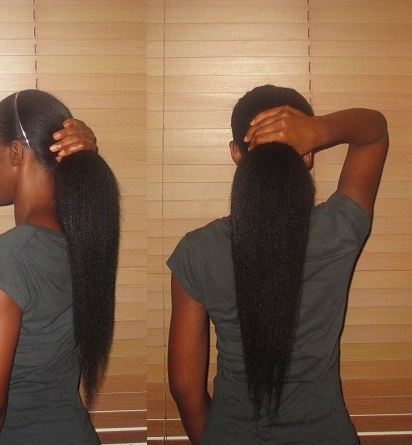
Happy my ponytail is thicker than my neck. I trimmed off an inch and half after taking these pictures.


WHAT WENT RIGHT ON THIS TEXLAX

IMG_6249

I am back to my happy place……texlaxed hair.

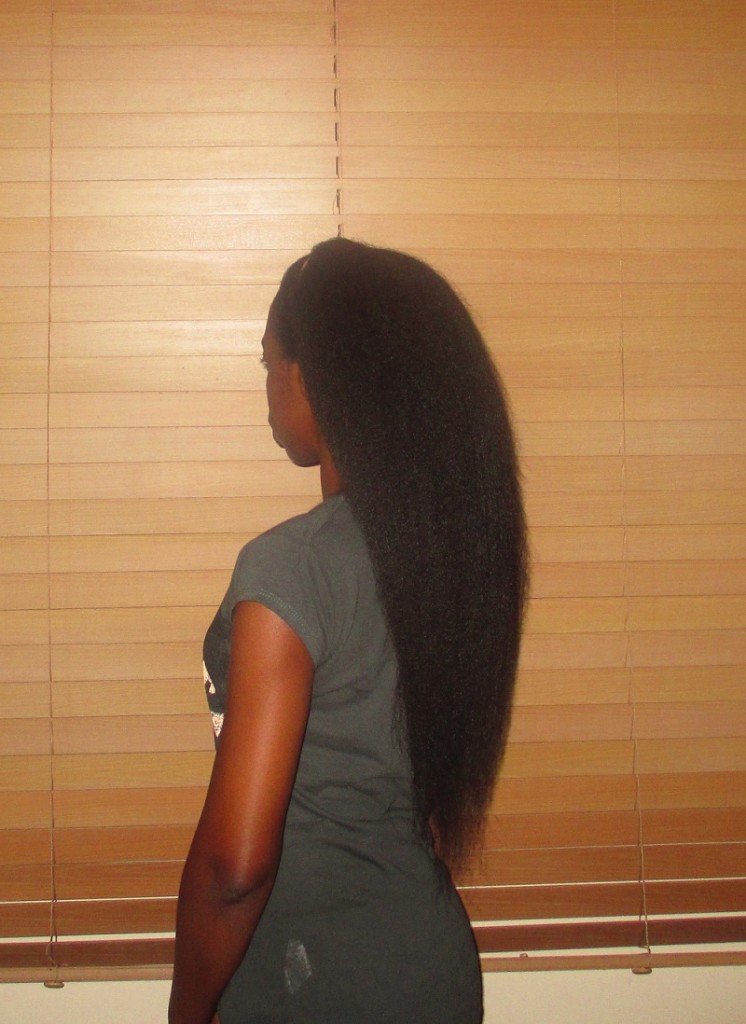
I am no longer juggling three different textures. I am very happy with my overall results and the state of my hair. I am glad I was able to stretch for as long as I did because my hair is certainly a lot thicker feels healthy. I am actually happy with my ends now bearing in mind that I have trimmed 1.5 inches off after taking these pictures.

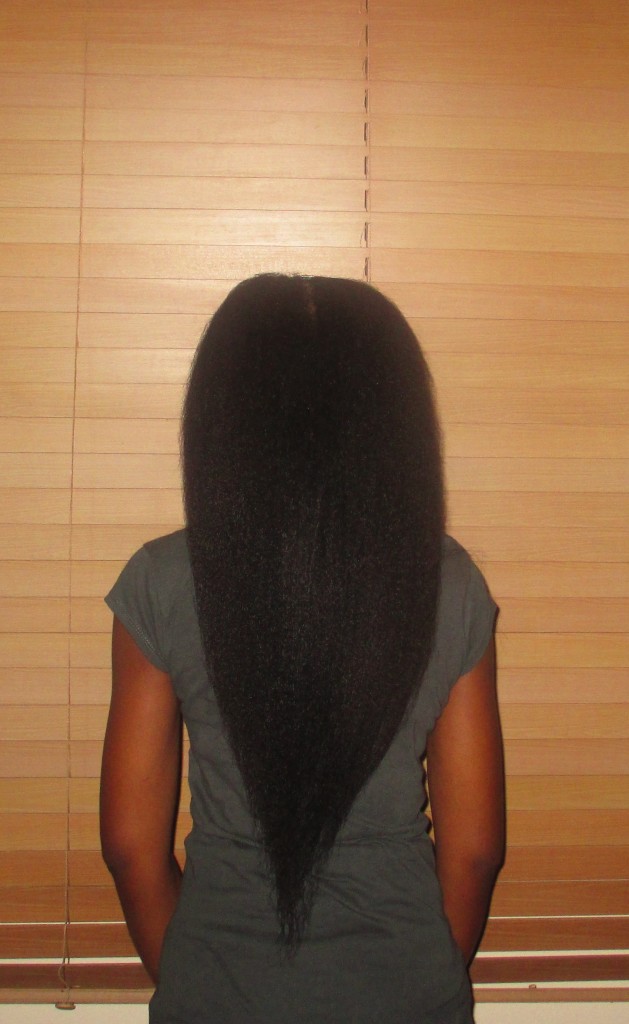
My hair is a little longer even though I know it doesn’t show in the pictures. I am way past waist length but don’t think I am tailbone length. After my trim, when I pull my hair forward it touches my belly button and I would say it is currently lower back length ( i.e. it touches the end of my back). I intend to keep it at this length. I intend to trim off 1.5 to 2 inches every time I texlax in the future……lush and even thicker ends here I come)


WHAT WENT WRONG ON THIS TEXLAX

IMG_6240

The only thing that went wrong was that some of my new growth ended up becoming relaxed instead of texlaxed.  I would say 30 to 40% seems relaxed in my opinion. Relaxed hair is great but because I am texlaxed it is important for me to try to achieve the similar results when I texlax so that I have a even textured hair. I knew exactly what caused some part of my new growth to become relaxed…I deviated from my usual routine in three ways

  • I usually cover my new growth with olive oil when I texlax to prevent it from become too straight.   Well because my decision to texlax was sudden, I didn’t have enough olive oil at home to cover my new growth and hair so I used coconut oil instead. Coconut oil is lighter/thinner than olive oil so the relaxer was able to access my hair and straighten it quicker than normal. I should have realised this but didn’t until after relaxing.
  • I used an ENTIRE jar of relaxer….normally I use two thirds of a jar but because I had a serious amount of new growth I had it use the entire jar. It was surreal…and heavy. The relaxer felt heavy when it was in my hair and the weight of relaxers contribute to their straightening effect. The more and heavier the relaxer is on our hair, the straighter our hair is likely to become. This wasn’t my fault…I really needed the whole jar.  Going forward I will texlax at 20 weeks so I wount need a whole jar of relaxer.
  • The biggest cause however for the partial relaxed hair is that I left the relaxer in my hair for 3 more minutes than usual. Normally it takes 15 minutes to apply relaxer to my new growth and then I wait 5 minutes max before washing out the relaxer. On this texlax however because I was scared my hair would come out underprocessed again and because of all the new growth I decided to wait an extra 3 minutes. This normally wouldn’t have been a big deal but because of points 1 and 2 above I ended up with partially relaxed hair.

I am probably making a big deal of nothing because the next day I was consulting with a client at the salon and a lady who is natural asked how long I had been natural for……so it really can’t be that bad.
IMG_6228

So I have learnt a lot of lessons with this texlax session and I am already looking forward to the next one…just to make sure I don’t make the same mistakes again.

Has anyone relaxed, texlaxed or big chopped their hair recently? How did it go? Have you made mistakes with your regimen recently and what did you learn from it?

I have done the pictorial I promised however I cant get the database I use to create collages to work at the moment so the next blog post will be an educative one. It ‘s about why a lot of ladies hair seems to stop growing at shoulder length and how to move past this length.

Come back soon ladies.

X

Lade

Learn | Change | Grow
 

HAIR UPDATE

 IMG_5998


Hello ladies

As promised I am working harder (and a little smarter) to make sure I update Hairducation more regularly.  It’s all about planning really.

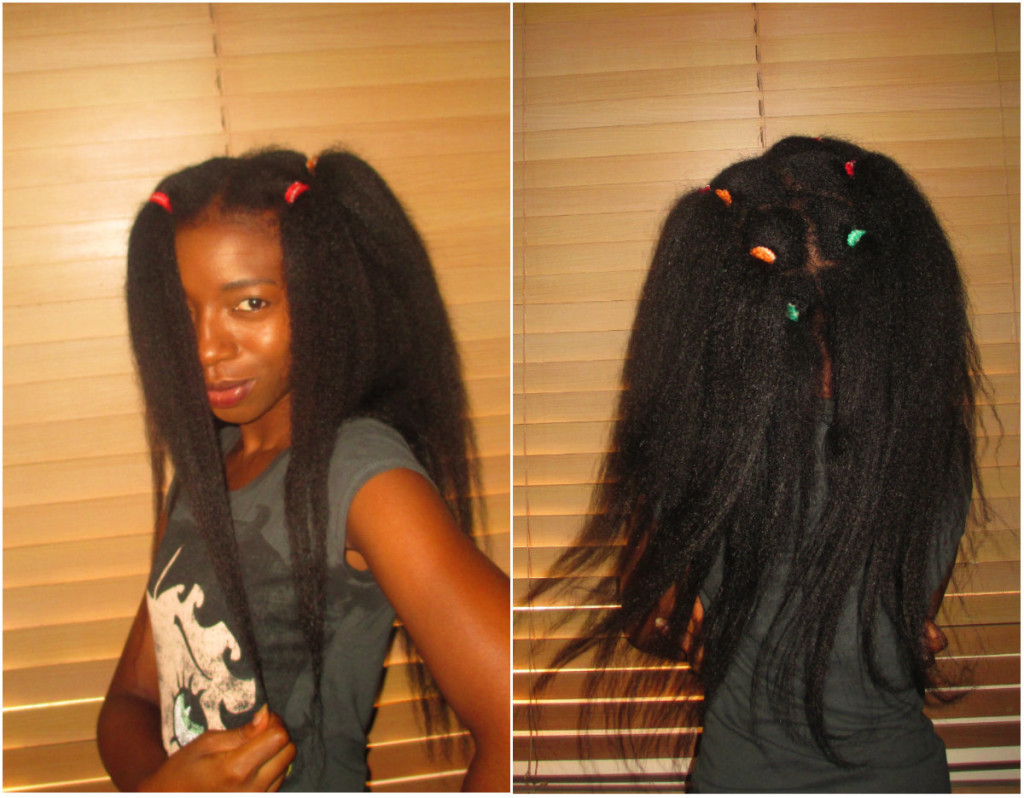
I am currently following my wig regimen and my hair has been hidden under my wig for a few weeks now.  I had a wash day last weekend so it was the perfect opportunity for me to write a hair update post.
I will also use this opportunity to share a new method of air drying that I have fallen in love with .


Hair Update

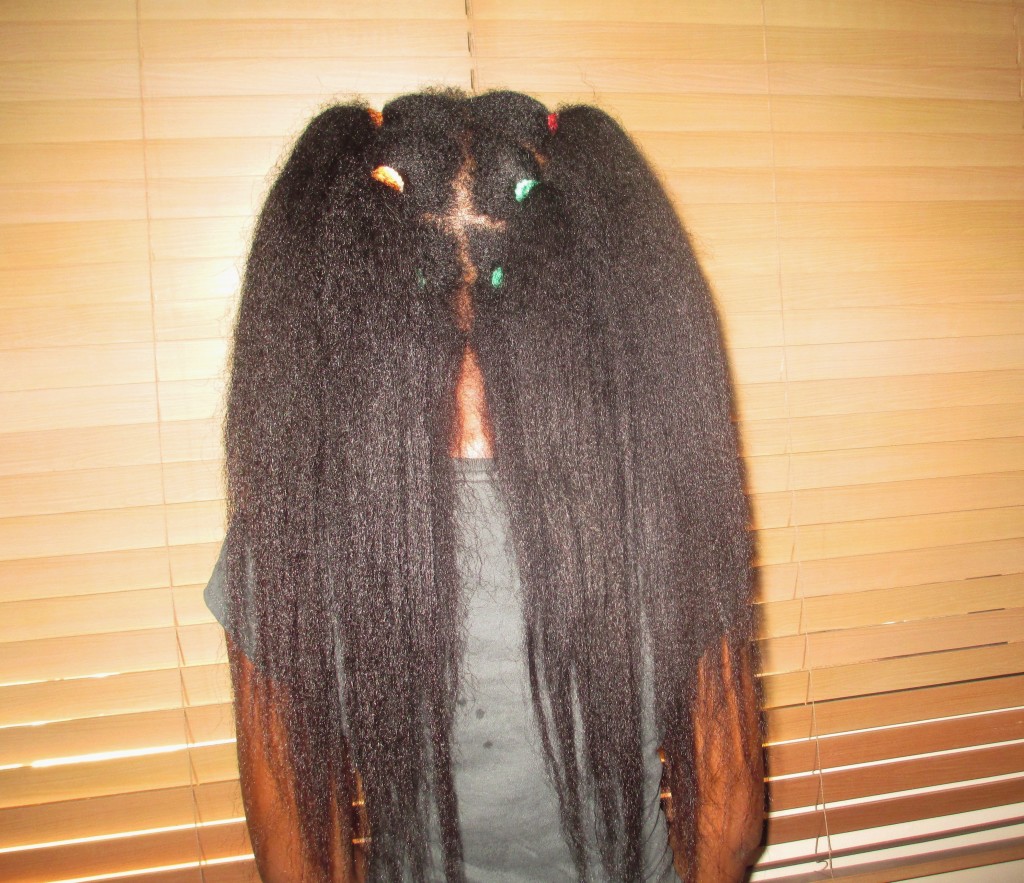
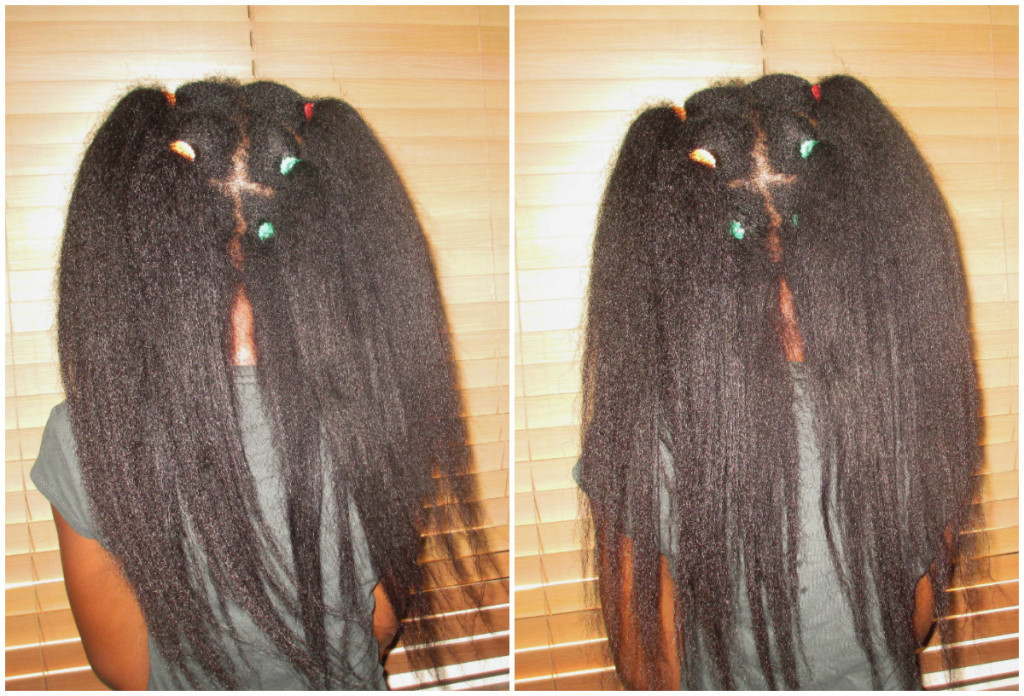
Airdry in sections 2

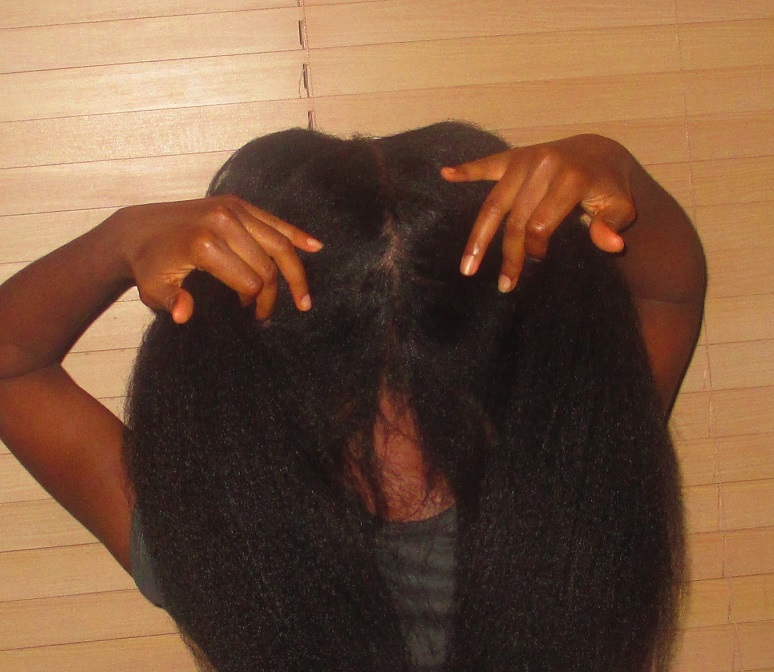
I am currently 16 week post relaxer.  My hair was under processed (more than I intended) during my last texlax.  It is actually very hard for me to distinguish between my new growth and the under processed hair.  I thought about doing a corrective relaxer but felt confident I could manage the two textures for a while.
I usually stretch my relaxers for 20 to 25 weeks but I most certainly will NOT be stretching for that long this time.

My hair is not doing bad at all.  I have been working hard to take care of it under my wig and I believe this is paying off.  I also have very little tangles and breakage because I am doing everything in sections.

My ends certainly need a trim.  They are really old and weathered and damaged and there are a few split ends in there too.  I am actually looking forward to trimming them.


New Air Drying Method

Airdry in sections

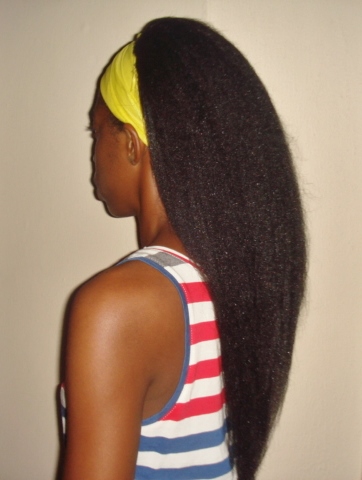
I used to air dry my hair using the scarf method, i.e.  hair detangled and combed back with a satin/silk scarf tied at the front to make edges smooth.

DSC06801
This method is great for my when I don’t have too much new growth.  I find however that with my hair getting longer and thicker over the years, the scarf method isn’t always ideal for me.

Some of my hair would get a little matted at the roots and I would experience a lot of shrinkage.
On my last two wash days,  I decided to try something which I hoped would prevent or at least reduce the matting and shrinkage.

My wash day was as follows

  • As usual, I washed and deep conditioned my hair in braids, (I did 14 box braids this wash day).
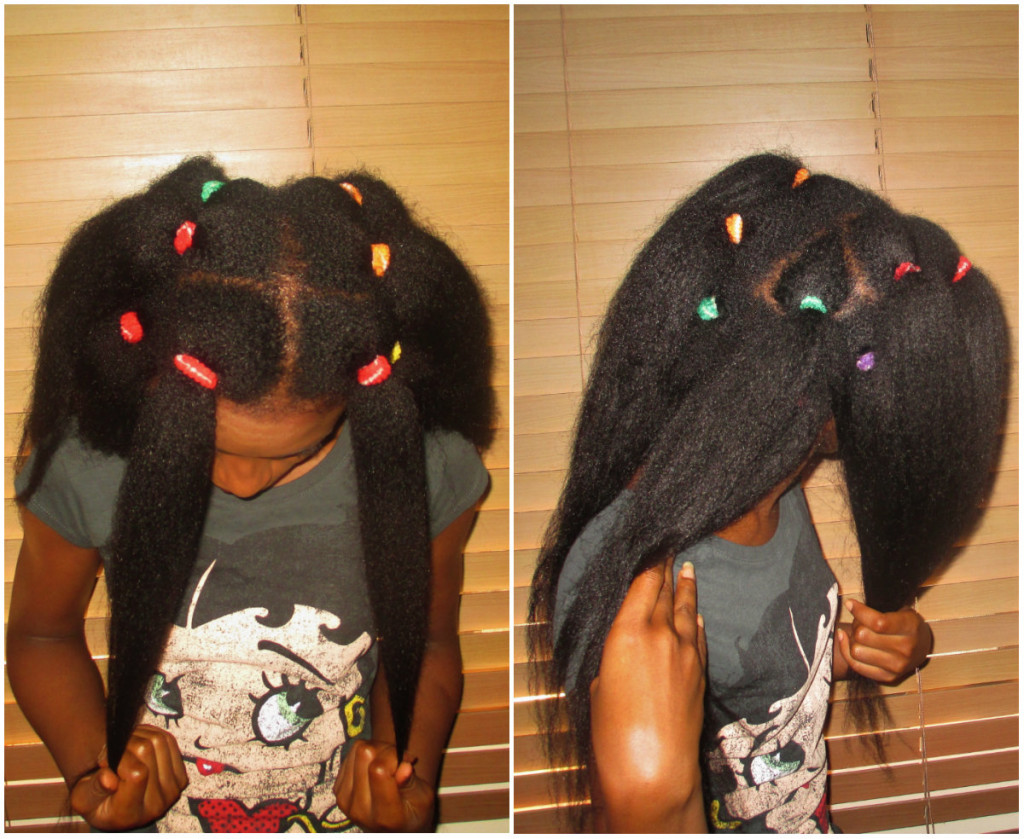
  • After rinsing my hair thoroughly, I unravelled one braid, detangled and applied my leave in conditioners and combed through gently.
  • I secured the base of the hair with a small hair band.  The hair was secured firmly but was not too tight.
  • I repeated the above steps with each of the box braids.

Airdry sections 3

Pros of Air Drying In Sections

  • It prevented my roots from matting
  • I experienced less shrinkage of my new growth
  • My hair was very fluffy and bouncy when it dried
  • My roots dried A LOT FASTER in comparison to the scarf method
  • Because my hair is left in sections when it is dry, It makes it easier for me to put it back in the box braids I wear under my wig

Cons of Air Drying In Sections

  • If the bands are too tight at the base, it will pull, snag and break a few stands when you try to remove them.  A couple of my bands were too tight and broke a few strands.
    The others slid off smoothly when pulled them off gently.

I plan to air dry my hair with this method going forward.
What is happening with your hair ladies?  Have you tried any new techniques recently?

The next blog post will be a hair style pictorial.  Please come back soon.

X

Lade

Learn | Change | Grow